Homemade Baked Potato Skins Recipe

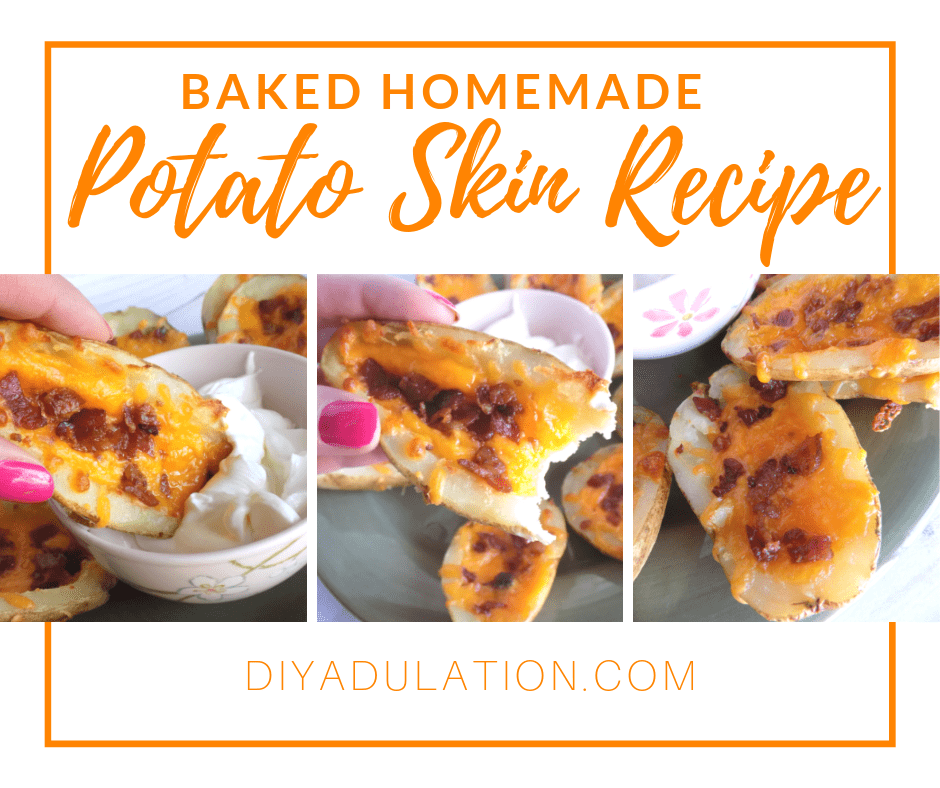
Making your favorite restaurant appetizer at home is easier than you think. This homemade baked potato skins recipe only requires about 5 minutes of hands-on work. The rest is done by your microwave and oven while you kick up your feet.

Affiliate links may be used in this post. Ordering a product through these links may result in a commission. Read the full disclosure here.

Collage of Potato Skins on a Plate with Sour Cream with text overlay - Baked Homemade Potato Skins Recipe


[bctt tweet=”Now you can enjoy your restaurant favorites without the hefty price tag with this cheesy, gooey homemade baked potato skins recipe!” username=”diyadulation”]

In case you haven’t notice, I’m all about saving money. One of the easiest ways to do that is eating meals at home. Luckily that doesn’t mean missing out on our favorite restaurant staples. One of those faves is delicious potato skins.

Personally, I like mine piled high with sour cream but the kiddos think my taste is a little extreme. Oh well, more sour cream for me. This baked potato skins recipe is always a welcome treat to dinner or parties. Plus, at less than $5 for the whole dish, it’s way cheaper than what you pay at the restaurant with all the flavor.


Hand Holding Potato Skin with Bite Out of It


Potato Skins Recipe Ingredients

Step 1

First, poke multiple holes in your potatoes with a fork.

Step 2

Then arrange the potatoes on a microwave safe plate and microwave on high for 6 minutes.

Step 3

Remove the potatoes and flip each one over. Then microwave for another 6 minutes.

Step 4

After the potatoes are cooked, remove from the microwave and allow to cool.

Step 5

While the potatoes cool, preheat your oven to 425º Fahrenheit.


Halved Potatoes on Parchment Paper

Step 6

Once the potatoes cool, cut them in half and place on a parchment lined baking sheet.
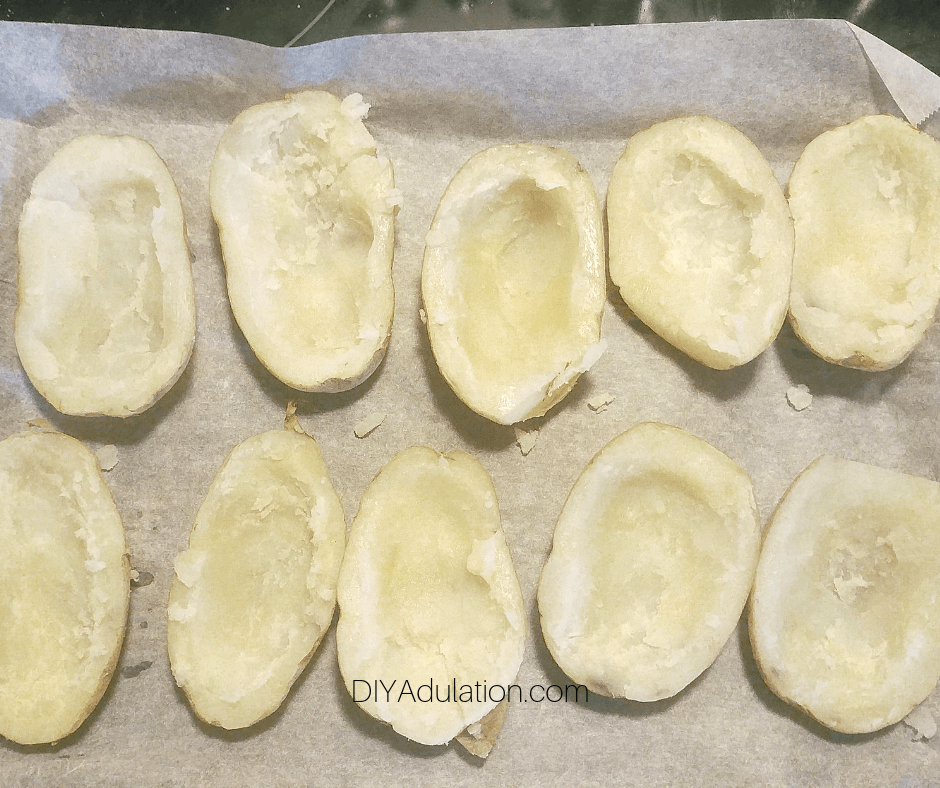
 

Bowl of Potato Inside next to Scooped Potatoes

Potato Halves with Insides Scooped Out

Step 7

Next, scoop out the insides and place them in a small bowl. You do not need them for this recipe.


Oil on Scooped Potato Halves

Step 8

After the insides are scooped out of your potato halves, spray them with oil and add a pinch of salt and pepper over them.


Baked Scooped Potato Halves

Step 9

Bake the potato halves in the oven for 10 minutes.


Potato Halves Topped with Cheese

Step 10

Remove the potatoes from the oven and top with shredded cheese.


Potato Halves Topped with Bacon and Cheese

Step 11

Next, add crumbled bacon on top of the cheese.


Close Up of Potato Skin on Plate

Step 12

Put the potatoes back in the oven and bake an additional 6-10 minutes or until cheese is melted.


Hand Dipping Potato Skin in Sour Cream

Close up of Bite Out of Potato Skin

Serve with sour cream for dipping. You can take it up a notch by mixing some ranch powder in your sour cream for a truly tangy, refreshing dipping sauce!


Close up of Bite Out of Potato Skin with text overlay - Baked Homemade Potato Skins Recipe

Now you can enjoy your restaurant favorites without the hefty price tag. This cheesy, gooey homemade baked potato skins recipe is bound to be a new family fave. It’s also so easy to make you won’t mind how often they request it. You can’t beat the taste fresh out of the oven with a dollop (or 3) of sour cream on top.

Yield: 12 Potato Skins

Baked Potato Skins Recipe

Baked Potato Skins Recipe
Prep Time 15 minutes
Cook Time 20 minutes
Total Time 35 minutes

Ingredients

  • 6 Medium Potatoes, washed
  • 2-3 Cups Shredded Cheddar Cheese
  • 1 Package Bacon Crumbles
  • Spray Oil
  • Salt and Pepper to Taste

Instructions

  1. First, poke multiple holes in your potatoes with a fork.
  2. Then arrange the potatoes on a microwave safe plate and microwave for 6 minutes.
  3. Remove the potatoes and flip each one over. Then microwave for another 6 minutes.
  4. After the potatoes are cooked, remove from the microwave and allow to cool.
  5. While the potatoes cool, preheat your oven to 425º Fahrenheit.
  6. Once the potatoes are cool, cut them in half and place on a parchment lined baking sheet.
  7. Next, scoop out the insides and place them in a small bowl. You do not need them for this recipe.
  8. After the insides are scooped out of your potato halves, spray them with oil and add a pinch of salt and pepper over them.
  9. Bake the potato halves in the oven for 10 minutes.
  10. Remove the potatoes from the oven and top with shredded cheese.
  11. Next, add crumbled bacon on top of the cheese.
  12. Return to the oven and bake an additional 6-10 minutes, until cheese is melted.
  13. Serve with sour cream for dipping.

See where I’m linking up!

Don’t Forget to Pin It!

Potato Skin Dipped in Sour Cream with text overlay - Baked Homemade Potato Skins Recipe


More Ideas You’ll Love:

How to Declutter and Organize Receipts

Once you tackle your books, it is time to declutter your papers. Today we’re going to focus on those little scraps of paper you have floating around your van, the kitchen, and your purse: receipts. Find out how to declutter and organize receipts with these tips!

Affiliate links may be used in this post. Ordering a product through these links may result in a commission. Read the full disclosure here.

Hands Holding Phone over Papers and Receipts with text overlay - How to Declutter and Organize Receipts


[bctt tweet=”Find out how to declutter and organize receipts by getting fewer receipts, updating your register nightly, and organizing receipts you have to keep!” username=”diyadulation”]

Thankfully, receipts are not a difficult clutter area for me. The worst of it is holiday gifts. I purchase gifts all year long to save the most money and that means having a way of organizing them for an entire year. Luckily, after the holidays, I can shred them and call it a day.

The rest of my receipts follow specific systems so that I’m not drowning in them. If your purse or wallet is overflowing with receipts or you struggle to find the ones you need when you need them then you’ll love these tips for how to declutter and organize receipts.


Pink Phone next to Ear Buds

Add Less Receipts

You can start decluttering your receipts by simply adding less to the pile. Every week you make purchases and likely shove those receipts in your purse. Instead, use your phone to take pictures of the amounts you spend or to make notes of ATM withdrawals. The gas station is an excellent example of a place you can easily take a photo of the pump instead of printing out a receipt. I also forgo a receipt at Starbucks or any other place where it is offered.

Secondly, pay with cash so that you don’t have to hold onto the receipts that you do get. When you pay with cash instead of your debit card you don’t have to worry about adding the purchase to your register. Then, when you get home, you can immediately place the receipt in the recycling.


Calculator next to Check Register and Pen

Create a System for Receipts

Once you start bringing less receipts in, it’s time to create a system for handling the ones you do. Start with the receipts you save simply to add to your check register. Place receipts in your wallet in front of where you store your debit cards. Each night add those receipts to your register and recycle them. Don’t let them pile up for weeks. Storing them in front of your cards helps as an incentive to clear them out nightly.

Storing and Organizing Receipts

For receipts you must keep for returns or warranties, add them to a small binder along with any other pertinent paperwork. Then make it a point to go through the binder monthly or quarterly to clear out receipts past their return window or expired warranties.

Receipts that you need for tax purposes should be stored in a file along with your other tax documents. After filing, keep everything together for the recommended number of years and then shred them when it is time to discard.


Wrapped Gifts Next to Planner and Phone

Holiday Receipts

During the holidays, you collect a lot of receipts. You don’t want to get rid of them in case a gift needs to be returned but you also don’t want to store these with the warranty receipts. Instead, I recommend storing these in your Christmas binder (or that section in your planner). Include packing slips from shipped items as well as gift receipts.

After the holidays, purge what is remaining in your Christmas binder to make room for the next year.


Hands Holding Phone over Papers and Receipts with text overlay - How to Declutter and Organize Receipts

Now that you know how to declutter and organize receipts you can move onto the next area of paper clutter in your life. Don’t forget to use your phone to get fewer receipts, add them to your register nightly, and organize receipts that you have to keep for a streamlined system.

See where I’m linking up!

Don’t Forget to Pin It!

Hands Holding Phone over Papers and Receipts with text overlay - How to Declutter and Organize Receipts


More Ideas You’ll Love:

Easy Homemade Meatballs You Can Freeze for Later

Get ready to say good-bye to store bought meatballs forever. These easy homemade meatballs are crazy easy to make and are easily frozen for later meals. Simply make, freeze, and use them as needed for meals and parties.

Affiliate links may be used in this post. Ordering a product through these links may result in a commission. Read the full disclosure here.

Collage of Photos of Meatballs with text overlay - Easy Homemade Freezer Meatballs


[bctt tweet=”These easy homemade meatballs are super simple to make (only 3 ingredients!) and you can totally freeze them for up to 30 days! Perfect for weeknight meals.” username=”diyadulation”]

My kiddos are always asking for meatballs with spaghetti but I refuse to buy those pre-made ones at the store. When you’re working on a tight grocery budget, spending $7+ on 1 bag of frozen meatballs is insane. Instead, when there is a great deal on ground beef we buy it and make large batches of our own. Add them to this homemade spaghetti sauce for a frugal and delicious weeknight meal.

These babies are so super simple to make (only 3 ingredients!) and the kiddos absolutely love them. They are easy to turn into meatball subs, party appetizers, or any other delicious meal that calls for meatballs. You can totally freeze them for up to 30 days in a freezer bag too, so no worries about them going bad before you use them.


Side View Close up of Meatballs

Easy Homemade Meatballs Ingredients

Step 1

First, place your ground beef into a mixing bowl.

Step 2

Add in the entire box of instant stuffing and your egg.


Mixed Up Meatball Ingredients in Bowl

Step 3

Next, mix all of your ingredients until they are well combined.

Step 4

After your ingredients are mixed together, form it into 1 inch balls and place on a sheet pan lined with parchment paper.


Close up of Meatballs

Step 5

Once you have made all of your balls, place in the freezer for 1 hour.

Step 6

Next, pull your meatballs out of the freezer and place in a large gallon freezer bag.

Step 7

Label your bag with the date of freezing and place back in the freezer.


Plate of Meatballs

Pull out your meatballs and use just as you would the freezer kind at the store.

Cook Easy Homemade Meatballs on Stove Top

To prepare your meatballs on the stove top, add your desired amount of frozen meatballs to a sauce pan. Cook over medium heat for 20-25 minutes. Stir your meatballs occasionally during cooking to brown all of the sides.

Cook Easy Homemade Meatballs in the Oven

To prepare your meatballs in the over, preheat your oven to 350 degrees Fahrenheit. Place your desired amount of meatballs in a single layer on a baking sheet and bake at 350 degrees for 20 minutes.


Close up of Meatballs with text overlay - Easy Homemade Freezer Meatballs

We love to enjoy these easy homemade meatballs with spaghetti for easy weeknight dinners. They are also delicious cooked in barbecue sauce and served with mashed potatoes. The possibilities are pretty much endless. Add these to your family’s favorite meatball dishes any (or every) night of the week!

Homemade Meatballs You Can Freeze for Later

Homemade Meatballs You Can Freeze for Later
Prep Time 1 hour
Cook Time 20 minutes
Total Time 1 hour 20 minutes

Ingredients

  • 2 lbs. Ground Beef
  • 1 Box Instant Stuffing
  • 1 Egg

Instructions

  1. First, place your ground beef into a mixing bowl.
  2. Add in the entire box of instant stuffing and your egg.
  3. Next, mix all of your ingredients until they are well combined.
  4. After your ingredients are mixed together, form it into 1 inch balls and place on a sheet pan lined with parchment paper.
  5. Once you have made all of your balls, place in the freezer for 1 hour.
  6. Next, pull your meatballs out of the freezer and place in a large gallon freezer bag.
  7. Label your bag with the date of freezing and place back in the freezer.

Notes

Cook Easy Homemade Meatballs on Stove Top: To prepare your meatballs on the stove top, add your desired amount of frozen meatballs to a sauce pan. Cook over medium heat for 20-25 minutes. Stir your meatballs occasionally during cooking to brown all of the sides.

Cook Easy Homemade Meatballs in the Oven: To prepare your meatballs in the over, preheat your oven to 350 degrees Fahrenheit. Place your desired amount of meatballs in a single layer on a baking sheet and bake at 350 degrees for 20 minutes.

See where I’m linking up!

Don’t Forget to Pin It!

Plate of Meatballs with text overlay - Easy Homemade Freezer Meatballs


More Ideas You’ll Love: