DIY Sea Glass Picture Frame

Are you looking for an easy and budget-friendly piece of coastal decor? This DIY sea glass picture frame is a gorgeous craft that comes together quickly and easily. Give it as a gift or use it to display (and protect) precious photos on your fridge!

Affiliate links may be used in this post. Ordering a product through these links may result in a commission. Read the full disclosure here.

Collage of Picture Frame with text overlay - Easy DIY Sea Glass Picture Frame


[bctt tweet=”This DIY sea glass picture frame is so easy to make and totally budget-friendly. That makes a wonderful gift for friends and family (or yourself).” username=”diyadulation”]

I love the calmness and tranquility of coastal decor even though I tend to gravitate towards bright and colorful style. Luckily, I still get to enjoy the style because my mom loves it. (Also I still hold out hope that one day I’ll have a vacation home on the beach I can go nuts with.)


Picture in Sea Glass Magnetic Frame

Whether you love the coastal style for your own home or simply want a pretty way to display the photos on your fridge, this DIY sea glass picture frame is the perfect easy craft for you. As I said above, it also makes a fantastic gift for parents and grandparents. Mother’s Day is coming up soon (hint hint). Head to your local Dollar Tree and you’re all set to get crafting.


Magnetic Sea Glass Frame Materials

DIY Sea Glass Picture Frame Materials


Magnetic Picture Frame Removed from Packaging

Step 1

First, remove your magnetic picture frame from the packaging.

Tip:


Close Up of Sea Glass Glued to Frame

Step 2

Start attaching your sea glass by adding larger pieces of sea glass to the corners of your frame and gluing them into place.

Tip:

Step 3

Next, start to fill in the area between the corners with smaller pieces of sea glass. Use various sizes to create as even an edge around the frame as possible.


Sea Glass Glued to Frame

Step 4

Continue gluing small pieces of sea glass onto the frame. Mix and match the colors as you want.

Step 5

After you have the main frame outlined, fill in any desired areas with additional small pieces of sea glass.

Step 6

Then check all of the edges to ensure that no glue has seeped down them.

Tip:

Step 7

Lastly, set aside your frame to dry for at least 24 hours before using.


Angled Close Up of Sea Glass Picture Frame

Smiling Child in Picture Frame with text overlay - Easy DIY Sea Glass Picture Frame

Once your DIY sea glass picture frame has dried simply add your photo and hang it on your refrigerator. This is so easy to make and totally budget-friendly. It also makes a wonderful gift for friends and family. Add it to your own coastal decor or surprise someone with it for a beautiful beachy display.

See where I’m linking up!

Don’t Forget to Pin It!

Smiling Child in Picture Frame with text overlay - Easy DIY Sea Glass Picture Frame


More Ideas You’ll Love:

How to Declutter Your Cords and Chargers

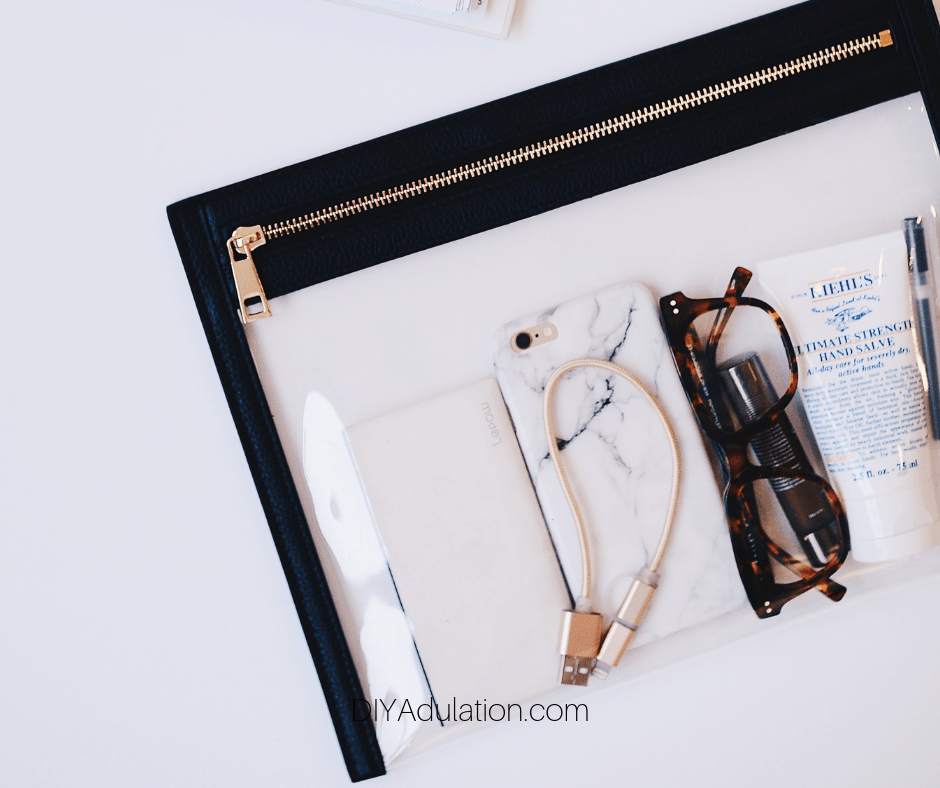
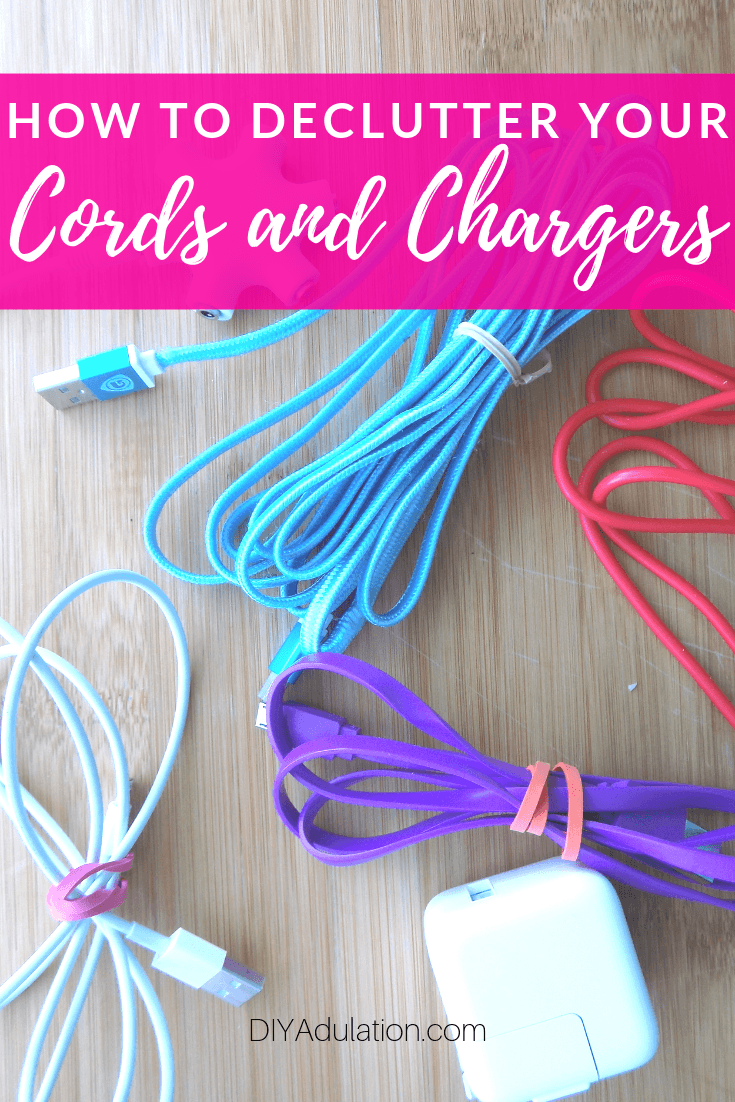
It’s time to tackle possibly one of the most annoying clutter items in your life. It’s annoying because this item permeates every area of your home and stuff. From your purse, car, and tables find out how to declutter your cords and chargers.

Affiliate links may be used in this post. Ordering a product through these links may result in a commission. Read the full disclosure here.

Multi colored cords and chargers with text overlay - How to Declutter Your Cords and Chargers


[bctt tweet=”Tackle one of the most annoying clutter items in your life. From your purse, car, and tables find out how to declutter your cords and chargers.” username=”diyadulation”]

Why am I including this in its own separate category? Because in this day and age we are so inundated with electronic devices and the subsequent cords and chargers that go along with them that it’s crazy. Even when we get rid of the devices themselves, the cords get shuffled to a drawer or box. Heck, we even have multiple cords for the same device. That leads to a chaotic build up of cords that we don’t use and likely can’t use because they aren’t compatible with out devices anymore.

This is the perfect reason to get hubs to finally toss that box of miscellaneous cords in the basement, too. Trust me, he doesn’t know what half of those cords go to anymore and he’s never going to build that computer, fix the gaming system, or whatever else he swears is going to happen. Let him know the jig is up and that this is a part of the decluttering commitment your family made.


Zipper Bag with Charger and Accessories

Find All of Your Cords and Chargers

Much like books, these are hiding all over your house. Make sure that you check everywhere for them, even places that seem unlikely such as the bathroom. Don’t believe me? Check out all of the crazy items I found when we cleaned and organized the bathroom catchall. If you do better with lists like I do, here is one to help you leave no stone un-turned.


Collection of Cords and Chargers

Sort Your Cords and Chargers

Once you have gathered all of your cords it is time to sort them. Organize them into piles by type. Once you have them organized, immediately get rid of the ones that don’t fit any of the devices you currently own. Old Apple chargers, specialty cords for kids toys you no longer own, etcetera are easy to toss without much thought. Don’t forget about cords that go to games systems and computers no longer used or owned.

After you’ve eliminated the cords that don’t have devices anymore, go through them again and get rid of any that are broken. Any cords with exposed wires, kinks in the cords, or other breaks should be tossed.

Save your wall adapters for the next step. It’s hard to determine which ones to keep without testing them to know for sure that they work.


Plugged in Chargers and Cords

Test Your Cords and Chargers

The last step in decluttering is to test the remaining cords and chargers. Any that don’t work get rid of. Be sure to test every one before moving on.

Once you know that all of the remaining cords and chargers work, it’s time to pare them down to only what you need. I recommend keeping one wall adapter per family member. As for the cords, keep only what you need. I like to have a charger for my car and one for in the house, but outside of that don’t hold on to a bunch of back-ups.


Multi colored cords and chargers with text overlay - How to Declutter Your Cords and Chargers

Once you know how to declutter your cords and chargers, don’t go back to tossing them in boxes and drawers. When you get a new phone or tablet, get rid of the old chargers along with the old device. If your kids get a new game system, make sure any cords that go along with the old one (including the chargers for the controllers) are gotten rid of with the old system. Lastly, don’t let your husband start a new mystery box of cords and electronics “just in case”. The space you free up and the piece of mind you gain is well worth simply buying a replacement if you ever need it.

See where I’m linking up!

Don’t Forget to Pin It!

Multi colored cords and chargers with text overlay - How to Declutter Your Cords and Chargers


More Ideas You’ll Love:

DIY Sequin Magnetic Picture Frame

Is your fridge covered in photos from family and friends like ours? If so you’ve probably noticed that they are looking a little dingy and word from dust and grease. Now you can protect those precious photos and dress up your refrigerator at the same time with this easy DIY sequin magnetic picture frame!

Affiliate links may be used in this post. Ordering a product through these links may result in a commission. Read the full disclosure here.

Collage of Photos of Magnetic Sequin Picture Frame with text overlay - DIY Magnetic Sequin Picture Frame


[bctt tweet=”Fridge covered in photos? Now you can easily and frugally protect those precious photos on your fridge with this DIY sequin magnetic picture frame.” username=”diyadulation”]

I love getting photos of friends and family in the mail. Admittedly, most of them come during the holidays but it’s still wonderful, especially if it’s from loved ones who live far away that we don’t see often.

The last time I changed out the photos with the most recent ones, I noticed that the old ones were in poor condition from the myriad of meals we cook. You don’t want to throw out the old photos simply because you’re displaying updated ones. Unfortunately, some of them are in such bad shape you don’t have a choice.


Picture Framed in Sequinned Magnetic Frame

Instead of not displaying the photos or risking ruining them, you can protect them with a DIY sequin magnetic picture frame. It’s super easy to make and budget friendly, especially if you get your frames at the Dollar Tree like I did. One multi-pack of sequins from the Dollar Tree can make 4+ frames putting you pennies over a dollar per frame. You seriously can’t beat that! (Plus, hello, sparkly!)


Sequined Magnetic Picture Frame Materials

DIY Sequin Magnetic Picture Frame Materials

Step 1

First, remove your magnetic picture frame from the packaging.

Note:

Step 2

Next, determine the order you want to attach your sequins. Since all of mine were varying shades of blue and green, I put them in order from most green to most blue.

Step 3

Then, add a thin section of glue to the bottom of the frame.


Close Up of Sequins on Magnetic Picture Frame

Step 4

Begin attaching a line of sequins along the bottom edge of the frame and working your way up.

Step 5

Continue until you have 3 rows of one color, adding glue as needed to your frame.

Step 6

Once you have your first 3 rows of sequins glued, add a small amount of glue on the side edges of your frame being sure to leave the center open for your picture to show through.

Tip:

Step 7

Now, continue adding your sequins in rows of 3, again, being sure to leave the center of the frame open for your picture to show through. This is another reason why leaving the paper insert is important. Use it as a reminder to leave the center of your frame clear.


Close Up of Sequins on Top Half of Magnetic Picture Frame

Step 8

Once you reach the top half inch or so of your frame, again add a thin layer of glue across the entire top and attach 3 rows of sequins.


Picture Framed in Sequinned Magnetic Frame on Polka Dot Background

Step 9

Check all of the edges to ensure that no glue has seeped down then set aside to dry.


Magnetic Sequin Picture Frame on Polka Dot Background with text overlay - DIY Magnetic Sequin Picture Frame

Now you can easily and frugally protect those precious photos on your fridge with this DIY sequin magnetic picture frame. It is so simple to make and it makes changing out those cherished photos easy. These make wonderful simple gifts too. Add a photo of your own kiddos and give to grandparents for a thoughtful, handmade gift that doesn’t break the bank.

See where I’m linking up!

Don’t Forget to Pin It!

Magnetic Sequin Picture Frame on Teal Background with text overlay - DIY Magnetic Sequin Picture Frame


More Ideas You’ll Love: