Inexpensive DIY Cactus Art Home Accessories

Do you love gorgeous decor but hate the small budget you have for it? You can totally make your own on a budget with items from your local Dollar Tree. These inexpensive DIY cactus art home accessories are perfect for creating gorgeous decor on a budget.

Affiliate links may be used in this post. Ordering a product through these links may result in a commission. Read the full disclosure here.

Collage of Cactus Art in Frame with text overlay - Inexpensive DIY Cactus Art


[bctt tweet=”Do you love gorgeous decor but hate the small budget you have for it? These DIY cactus art home accessories are perfect for gorgeous decor on a budget!” username=”diyadulation”]


Some people roam Hobby Lobby and are inspired at every turn in the store. That’s exactly what it’s like for me at the Dollar Tree. Every time I go there (usually with a very specific list), I find no less than 20 items that I want to create something with.

In case you haven’t noticed, most Dollar Tree stores sell those re-positionable wall stickers. The options are always changing and recently I found a fantastic and colorful set of cactus ones. I knew immediately that I wanted to make something with them. The other awesome budget item you can always find at these are inexpensive frames. Boom!

That’s the perfect combination for some gorgeous new artwork for our home. Even better, the stickers included have colorful pots which are perfect for cheering up any space. I already had the paint so for a few dollars I have a new set of DIY cactus art that brightens up our newly decluttered living room. Come on, how awesome is that?


Multiple Pieces of Cactus Wall Art

DIY Cactus Art Materials


Different Size Frames in Packaging

Step 1

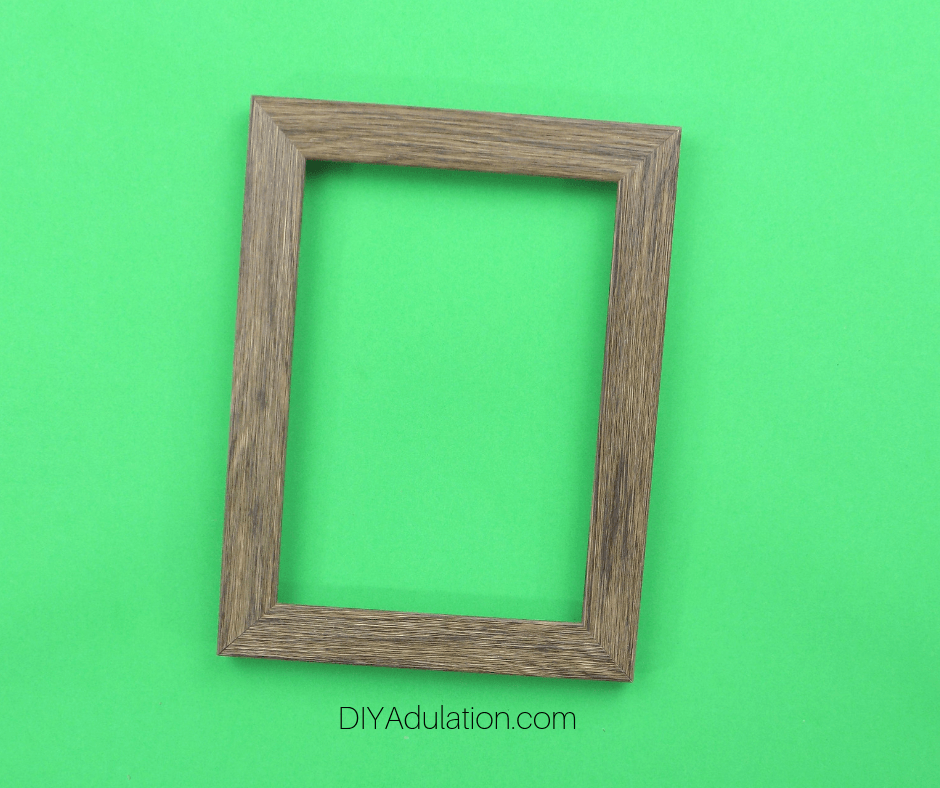
First, remove the packaging from your frames if needed.


Back of Frame without Cardboard Insert

Picture Frame without Packaging and Inserts

Step 2

Next, take apart the frames.

Note:


Large Painted Frame

Step 3 (Optional)

Then protect your glass from paint with painter’s tape, or (as I did), with the insert from your frame.


Painted Picture Frame without Inserts

Step 4

Once your glass is protected, paint your frames. Again, I cannot say enough about A Maker’s Studio rescue restore paint. It is absolutely phenomenal at both coverage and the even the smell!

Step 5

Set your frame aside to dry completely.

Step 6

Next, paint your remaining frames and set aside to dry.

Step 7 (Optional)

If you use acrylic paint the frames require a second coat of paint. Apply it after the first coat of paint dries and, again, set aside to dry.


Glass Insert next to Painted Picture Frame

Potted Cactus Stickers on Glass Rectangle

Step 8

While the frames dry, attach cactus wall stickers to the glass inserts that do not include matting.

Note:


Glass with Stickers Secured in Picture Frame

Glass Cactus Frames

Step 9

After your frames are dry, reassemble them without the backing, including the cardboard. You want the glass to be see-through.


Large Cactus Stickers Wall Art

Step 10

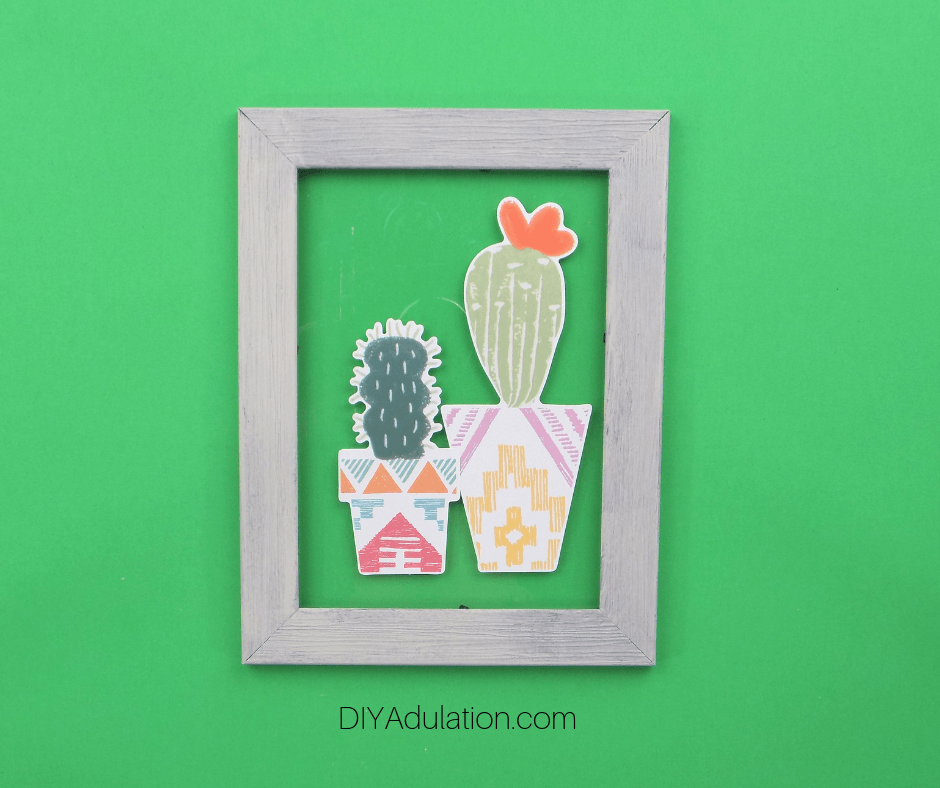
Lastly, add cactus stickers to the reassembled frames that include matting.

Step 11 (Optional)

Use an XActo Knife to trim any stickers that go over the matting in your frame.


Cactus Art in Frames with text overlay - Inexpensive DIY Cactus Art

These DIY cactus art home accessories are seriously easy to make and totally inexpensive too! You can find the main materials at your local Dollar Tree and you can grab the paint right here (I used Paris Flea Market). A small container of paint goes such a long way, especially because of how well it covers. That means you use even less! In addition to that, one set of cactus wall stickers makes up to 5 or 6 pieces of cactus art. That means you can create an entire beautiful gallery wall easily and on a budget.

See where I’m linking up!

Don’t Forget to Pin It!

Cactus Art in Small Frame with text overlay - Inexpensive DIY Cactus Art


More Ideas You’ll Love:

Mouthwatering Bacon Cheeseburger Meatloaf Freezer Meal Recipe

It’s easier than ever to order takeout thanks to services like Doordash. When you’re not prepared for dinner, the temptation to order out because you don’t feel like cooking is even stronger. That’s why meals like this mouthwatering bacon cheeseburger meatloaf are a must have in your freezer. It makes saving money on food and delicious dinners at home as easy as ordering in.

Affiliate links may be used in this post. Ordering a product through these links may result in a commission. Read the full disclosure here.

Collage of Meatloaf Photos with text overlay - Mouthwatering Bacon Cheeseburger Meatloaf


[bctt tweet=”Meals like this mouthwatering bacon cheeseburger meatloaf are a must have in your freezer. Saving money on food and delicious dinners are easy as pie!” username=”diyadulation”]

Bacon cheeseburgers are amazing… they can be time-consuming to make at home though. You not only have to prepare your burgers but also cook the bacon, slice the tomatoes and onions, and toast the bun for that satisfying warmth. What mom has time for that on a regular school night? Certainly not me.


Close Up of BBQ Covered Meatloaf

Instead of resorting to a drive-thru (or, my fave, Doordash), save some money and calories with this meatloaf version. It’s super easy to make and one recipe makes 3 meatloaves! I don’t even defrost it before throwing it in the oven. Simply toss it in and let it cook a little longer. Don’t worry. I tell you how below.

Bacon Cheeseburger Meatloaf Ingredients

Step 1

First, preheat your oven to 400° Fahrenheit.


Ground Turkey in Bowl

Step 2

Then add your ground turkey to a large mixing bowl.


Stuffing on top of Ground Turkey in Bowl

Step 3

Next open your box of stuffing and add it to your ground turkey.


Bacon Stuffing Egg and Ground Turkey in Bowl

Step 4

Add the entire package of bacon crumbles and 1 egg to your mixing bowl.


Cheese Bacon Stuffing Egg and Ground Turkey in Bowl

Step 5

Lastly, add your cheese to the mixing bowl.


Meatloaf Mixture in Red Bowl

Step 6

Once all of your ingredients are in the mixing bowl, mix until well combined.


Meatloaf Mixture Divided into 3 Pans

Close Up of Uncooked Meatloaf in Pan

Step 7

After the ingredients are mixed, divide the mixture into thirds and place in loaf pans.

Note:


Close Up of BBQ Covered Meatloaf on Plate

Step 8

To make immediately, bake at 400° Fahrenheit for 45 minutes.


Close Up of Label on Freezer Meatloaf

How to Freeze Bacon Cheeseburger Meatloaf

Unless you’re feeding a crowd, 3 meatloaves are enough for 3 meals. To freeze them, cover the loaf pan with foil. Add a piece of painter’s tape to the top and label with the meal, cooking instructions, and serving recommendations.

Freezer Cooking Instructions

I hate it when I forget to defrost dinner which is why I love freezer meals that I can throw in the oven or Crock Pot frozen. That’s totally how you prepare these super easy meatloaves. Simply remove the painter’s tape label (carefully so that you don’t rip the foil). Then place in a 400° oven for 1 to 1.5 hours. Then serve it topped with barbecue sauce and with your choice of side dish for a super simple weeknight meal.


Close Up of BBQ Covered Meatloaf on Plate with text overlay - Mouthwatering Bacon Cheeseburger Meatloaf

Now you can enjoy an amazing dinner easily when you stock your freezer with this bacon cheeseburger meatloaf recipe! For a truly quick and easy meal, serve with a salad or microwave vegetables. Done and done! If you’re feeling a bit more ambitious, this is also incredible served with creamy mashed potatoes. Those take more time, from scratch, so maybe just save them for a weekend dinner or get the microwave kind. Either way, it will be yummy!

Bacon Cheeseburger Meatloaf Freezer Meal

Close Up of BBQ Covered Meatloaf on Plate
Prep Time 10 minutes
Cook Time 45 minutes
Total Time 55 minutes

Ingredients

  • 3 Pounds Ground Turkey
  • 1 Box of Turkey Stuffing
  • 1 Egg
  • 2.5 ounce Package of Bacon Crumbles
  • 2 Cups Shredded Colby Jack Cheese

Instructions

  1. First, preheat your oven to 400° Fahrenheit.
  2. Then add your ground turkey to a large mixing bowl.
  3. Next open your box of stuffing and add it to your ground turkey.
  4. Add the entire package of bacon crumbles and 1 egg to your mixing bowl.
  5. Lastly, add your cheese to the mixing bowl.
  6. Once all of your ingredients are in the mixing bowl, mix until well combined.
  7. After the ingredients are mixed, divide the mixture into thirds and place in loaf pans.
  8. To make immediately, bake at 400° Fahrenheit for 45 minutes.
  9. After freezing, bake at 400° for 1 to 1.5 hours.
  10. Serve topped with barbecue sauce.

See where I’m linking up!

Don’t Forget to Pin It!

Close Up of BBQ Covered Meatloaf on Plate with text overlay - Mouthwatering Bacon Cheeseburger Meatloaf


More Ideas You’ll Love:

Awesome DIY Planters and Vases for Your Home

As the weather warms up and the flowers begin to bloom, it’s time to start thinking about a refresh for your plants. These awesome DIY planters and vases for your home are the perfect way to update your space.

Affiliate links may be used in this post. Ordering a product through these links may result in a commission. Read the full disclosure here.

Collage of Planters and Vases with text overlay - DIY Planters and Vases for Your Home


[bctt tweet=”Thinking about a refresh for your plants? These awesome DIY planters and vases for your home are the perfect way to update your space.” username=”diyadulation”]

Every spring I get that itch. I want to fill my home with flowers and beautify my front garden. I know I’m not the only one. After the dullness of winter, you crave the colors of spring flowers. The blossoming trees, the flitting of birds, and the sprouting flowers make the season a refreshing and inspiring time.

What better way to harness that inspiration than with some crafty new planters and vases?


tiered raised garden bed

DIY Tiered Raised Garden Bed (Anika’s DIY Life)

When you want a garden but you’re short on space, this raised garden bed is perfect. It’s so easy to make, even beginner woodworkers can totally do it.


raised patio planter

Creating a Raised Patio Garden (Mom Home Guide)

Another space saving option is this raised patio garden idea. She shows you how to use what you have to create it so it’s budget-friendly too!


metallic planter on stack of books

DIY Metallic Tribal Print Planter (Inside the Fox Den)

Don’t forget about bringing some plants inside. This metallic planter is a beautiful way to grow your favorites.


yogurt jar vase

Repurposed Yogurt Jar Flower Vase (Glitter on a Dime)

Not all flowers stay in planters, of course. This wonderful repurposed vase is a gorgeous way to display your favorite fresh and faux flower arrangements.


swan figurine planter

How to Re-Purpose Household Items as Planters (The Boondocks Blog)

Find out how to turn everyday items into fun and kitschy planters with this super simple tutorial.


table planter on umbrella table

DIY Umbrella Table Flower Planter (Dazzle While Frazzled)

Of course, you don’t want to forget about the back deck when planning your spring refresh. This umbrella table planter is the perfect addition to your patio set!


Close up of Whitewashed Terracotta Pots

How to Whitewash Pots and Planters (Snazzy Little Things)

Refresh your existing planters with this easy tutorial. If you love the whitewash look, you’ll love learning how to do it yourself.


basket planter

From Discarded Basket to Farmhouse Planter (Organized and Simplified)

Get that farmhouse look from an old basket with this awesome DIY planter. It’s a fantastic way to breath new life into something old.


flower arrangements in birch bark vases

DIY Birch Bark Vases (DIY Adulation)

Lastly is another terrific upcycled vase idea. Turn baby food jars into bud vases with this super simple tutorial!


Collage of Planters and Vases with text overlay - DIY Planters and Vases for Your Home

Soak up the warming sunshine and refresh your space this spring with these awesome DIY planters and vases for your home. You’ll have the perfect home for growing and displaying your beautiful plants.

Don’t Forget to Pin It!

Collage of Planters and Vases with text overlay - DIY Planters and Vases for Your Home