Easy Outdoor Flying Disc Game DIY

Are your kiddos bored with the toys and games they normally play outside? Give them something new to play (and keep them off of the video games) with this easy outdoor flying disc game DIY. It’s fun, inexpensive to make, and a great new twist on a classic disc toss game.

Affiliate links are used on this site. Ordering a product through these links may result in a commission. Read the full disclosure here.

Collage of Kids Playing Flying Disc Game with text overlay - Easy Outdoor Flying Disc Game


[bctt tweet=”Give kids a fun new game to play with this easy outdoor flying disc game DIY. It’s fun, inexpensive, and a great new twist on a classic disc toss game.” username=”diyadulation”]

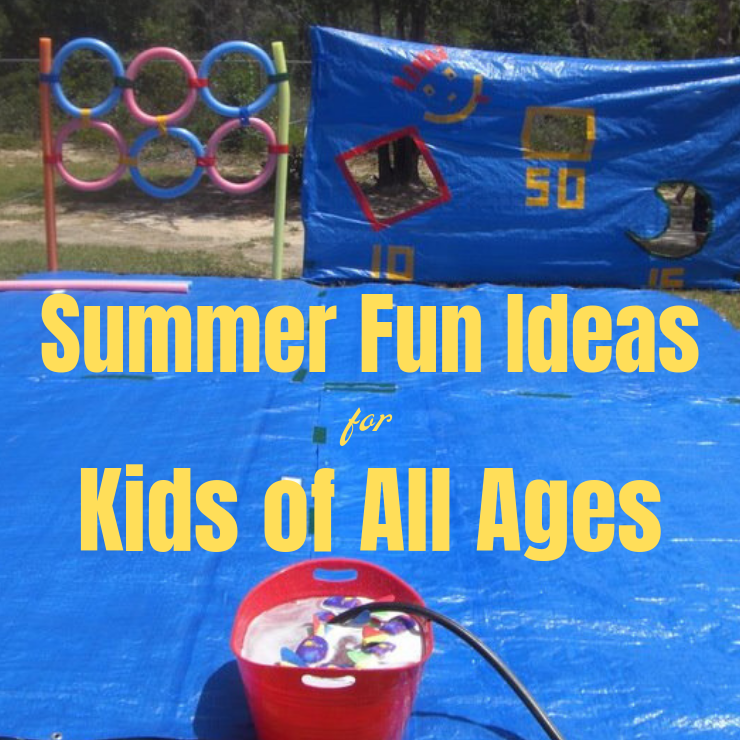
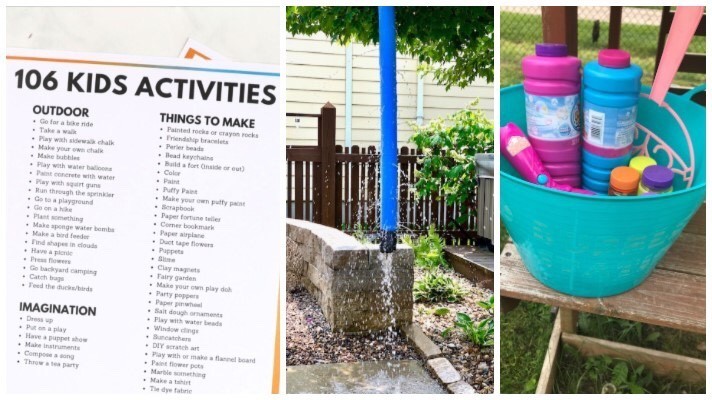
Wondering how to keep the kids occupied all summer long? See our list of Summer Activities for Kids of All Ages!

We have partnered with some savvy blogging Mom’s and Grandma’s to bring you a collection of summer fun ideas to do with kids of all ages from Pre-K up to those precious teens. Be sure to scroll all the way down for even more ideas!


DIY Disc Toss Game next to Tree

I’ve been at it again. I took the kiddos to the Dollar Tree and found inspiration for another fun project. Since the weather has finally been so beautiful, outdoor games have been on my mind. In fact, I picked up enough items for more than one game. Be sure to check back all summer long for more fun (and cheap) DIY games!


Disc Toss Game Materials

Flying Disc Game Materials


Letter Tray with Stickers Removed

Step 1

First, remove the labels from your stackable file organizers.

Step 2

Next, clean the file organizers to ensure that they are free of dust and dirt. This helps the paint stick.


Letter Tray on Cardboard

Step 3

After your file organizers are clean, place one on a protected surface for painting.


Painted Letter Tray

Step 4

Then paint the file organizer with teal spray paint. Set off to the side (still on a protected surface) and allow to dry completely.

Tip:

Step 5

Repeat step 4 with your remaining file organizers.


Pink Painted Plates on Cardboard

Step 6

While your file organizers dry, paint 3 of your plastic plates pink and 3 of them orange.

Note:

Step 7

Again, set aside to dry completely.

Step 8 (Optional)

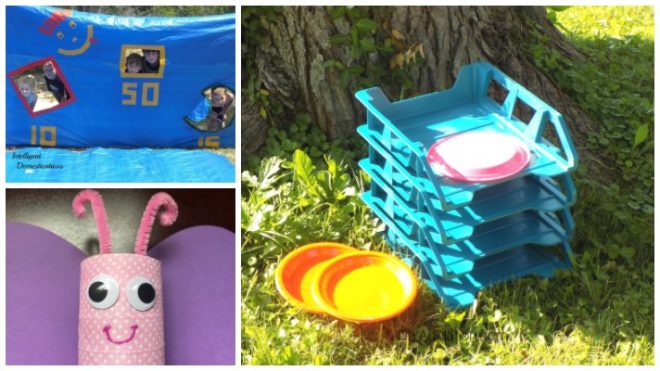
Optionally, you can add number stickers to your stackable file organizers for scoring. For small kids, I recommend making the top and bottom trays worth 5 points and the center 2 worth 10 points. For older kids and adults, make the scoring as follows starting with the top tray: 5, 10, 15, 10.


Kids Playing Disc Toss Game

Boy Tossing Disc at Target

Kids next to Disc Toss Game

How to Play Outdoor Flying Disc Game

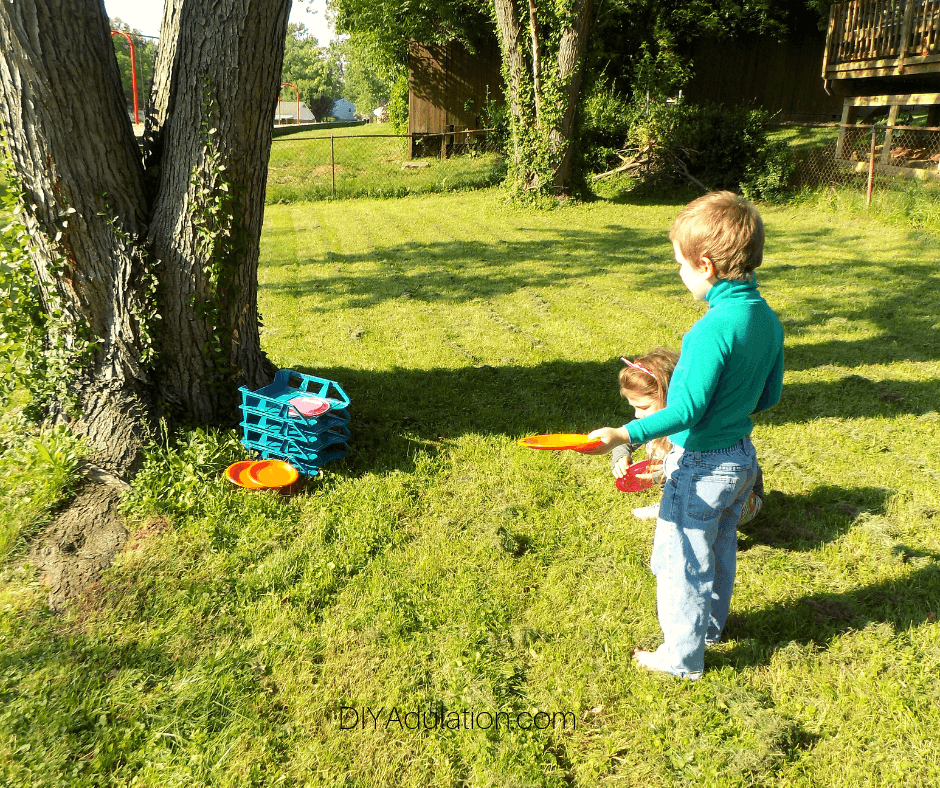
Stack your file organizers (in order if scoring stickers are attached). Each player takes turns tossing 3 discs towards the organizers. Add up the scores of the discs in the organizer before removing them.

The first player or team to 100 points wins. If 100 points is reached by the first player or team in the round, the second player or team has a chance to tie with their remaining turn.

In the event of a tie, have a sudden death round. Each player or team gets one set of tosses. Whichever one scores the most from the sudden death round wins!


Kids Playing Flying Disc Game with text overlay - Easy Outdoor Flying Disc Game

The kiddos had a blast with this easy outdoor flying disc game until the wind picked up. Then I had a ton of fun watching them carefully aim only to have the wind whip their discs in the totally wrong direction. Adorableness all around, I promise. Now that you’ve checked out this fun DIY game, be sure to check out the other awesome kids summer activities from my friends. And come back tomorrow for another fun activity from yours truly.

See where I’m linking up!

Don’t Forget to Pin It!

Flying Disc Game Next to Tree with text overlay - Easy Outdoor Flying Disc Game


Summer Fun Activities

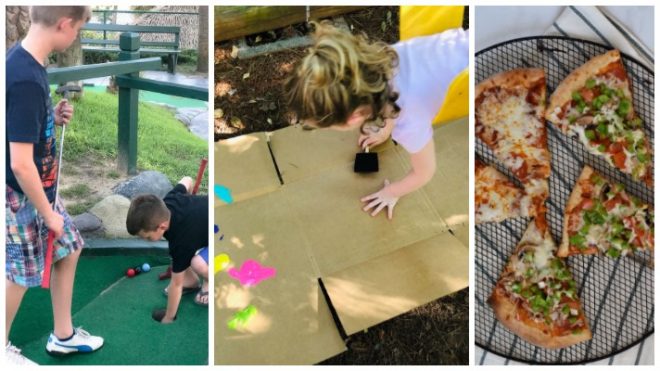
Now, let’s see what else we can add to our Summer Activities list!  New ideas are added every day this week so Pin this post and check back every day.


Collage of Summer Activities Photos

Monday

An Alli Event

Glitter On A Dime

That Fit Fam


Collage of Summer Activities Photos

Tuesday

Intelligent Domestications

Cookies, Coffee and Crafts

DIY Adulation


Collage of Summer Activities Photos

Wednesday

DIY Adulation

Polka Dot Poplars


Collage of Summer Activities Photos

Thursday

Creative Ramblings

Cookies, Coffee and Crafts

Our Good Life


Collage of Summer Activities Photos

Friday

Glitter On A Dime

My Family Thyme

Refreshing Blackberry Mimosa Recipe

Summer means taking some time for that well-deserved break you earned during the craziness of the school year. Of course, sometimes summer break feels like trading one chaos for another. That’s why vacation are definitely a necessity. It’s time to get into the vacation vibe with this refreshing blackberry mimosa recipe!

Affiliate links may be used in this post. Ordering a product through these links may result in a commission. Read the full disclosure here.

Collage of Photos of Glass of Blackberry Mimosa with Blackberry Garnish and Champagne Bottle in Background with text overlay - Sweet and Refreshing Blackberry Mimosa


[bctt tweet=”It’s time to get into the vacation vibe with this refreshing blackberry mimosa recipe! It’s the perfect drink for mom’s summer sipping.” username=”diyadulation”]

Even when you can’t take a vacation, that doesn’t mean you can’t live like you’re on vacation for a day. A brunch on the deck while you sip on a fresh berry mimosa is an easy way to achieve that. It’s even better with fresh berries.

I haven’t had the time or energy in a few years to invest in growing my own garden. Luckily for me, my momma is there in a clench. She is an amazing gardener and every season her blackberry bush explodes with fruit. So much so that I always end up with tons of blackberries to freeze for the rest of the year. Score!


Close up of Blackberry Mimosa in Champagne Flute

If you grow your own blackberries, you know that it’s a high-producing bush. That means you don’t have to feel bad about using some of the extra produce in a drink for yourself. The recipe calls for your blackberries to be frozen but it’s just as delicious with fresh berries right off the plant. The frozen ones just keep your drink cooler, longer.

No matter what you choose, it’s a perfect sip for summer!


Sugar Container and Frozen Blackberries in Measuring Cup

Blackberry Mimosa Ingredients


Frozen Blackberries in Food Processor

Step 1

First, add your blackberries to a food processor. (I love my small KitchenAid one for this.)


Pureed Blackberries in Food Processor

Step 2

Puree blackberries until smooth.


Sugar on Pureed Blackberries in Food Processor

Step 3

Then add sugar to pureed blackberries.


Pureed Sugar and Blackberries in Food Processor

Step 4

Again, pulse in food processor until well combined.


Blackberry Mixture in Bottom of Champagne Flute

Step 5

After the blackberries and sugar are mixed, add a few teaspoons of the blackberry mixture to a champagne flute.


Close up of Blackberry Mimosa Garnished with Blackberry

Step 6

Top the blackberry mixture with champagne and enjoy!.

How to Remove a Champagne Cork

Have you ever popped a champagne cork only to send it flying and loose half of your champagne? It will never happen again when you use this super simple trick to open your bottle of champagne.


Cork on Champagne Bottle

Step 1

First, remove any seals on your bottle.


Towel Covering End of Champagne Bottle

Step 2

Then cover the end of the champagne bottle with a towel.


Bottle Cork in Towel

Step 3

Lastly, hold the towel to the bottle while pulling out the cork. The towel catches the cork and no crazy overflow or spilling!


Glass of Blackberry Mimosa with Blackberry Garnish and Champagne Bottle in Background with text overlay - Sweet and Refreshing Blackberry Mimosa

The seeds in this delicious and refreshing blackberry mimosa recipe add a fun new texture to your mimosa. It’s definitely a perfect treat for stressed out mommas this summer. Don’t forget to choose the perfect sweetness for your tastes by changing the amount of sugar you use and the champagne type. Try a Brut for a less sweet mimosa. Feel free to play around with it until you find your perfect mix, just maybe not in the same day.

Blackberry Mimosa Recipe

Close up of Blackberry Mimosa in Champagne Flute
Prep Time 10 minutes
Total Time 10 minutes

Ingredients

  • 1 Cup Frozen Blackberries
  • 1-2 tbsp Granulated Sugar (Depending on Sweetness Preference)
  • Champagne of Choice

Instructions

  1. First, add your blackberries to a food processor.
  2. Puree blackberries until smooth.
  3. Then add sugar to pureed blackberries.
  4. Again, pulse in food processor until well combined.
  5. After the blackberries and sugar are mixed, add a few teaspoons of the blackberry mixture to a champagne flute.
  6. Top the blackberry mixture with champagne and enjoy!.

See where I’m linking up!

Don’t Forget to Pin It!

Glass of Blackberry Mimosa with Blackberry Garnish and Champagne Bottle in Background with text overlay - Sweet and Refreshing Blackberry Mimosa


More Ideas You’ll Love:

DIY Outdoor Games the Whole Family Will Love

School is officially out and that means it’s time to take advantage of outdoor fun! Whether you need ideas for the family this weekend or simply need something to get the kids outside and playing, I’ve got what you need. These DIY outdoor games the whole family will love.

Affiliate links are used on this site. Ordering a product through these links may result in a commission. Read the full disclosure here.

Collage of Outdoor Games with text overlay - DIY Outdoor Games the Whole Family will Love


[bctt tweet=”Don’t waste a second of those precious warm months! Soak up all of the fun this summer with these DIY outdoor games the whole family will love!” username=”diyadulation”]

This weekend was absolutely gorgeous! Like, the kind of weather you dream about on summer days. Sunny and warm with a beautiful breeze to keep you cool. Frankly, it was the perfect way to start summer break.

It’s also the perfect weather to get outside and enjoy some games as a family. Luckily you’ll have a ton to choose from with this awesome list!


Giant Backyard Tic Tac Toe Game

DIY Giant Backyard Frisbee Tic Tac Toe Game (DIY Adulation)

A couple of packs of dollar store plates, paint, and some spray chalk are all you need to make this super fun game. Since it’s so easy and compact, it’s also the perfect travel game to take on vacation or camping!


Colorful Outdoor Tenzi Yard Dice Game on Picnic Table

DIY Tenzi Outdoor Yard Dice Game Tutorial (Hello Creative Family)

Do you love the game Tenzi? If so then you definitely need to give this outdoor version a try with this super simple (not-to-mention colorful) tutorial!


Glowing Frisbee on Black Background

Easy DIY Glow Frisbee (DIY Adulation)

You know how much I love keeping the fun going after the sun goes down. This quick and simple frisbee makeover is just what you need for a fun all day and night.


Yellow Wooden Limbo Game on Lawn

Limbo Game Station (Create and Babble)

Test out your flexibility with this fun DIY limbo game! Her easy-to-follow instructions make it easy even for non-adept woodworkers. Don’t believe me? Check it out now!


Buckets set up for Glow Pong on Yard

DIY Giant Backyard Glow Pong Game (DIY Adulation)

For some reason, any time we play drink pong I get crazy competitive. Now we’ve taken the game to a larger scale with this giant backyard version. Play kids versus adults or invite of friends and make it tournament. Either way it’s sure to be a blast for everyone!


Ring and Hook Game on Wall

How to Install a Ring and Hook Game (Intelligent Domestications)

Another great game for families is this super fun (and addictive) ring and hook game. Although this tutorial shows you how to install your DIY game inside, you can easily take the principals and do the same thing outside.


Glow Sticks on Wood Background

How to Play Glow Stick Tag (DIY Adulation)

It seriously doesn’t get any easier or cheaper than glow stick tag. Some packs of glow bracelets from your local dollar store and players is literally all you need for a fun filled game in the dark!


Wooden Stars and Stripes Cornhole Boards on Lawn

DIY Cornhole Boards (A Wonderful Thought)

It’s basically a midwestern law that every suburban family has to own a cornhole game. Luckily, this DIY tutorial makes it easy to make one if you don’t own one. Also, you can easily personalize them to represent your favorite team, family crest, or simply your favorite color!


Dollar Store Eraser Toss Game next to Erasers and Scoreboard

Dollar Store Eraser Toss Game (DIY Adulation)

Yet another awesome game you can make from dollar store finds is this eraser toss game. It’s crazy easy to make and can be played outdoors or indoors. Plus, there’s not reason to worry about things getting broken with the soft erasers.


Giant Outdoor Kerplunk Game

Make a Giant Outdoor Kerplunk Game from Tomato Cages (Design Dazzle)

Remember the excitement of playing Kerplunk on the living room floor with your siblings? Now you can get that same rush as an adult with this awesome outdoor DIY version! One of my favorite things about this game it how many people can play at once. Plus, kids love it just as much as adults.


Glow Bracelets with Printable On Top

Glow in the Dark Scavenger Hunt (DIY Adulation)

Take your next scavenger hunt to the next level with this awesome glow-in-the-dark version! Even though the things you seek glow, don’t be deceived into thinking it’s easy.


Collage of Outdoor Games with text overlay - DIY Outdoor Games the Whole Family will Love

Keep this awesome list of DIY outdoor games the whole family will love in your pocket for buckets of fun all summer long. Invite some friends over for a pitch-in and outdoor fun for everyone. It’s the perfect budget-friendly summer entertainment!

See where I’m linking up!

Don’t Forget to Pin It!

Collage of Outdoor Games with text overlay - DIY Outdoor Games the Whole Family will Love


More Ideas You’ll Love: