You know that reading with your children has a multitude of benefits. It not only helps them in school, but also helps them develop traits such as empathy and self-confidence. (Read more about the benefits of reading here.) Find out how to get your child engaged in reading with these free printable Charlie Tractor bookmarks.
This is a sponsored post from Charlie Tractor™. All ideas, projects, and opinions are my own. Affiliate links may be used in this post. Ordering a product through these links may result in a commission. Read the full disclosure here.

[bctt tweet=”Did you ever think that something like these free printable Charlie Tractor bookmarks could help you encourage reading with your little ones? Find out how! #ad” username=”diyadulation”]
I have always loved reading. I don’t know if it’s because of nature or nurture but it has always been there. Thankfully, my kids also enjoy reading. However, my youngest doesn’t love it the way my older two do.
He loves the idea of reading but when I start, unless it’s at bedtime, he loses interest. That why I decided to come up with this idea for the bookmark.
That sounds silly, right? How can a bookmark get kids engaged in reading. It starts because they put in the effort to decorate the bookmark. While they are coloring their bookmarks, read a book to them like Charlie Tractor and the Big Fish. This creates fun and enjoyable connections with them and books.


Materials
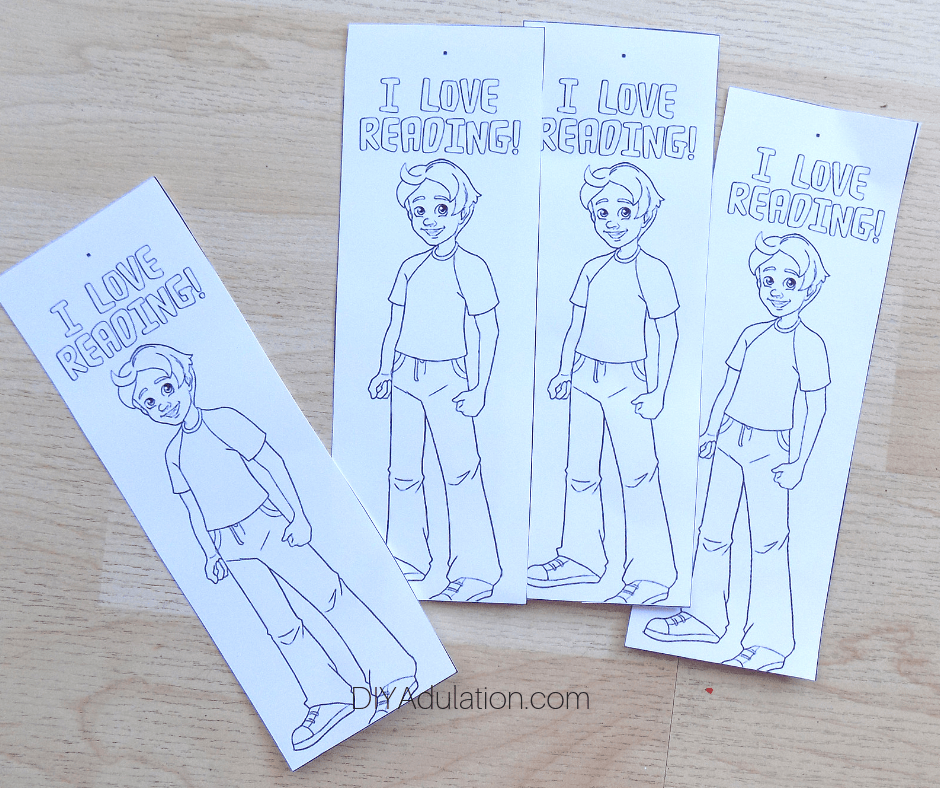
- Free Printable Bookmarks (Click the Pictures Above to Print)
- Scissors
- Hole Punch
- Crayons
- Yarn

Step 1
First, print out your bookmarks. I recommend doing this on cardstock so that they hold up when keeping place in your books.
Step 2
Next, cut out the individual bookmarks using the the lines as guides.
Step 3
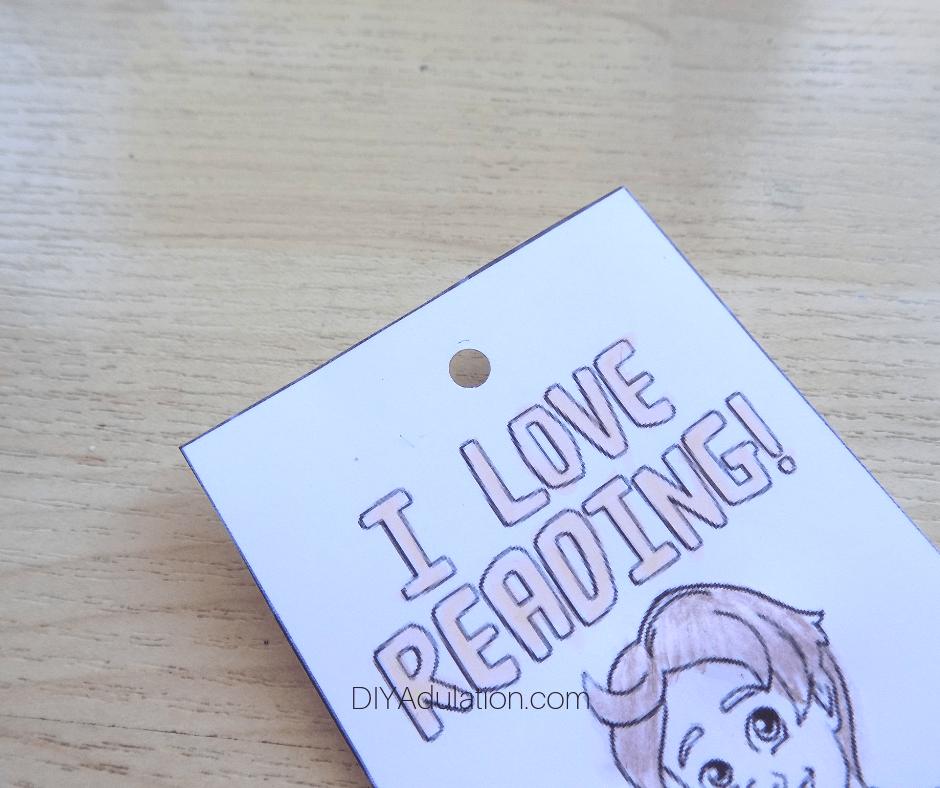
After your bookmarks are cut out, use your hole punch to punch a hole over the dot centered at the top.

Step 4
Now, let your kids color their bookmarks however they like.

Step 5
While your kids color, cut 3-4 lengths of yarn roughly 6 inches long for each bookmark.


Step 6
After your kids have finished coloring their bookmarks, attach the yarn to the bookmarks by folding them in half and crating a slip knot at the punched hole.

Incentive to Read
While coloring the bookmarks and simultaneously being read to is great for creating positive connections with reading, I wanted to take it a step further. So, taking inspiration from the multiple kids summer reading programs out there, I came up with my own version. All you need is a pack of stickers and some rewards.
Stickers
Use your stickers to track books that are read. Every time you read a book together, let your child add a sticker to the back of the bookmark. When the predetermined number of stickers are collected, your kid gets a reward.
Rewards
You can absolutely buy a small toy set like this to use as rewards. Then, when a bookmark gets filled, your kid gets to choose one reward from the set.
Another, free option, is to write down specific rewards on paper or tags and let your child pick one of those instead. I like this option because you can tailor it for what motivates your child specifically.
If you’re having trouble thinking of rewards ideas, here are a few to get you started :
- 20 Extra Minutes of Tablet Time
- Can Have Dessert Without Finishing Dinner
- Stay Up 10 Minutes Past Bedtime
- 2 Books Read at Bedtime Instead of 1
- Trip to the Park
- Get to Pick What We Have for Dinner

Did you ever think that something as simple as these free printable Charlie Tractor bookmarks could help you encourage reading with your little ones? Don’t forget to write out some reward incentives to go along with it. When in doubt, ask your kid. He will certainly have some reward ideas and you can fine-tune them from there.
See where I’m linking up!
Don’t Forget to Pin It!

More Ideas You’ll Love: