Last year for Mother’s Day I wanted to come up with gifts for the grandmothers that were not only meaningful but also that my oldest son could help construct. He was five at the time and still learning to read and write so I also wanted to find an activity that helped him hone those skills. The result? Child written and illustrated storybooks! These kid made Mother’s Day storybooks are a wonderful and meaningful gift surprise for moms and grandmas this year.
Affiliate links may be used in this post. Ordering a product through these links may result in a commission. Read the full disclosure here.

[bctt tweet=”These Mother’s Day storybooks are a meaningful gift easy for kids can make! #Mothersdaycraft” username=”diyadulation”]

Kid Made Mother’s Day Storybook Materials:
- Pen and paper
- 6X6 Scrapbook Album (I got mine at Hobby Lobby for $4.56 after coupon)
- Crayons
Step 1: Pick your story
Again, because my son was only five when we did this, he needed a little more direction than an older child would need. Because we wanted it to be personal, we decided that the first book would be about why he loved his grandma.
Step 2: Pre-Write
The albums standardly come with 20 pages and each page has white inserts (10 inserts in all). So when the book is finished you should have 9 pages of writing + 1 title page. Before even starting on the writing and coloring part with your child, sit down together and come up with 9 sentences that fit the theme of your story.
Since my son was still learning to read and write letters, I had him dictate to me these sentences and I wrote them down on a sheet of paper. I asked him repeatedly “Why do you love Grandma?” to prompt him to stay on topic with his responses. Then I neatly printed each answer. It is important to print them neatly so that your child can later copy them from the list.
Some of his adorable answers included:
- We go to the museum.
- Because we play a lot.
- We go to the park.
- We play hide-n-seek.

Step 3: Getting started on your inserts
Pull out all of the inserts out of the album and place the book to the side. Now have your child write the sentences on one side of each sheet with his or her crayons. At this point it doesn’t matter what order as long as one side is left blank. Make sure that the 10th page includes the title of your story.
Older children can write the sentences on their own with you just reading them back to them. With beginning writers, like my son was, letting them copy what you have written is fine. They are still practicing writing their letters and the repetitive use of the words will also be helping them learn to read those words.
Step 4: Ordering your pages
Before you move on to illustration, it is important to put your pages in order. Starting with the title page, place all of the inserts together with the writing side facing up. Once you’ve done that, flip the pages as if you were reading a book to ensure they are all in order. It should be:
- Title Page
- Blank
- First Sentence
- Blank
- Second Sentence
- Blank
- Etc. etc.

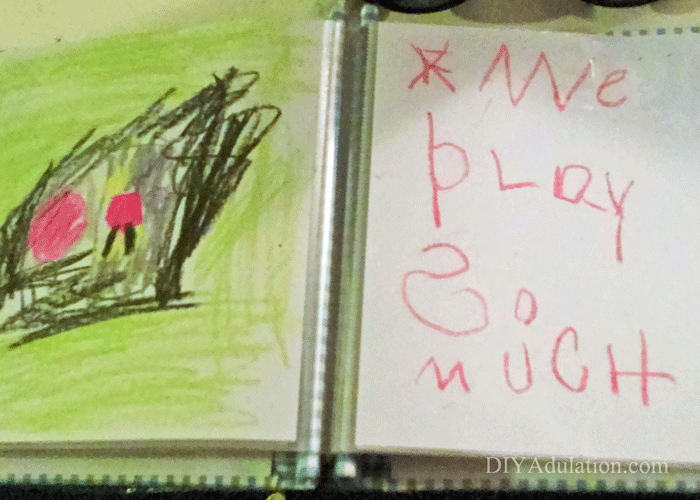
Step 5: Illustrate
This is the part that younger children tend to enjoy the most. Keeping the pages in order (again, flipping them as though reading a book) have your child illustrate the blank pages with the corresponding sentences. For instance, on the blank page next to “We play hide-n-seek” my son drew a picture of himself hiding in a closet. I cannot stress enough the importance of keeping the pages in order at this point to make sure that the pictures are on the appropriate corresponding pages.
Step 6: Finalizing your book
Once all of the pages are finished slide them back into the page protectors, again taking care to keep them in order. If during this step you find that the pictures have somehow gotten messed up, don’t worry. You can always just redraw or rewrite the corresponding page on a separate blank white sheet and put it in the page protector… I just like to save money whenever possible, and didn’t want to use the extra paper.
That’s it! You’re done. Now you have a hand-made meaningful gift that your children’s grandparents will cherish for years. They are easy to make but can require a lot of patience when working with little ones (older children can take more personal responsibility over the project). We had to make 3 and I chose to spread the entire project out over a week. You can tailor this to your child, of course. If he/she starts getting distracted or uncooperative, set it aside and go back to it the next day.
See where I’m linking up!
Don’t Forget to Pin It!
