These easy ways to let kids be creative independently are a hands-off way to let kids have fun and learn important skills. Check them out below and give it a try this weekend!
Affiliate links may be used in this post. Ordering a product through these links may result in a commission. Read the full disclosure here.

[bctt tweet=”These easy ways to let kids be #creative #independently allow you to tackle your to-do list while keeping kiddos entertained and learning.” username=”diyadulation”]
As a stay-at-home mom (SAHM) you often feel the need to be everything when it comes to your kids. You try to play the role of maid, cook, event coordinator, educator, and confidant. To some extent, that’s true. On the other hand not everything has to be as hands-on as you think.
Earlier this week I shared that Monday was my uncle’s funeral. Most of last week was spent helping my mom prepare the arrangements because he didn’t have a family of his own.
Not only did that put me a little behind on work, it also put me in a weird head space that has made normal tasks more difficult. This made me a lot less available to my kiddos lately.
Luckily I have activities in place that require little effort on my part but that still let my kids have fun and create. In fact, I now have a fun new jewelry set that my 5 year old made me this week.
She is super proud of her creations and I love that I got some stuff done albeit at a slower pace than normal.
Don’t get sucked into believing you have to be 100% available to your kids 100% of the time simply because you’re a SAHM. These easy ways to let your kids be creative are a great way to find time for the additional priorities in your life.
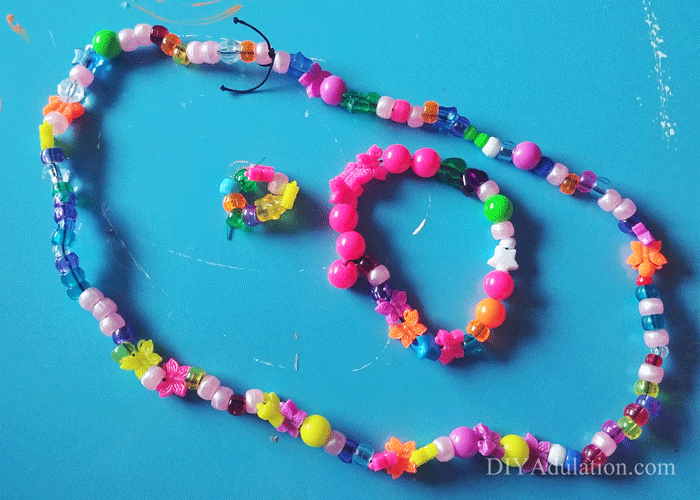
Making Jewelry
This requires a little bit of work on your part but not much. Set up the string and beads then let your little ones create to their heart’s content.
This is perfect for encouraging fine motor skills improvement and also pattern creation. Save money with a kit like this one so you always have the supplies on hand.
Tips:
- Kid-friendly beads have much larger holes than normal beads, tie one bead to the end of the string instead of knotting the end. This ensures that the rest of the beads don’t fall off (as much) while your child creates.
- Always use stretchy cord for kid’s creations. This let’s them find a use for it even if they miss-measure the cord length.
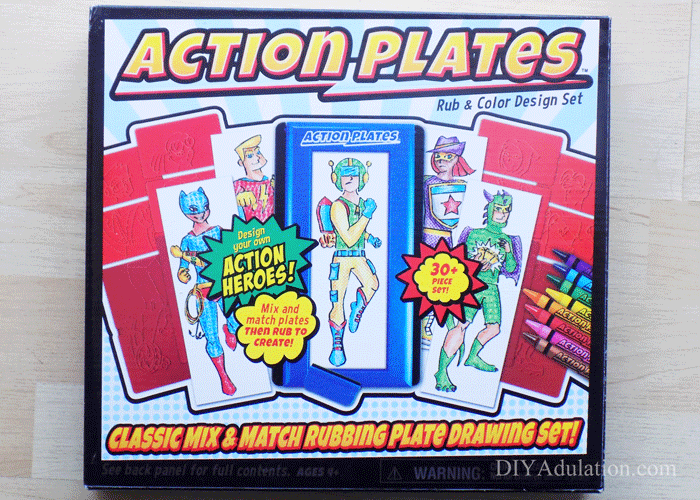
Rubbing Art Set
Remember those fashion plates sets you had when you were little? Guess what! Not only do they still make them but you can also find more varieties now.
We have the fashion one and the super hero one. The kiddos love playing with these and I love that it teaches them how to recognize order and space.
Tips:
- These can result in lots of “gifts” from the kiddos. If you want to keep them, grab an inexpensive photo album to store them in.
- Don’t forget to have crayons handy so they can color their creations.

Make Wrapping Paper
Do you have chores to do in the kitchen? This is the perfect creative activity to keep your kids close but occupied.
Cover your dining room or kitchen table with kid’s craft paper by taping pieces of the roll to the table. Then give the kids finger paints and let them go nuts.
This craft is two-fold. It keeps kids entertained and provides you with unique gift wrap for friends and family down the road.
Update: Get the full tutorial for this craft here!
Tips:
- Keep the paper taped to the table until the paint has dried if possible. If you can’t, carefully remove it and tape it to an empty wall to finish drying.
- After the paint has dried, roll the paper up and secure with a rubber band to keep it nice until ready for use.

These easy ways to let kids be creative independently allow you to tackle your to-do list while keeping kiddos entertained. Remember not to get caught up in the myth that you have to be everything all of the time as a SAHM. Your needs still need to be met. You still have tasks you need to get done. In case no one else has told you, let me be the first to say that’s okay. Being a SAHM doesn’t mean being “on” 100% of the time. It is about finding the balance that works for you and your family.
See where I’m linking up!
Don’t Forget to Pin It!

More Ideas You’ll Love: