Creating a beautiful Easter table doesn’t have to cost a fortune. Save money and add elegant place settings to your table when you make these easy upcycled Easter napkin rings. They come together quickly and easily turn a regular plate into an inviting decor piece.
Affiliate links may be used in this post. Ordering a product through these links may result in a commission. Read the full disclosure here.

[bctt tweet=”Creating a beautiful Easter table doesn’t have to cost a fortune. Save money and add elegance to your table with these easy upcycled Easter napkin rings.” username=”diyadulation”]
Easter with my in-laws is a large, casual affair. When we eat, it’s buffet style and you find a seat where you can. It’s nice but it can be equally nice to have a properly set table with a family style meal. My family is much smaller so we can all fit at one table during the holidays.
The really great part is that I get the best of both worlds. These Easter napkin rings are great for my smaller family gathering. They’re exactly what you need to dress up your Easter table too. Don’t worry, though. They are super easy to make, not-to-mention fast.

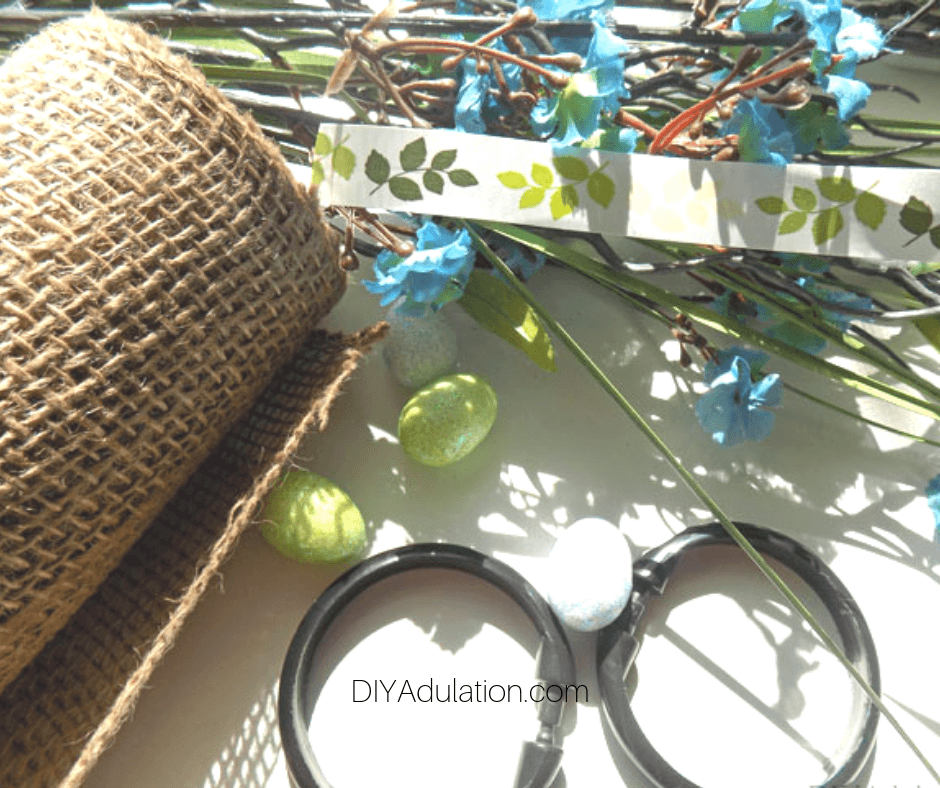
Easter Napkin Rings Materials
- Shower Curtain Rings
- Craft Ribbon
- Roll of 5.5” Wide Burlap
- Small Styrofoam Glitter Eggs (I found mine at the Dollar Tree)
- Small Flowers & Leaves (again, you can get these at the Dollar Tree if you don’t have some already)
- Hot Glue Gun and Glue Sticks
Step 1
First, cut a length of craft ribbon that is 16-24 inches depending on the width of your ribbon. (The thinner your ribbon, the longer the length needs to be.)
Step 2
Next, place a small dot of hot glue on the inside of your shower ring at the place where it snaps closed.

Step 3
Now press the end of your length of ribbon into the glue and begin wrapping the ribbon around the shower curtain ring.

Step 4
Continue wrapping the ribbon until the entire shower ring is covered, then secure the end using hot glue. Trim off any excess ribbon and set to the side.
Step 5
Repeat steps 1-4 until your have the desired number of shower rings that you need covered.
Tips:
- My spool of craft ribbon was enough to cover four shower rings. If you need a larger set of Easter napkin rings, you need more than one spool of ribbon.
- To prevent ribbon waste and save more money, use the excess ribbon that you trimmed off on the other rings. When you get to the end of the length, simply glue the loose end down and begin adding more ribbon the same way you do in step 2.

Step 6
Next, cut a piece of burlap that is 5” long from your roll.

Step 7
Now, fold the unfinished sides to the middle and secure with hot glue.
Note:
- You want to start with the unfinished edges so that your burlap doesn’t fray with use.

Step 8
Next, fold the finished sides to the middle and, again, secure with hot glue.

Step 9
Then, flip your burlap piece over so that the glued edges are on the bottom and glue 2 glittered eggs to it as pictured.
Step 10
Next, glue one of your leaves to the burlap so that the stem rests between the 2 eggs. (See the picture above step 9 for reference.)

Step 11
Lastly, attach a small flower to your burlap with hot glue.
Step 12
Again, repeat steps 6-11 until you have the number of burlap adornments needed to match your wrapped rings.
Step 13
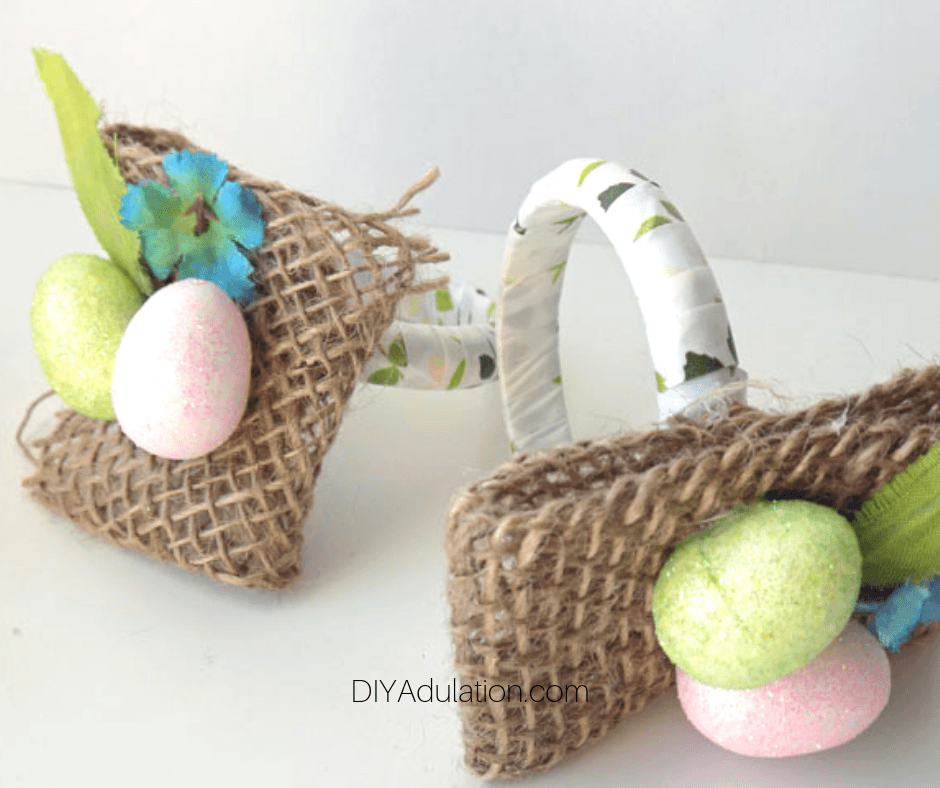
Finish by gluing all of your burlap adornments to your rings.


These easy upcycled Easter napkin rings will have your place settings holiday ready in no time. Simply place your napkins through your napkin rings and set the table! You’ll feel good saving money while still having an elegant table for guests. Not to mention, it totally gives you an excuse to get crafty this week. Totally a win-win!
See where I’m linking up!
Don’t Forget to Pin It!

More Ideas You’ll Love: