How to Create an After School Snack Station

What is one of the first questions your kids ask when they get home from school? When you ask how school was the answer is, “Good. Can I have a snack?” Part of the reason for this I think is that elementary kids, especially, eat lunch so early in the day. Find out how to create an after school snack station to make your life 10 times easier in the afternoon.

Affiliate links may be used in this post. Ordering a product through these links may result in a commission. Read the full disclosure here.

Painted bottles picture with text overlay: How to Create an After School Snack Station

After school in our house is more than a little chaotic. It is the same time that my husband is getting home from work and the kids are clamoring to tell me a hundred things. Add to that homework to be done and hungry kiddos, it is craziness.

That’s why having a snack station is imperative. The kids know exactly what snacks they can have and where to find them. This frees me up to give my attention to homework troubles, listen to stories from the kids, and welcome my husband home.


[bctt tweet=”Learn how to create an after school snack station to free time with your family in the afternoon and be less likely to resort to the convenience of chips.” username=”diyadulation”]

Create 2 Stations

Be sure to give kids plenty of options. Nobody wants to eat the same thing day after day (except me with tacos). This will help make your life so much easier. Your kids feel empowered to choose what they eat but you can feel good knowing you chose the options they have.

The easiest way to provide a variety of healthy snack options is to create 2 snack stations. One snack station is in the pantry or a cabinet for dry snacks. The other snack station is in the refrigerator for perishable snacks.


Stack of granola cookies with text overlay: Dry Snack Station

Dry Snacks Station

First, find a convenient space for your dry snacks station that little hands can get to easily. If you don’t have a pantry, store them in a lower cabinet that is within their reach.

We use a large plastic storage bin with a lid for our dry snacks. The kids know that they are allowed to choose any snack in that bin without question. Some of our favorite snacks to include are:


Jar of yogurt topped with oatmeal and berries with text overlay: Perishable Snack Station

Perishable Snack Station

In addition to a dry snacks station we like to provide some perishable options as well. The easiest way to do this is to designate a snack drawer within your refrigerator. Another option, if you don’t have many drawers, is to use a small plastic basket on one of the shelves. Whichever you choose, fill it with snacks for the kids like:


Painted bottles picture with text overlay: How to Create an After School Snack Station

Now that you know how to create an after school snack station you can focus on connecting with your family in the afternoon. Hopefully you’ll get more than a one word answer to the “How was school?” question. Even better, when you stock your snack stations well, you are less likely to resort to potato chips out of convenience.

Do you have any other after school snack hacks? I’d love for you to share them in the comments!

See where I’m linking up!

Don’t Forget to Pin It!

Painted bottles picture with text overlay: How to Create an After School Snack Station


More Ideas You’ll Love:

DIY Alice in Wonderland Wall Clock | Movie Monday Challenge

Disney movies are a huge part of childhood. The stories captivate children and teach them to believe in magic and the power of good. That’s why it’s no surprise that we have to have a Disney-themed Movie Monday Challenge. I’m paying homage to my favorite with this DIY Alice in Wonderland wall clock.

Affiliate links may be used in this post. Ordering a product through these links may result in a commission. Read the full disclosure here.

Collage of Wall Clock photos with text overlay: DIY Alice in Wonderland Wall Clock


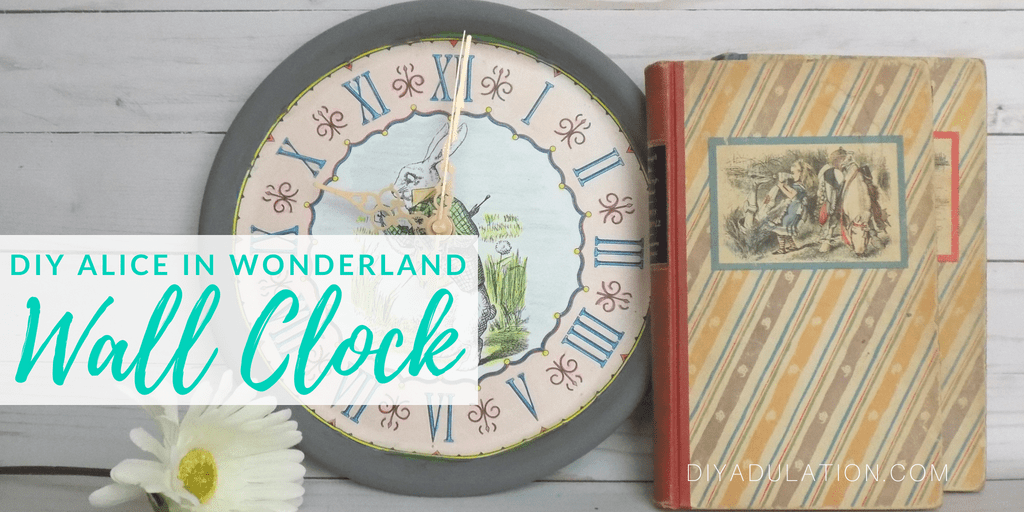
[bctt tweet=”Find out how to turn a coloring page into this awesome DIY Alice in Wonderland wall clock!” username=”diyadulation”]

Growing up, I couldn’t get enough of Alice in Wonderland. I always felt an affinity to feeling out of place in a crazy world. I also appreciated the whimsy of Wonderland.

That love has never faded as I’ve gotten older. In fact, when they made the first live action and I saw it in theaters, I cried. It has impacted me that deeply. That made my choice for this month’s challenge easy and this clock was born.


White Rabbit Wall Clock on top of Antique Books

Materials


Coloring Book Page Partially Colored In

Close up of Coloring Book Page Partially Colored In

Close up of Colored Roman Numerals

Close up of Colored Around Roman Numerals

Colored Roman Numeral Clock with White Rabbit Inside

Step 1

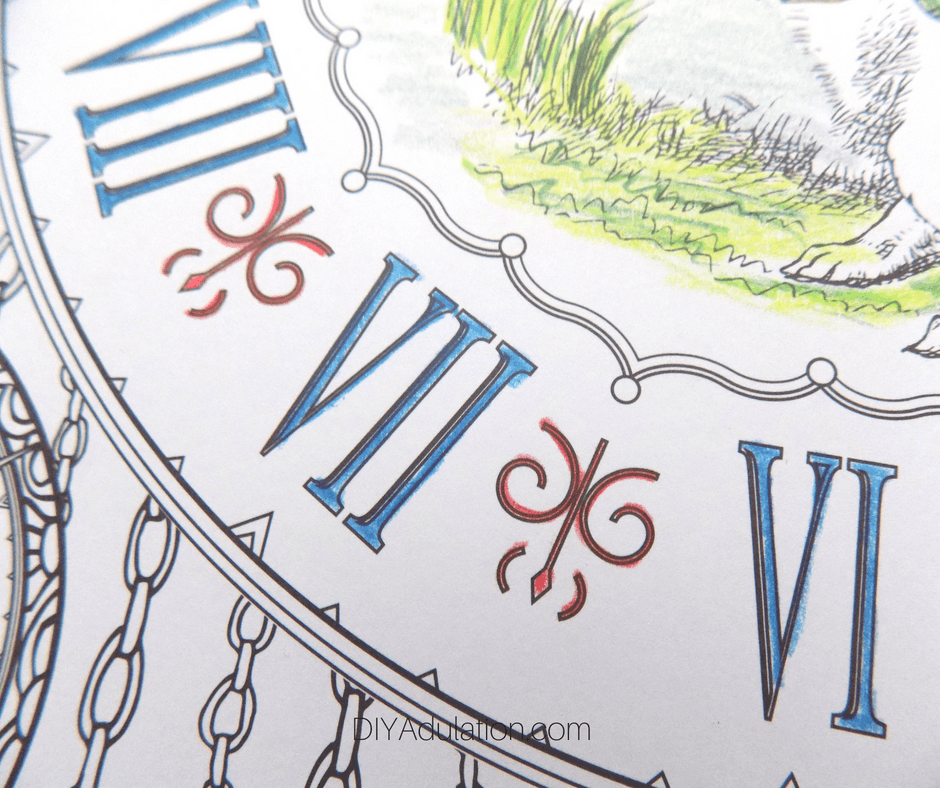
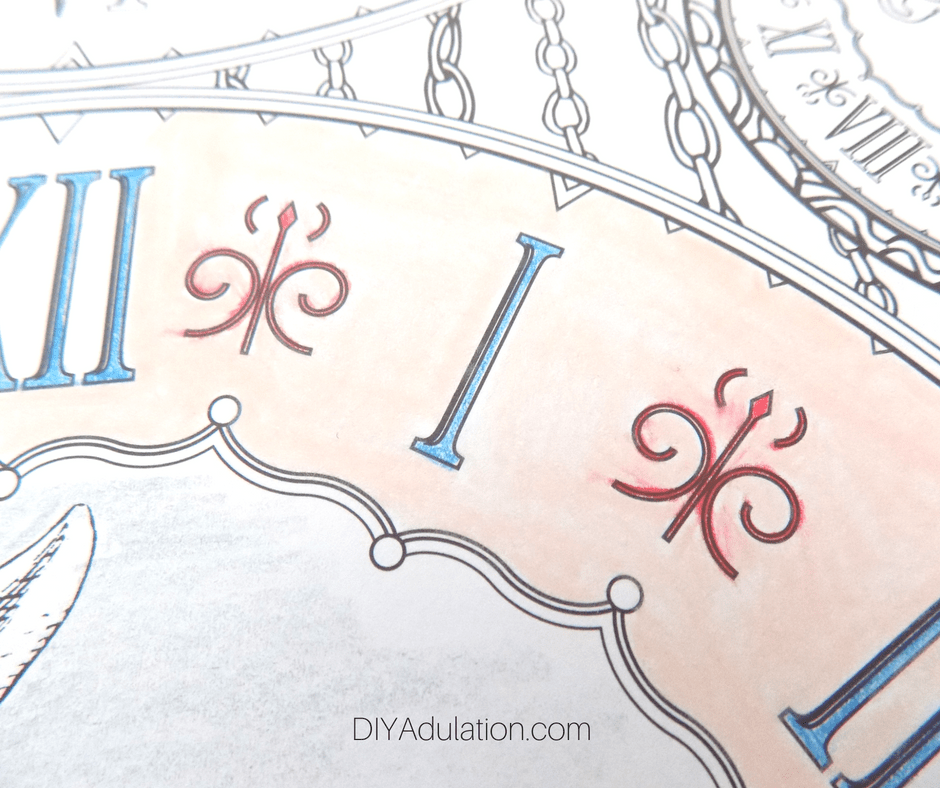
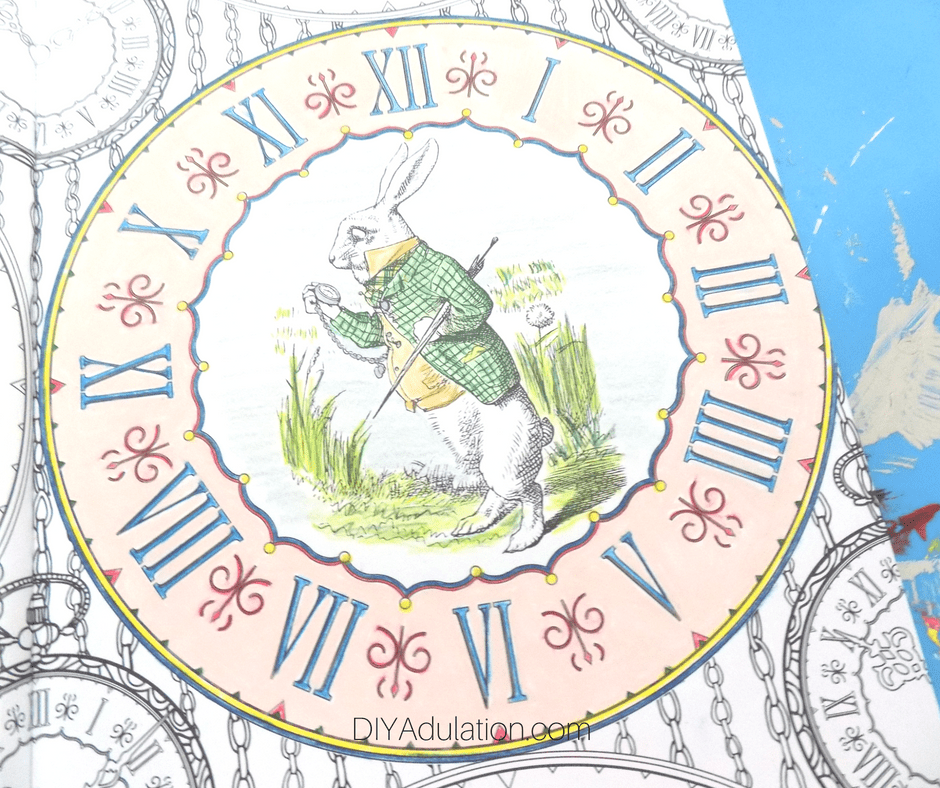
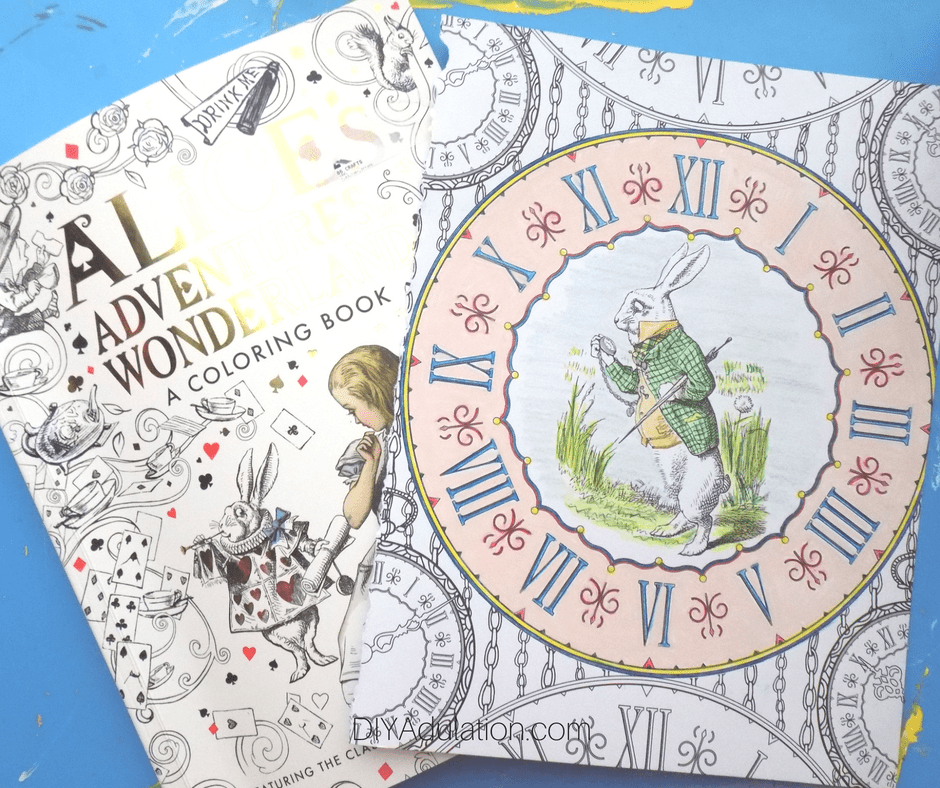
The first step is to color the watch page in your coloring book. Admittedly this took the most amount of time but it is also incredibly relaxing.

Tip:


Torn Out Coloring Page on Top of Coloring Book

Step 2

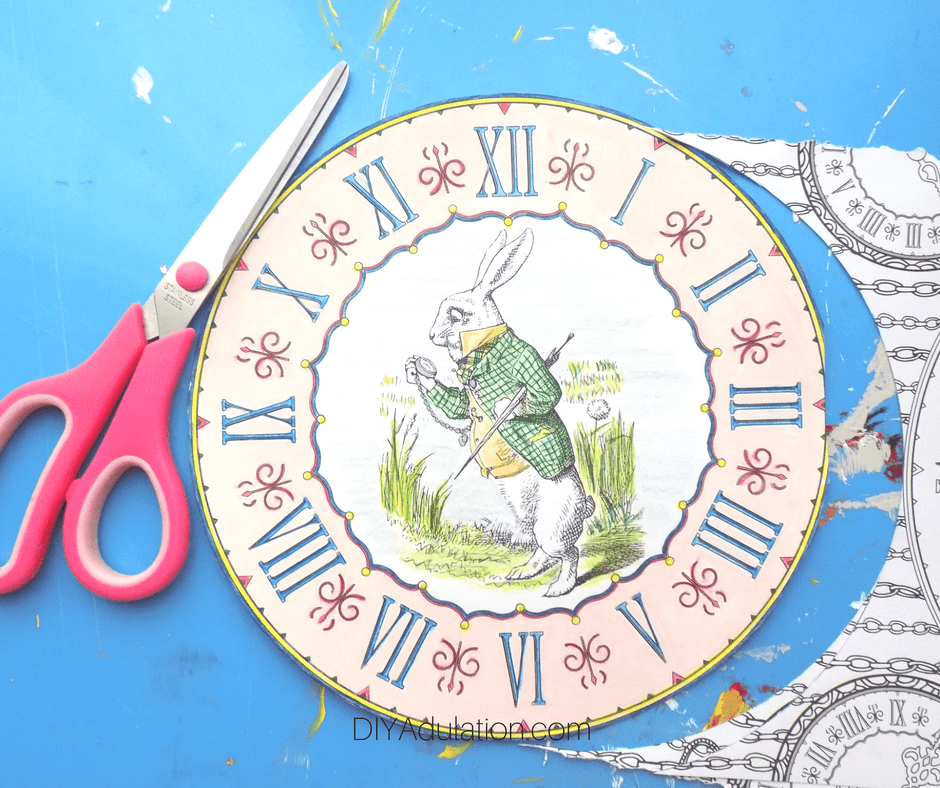
Once you have finished coloring your picture, carefully tear the sheet out of the book.


Cut Out Colored Roman Numeral Clock

Step 3

Next, cut your clock out of your coloring book sheet, following closely to the line.


Close up of Mod Podge on Green Plate

Step 4

After your clock is cut out, add a layer of Mod Podge to the inside of your plastic plate and place the clock on top of it.


Colored Clock Mod Podged on Plate

Step 5

Add another coat of Mod Podge over top of the clock as well.

Tip:

Step 6

Let your Mod Podge dry completely before moving on.


Hole in Picture of White Rabbit with Black Arrow Pointing to It

Step 7

After your Mod Podge has dried, drill a small hole in the center of your plate for the clock mechanism to go through.

Tip:


Clock Mechanism Poked Through Center of Clock

Step 8

Once your hole is drilled, place the large washer on the battery pack for the clock and slip it through the hole from the back of your clock.

Step 9

Next, add the smaller washer and screw on the bolt from the front of your clock.
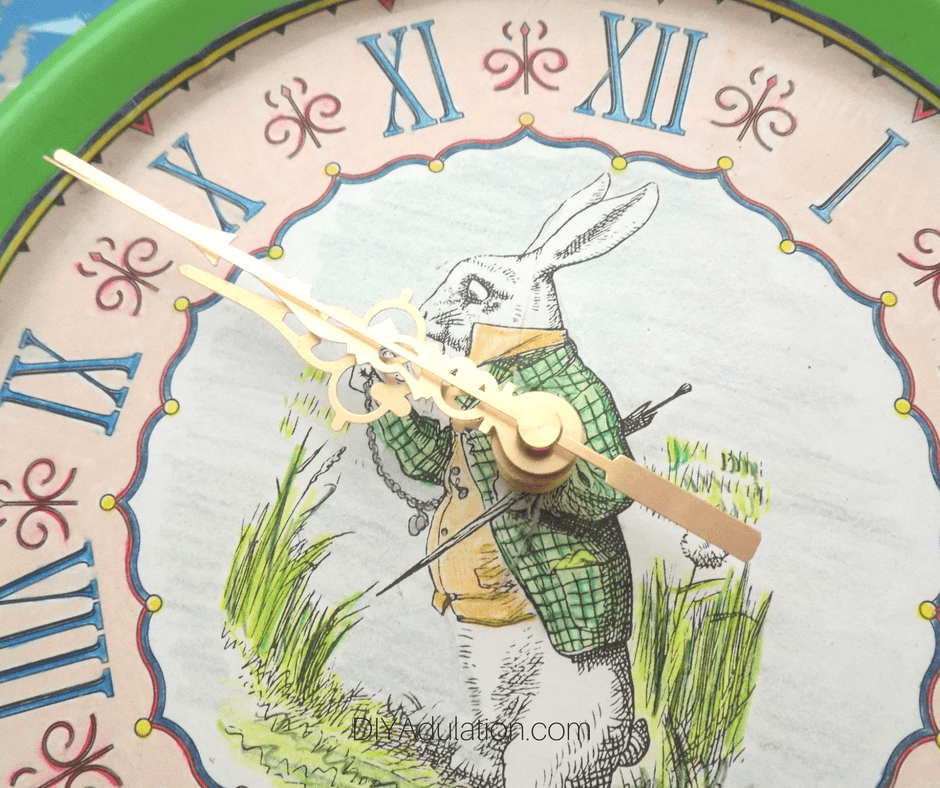
 

Close up of Hands on a Clock

Step 10

After your bolt is tightened, slide the shorter hour hand onto the front of your clock.

Tip:

Step 11

Then slide on your longer minute hand. This can only go one way, so if you’re having trouble getting it on, ensure that the flat sides are aligned.

Step 12

Next, screw on the small bolt over the minute hand.


Second Hand Attached to Clock

Step 13

Finish assembling your clock by placing the second hand on the tip of the clock mechanism.


Gray Paint on Edge of Clock

Step 14 (Optional)

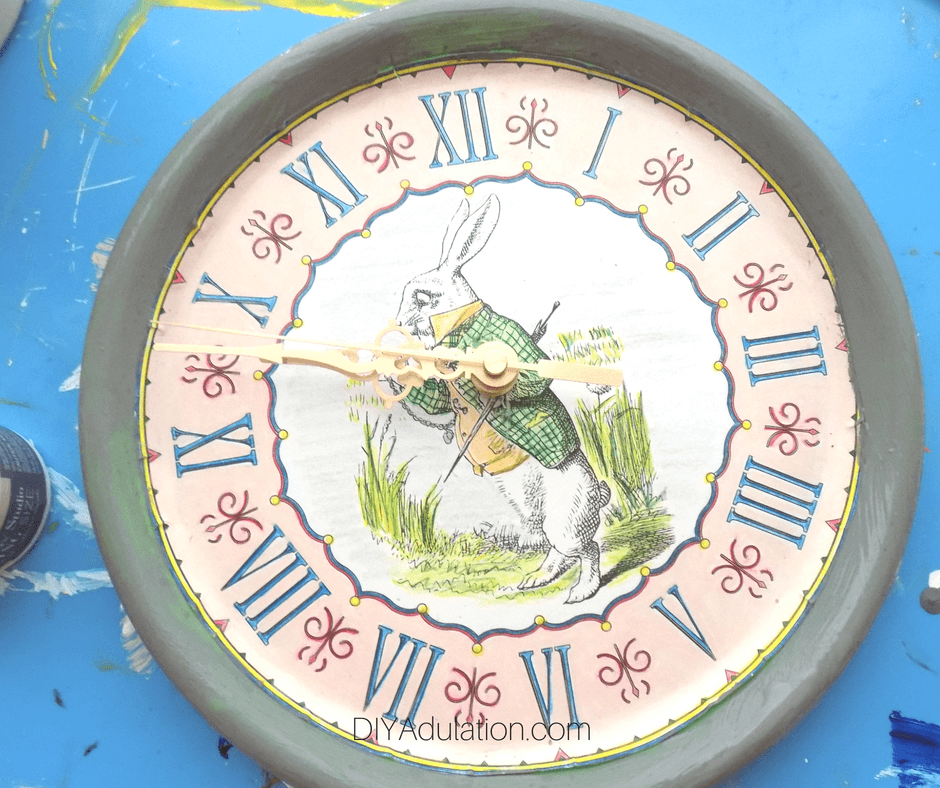
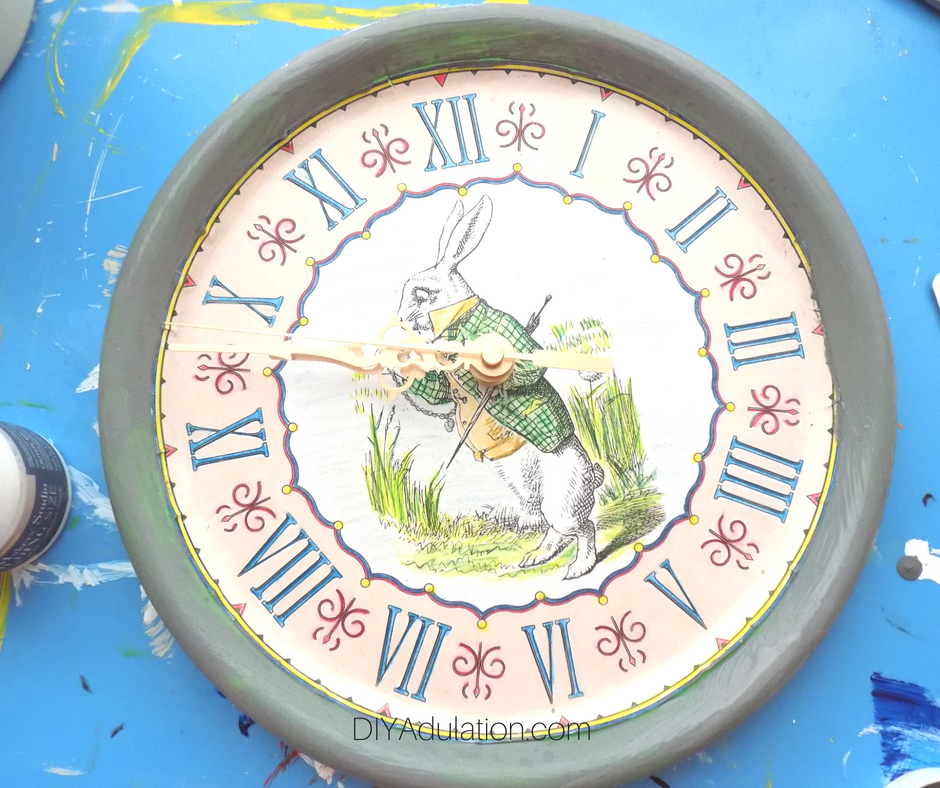
After the clock was assembled, I didn’t like the green edges of the plate so I painted it with my Rescue Restore Paint in Southern Gentleman. The muted color fits much better with the design but this is a totally optional step. If you like the color of your plate, then leave it as is.

White Rabbit Wall Clock

Tip:


White Rabbit Wall Clock Next to Antique Books

White Rabbit Wall Clock Next to Antique Books with text overlay: DIY Alice in Wonderland Wall Clock

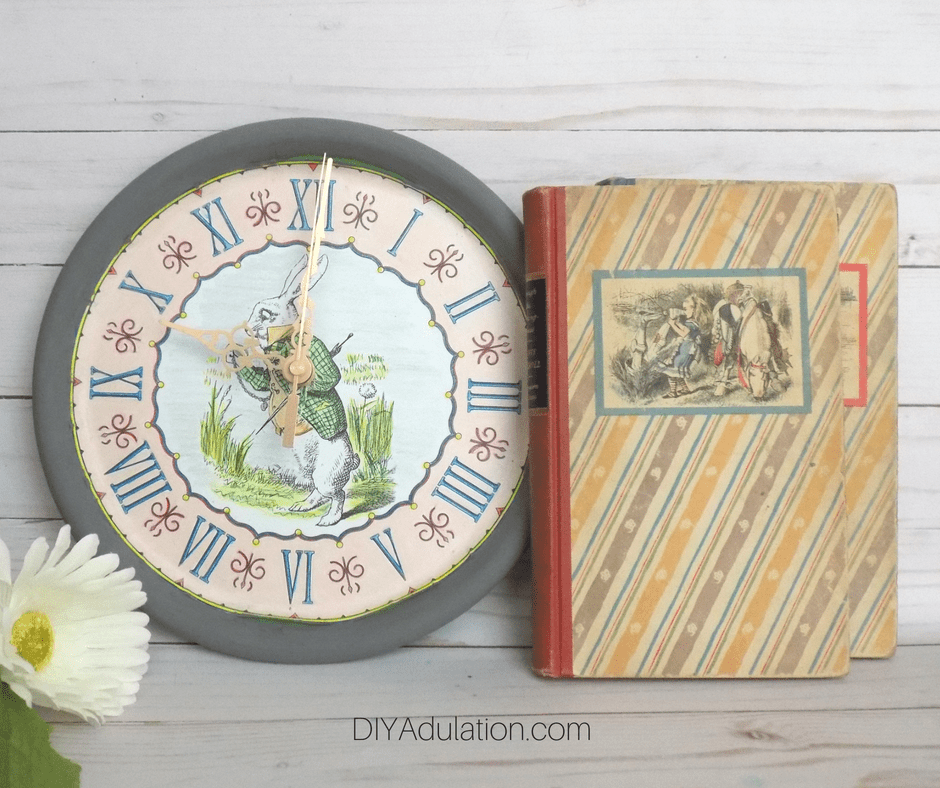
I absolutely love how this DIY Alice in Wonderland wall clock turned out! It will make the perfect addition to the rest of my Alice decor (which you can see on my literary mirror tutorial). Now it’s time to check out the other awesome Disney projects my friends created this month. Before you go, I’d love to know what your favorite Disney movie? Let me know in the comments!

See where I’m linking up!

Don’t Forget to Pin It!

Collage of Wall Clock photos with text overlay: DIY Alice in Wonderland Wall Clock


Movie Monday Challenge: Disney Edition


10 Delicious Ways to Enjoy S’mores | Merry Monday 214

S’mores are a quintessential summer treat. Unfortunately, traditional s’mores can be messy. Furthermore, they aren’t as easy to serve for parties and gatherings. Get your fix a different way with these 10 delicious ways to enjoy s’mores.

Collage of s'mores treats with text overlay: 10 Delicious Ways to Enjoy S'mores

I absolutely love s’mores. In fact, they’re pretty much the only part of camping that I enjoy. My family takes full advantage of this by luring me into the trip with them.

Cooking them in the house is a total pain though. Since I don’t feel like camping or building a fire every time I want to enjoy them, I needed another way to enjoy them. Now I have 10 new recipes to get my s’mores fix without having to sleep on the ground!


S'mores cupcakes

S’mores Cupcakes with Toasted Marshmallow Buttercream (Cooking with Carlee)

These decadent treats are perfect for a birthday party since they are already individual servings. Serve them up with other festive camping inspired treats for all the fun but a lot more comfortably.


Piece of s'mores cake

S’mores Cake (Simply Stacie)

Want an entire cake instead? This delicious cake is so good, you might have trouble sharing it!


S'mores Parfaits in Glasses

Easy No Cook S’mores Parfait Recipe (Live, Love, Texas)

No time to bake? No worries with this yummy parfait recipe!


Top of S'mores Poke Cake

S’mores Poke Cake (Domestically Creative)

Poke cakes are absolutely amazing. The only way to make them better? Create a s’mores one!


Close up of s'mores donut

Chocolate S’mores Donuts (Delightful’E’Made)

This recipe proves that s’mores aren’t just for dessert! Enjoy your favorite flavor for breakfast, too, with these homemade donuts.


S'mores Cookie Dip in a Cast Iron Skillet

S’mores Cookie Bar Dip (Simple Sweet Recipes)

Dippable treats are always a hit at parties. This s’mores dip is no exception!


Pieces of brownie s'mores

Brownie S’mores Recipe (3 Boys and a Dog)

Just when you thought s’mores couldn’t get any better, you add brownies to them! You definitely need these in your life.


Stack of s'mores blondies cookie bars

S’mores Blondies Recipe (5 Minutes for Mom)

Do you prefer blondies over brownies? Don’t worry, you can give them that delicious s’mores flavor too!


S'more Dessert in a Jar

S’mores in a Jar (Clean and Scentsible)

Enjoy your s’mores from a convenient jar with this easy recipe.


Cut S'mores Fudge Bars

S’mores Fudge Bars (That Skinny Chick Can Bake)

Raise your hand if you love fudge! These delicious s’mores bars combine 2 of your faves in one tasty treat.


S'mores Cake with text overlay: 17 Insanely Fun & Delicious S'mores Cakes

17 Insanely Fun S’mores Cakes and Cupcakes (Play Dates to Parties)

Do you still want more? Here are 17 more delicious s’mores cakes and cupcakes for you to enjoy!


Collage of s'mores treats with text overlay: 10 Delicious Ways to Enjoy S'mores

Now you can enjoy your s’mores without the mess (or the fire). Even better, no need to sleep on the ground! If you can read these 10 delicious ways to enjoy s’mores without your mouth watering, you are stronger than me. I see a fun s’mores taste-testing session in my family’s future.

Until then, let’s get this week’s Merry Monday link party started! Link up your awesomeness below and see what everyone is sharing too.

Don’t Forget to Pin It!

Collage of s'mores treats with text overlay: 10 Delicious Ways to Enjoy S'mores