School mornings are totally hectic, especially at the beginning of the year when you’re still getting into the swing of the new routine. That’s why it’s important to have easy breakfasts ready to go. These mini strawberry pancake muffins are the perfect recipe to stock your freezer with before school starts. Pop them in the microwave for a couple minutes and you have a delicious hot breakfast ready to go!
Affiliate links may be used in this post. Ordering a product through these links may result in a commission. Read the full disclosure here.

[bctt tweet=”Start your day on the right foot. These freezable mini strawberry pancake muffins are a delicious poppable breakfast that’s perfect for busy school morning!” username=”diyadulation”]
Even though I’ve been getting up earlier, like 5:30 am, I’m still not a morning person. My husband was convinced that I’d grow to love it but after 2 months, I’m no closer to enjoying it than I was when it started. It’s just not for me.
That makes school mornings that much harder for me. One of the greatest days for me was when all of my kiddos could make their own breakfasts without any help from me. Unfortunately, over the summer I got super lax and it was pretty much cold Pot Tarts every day. I wanted to make sure that they had something a little more substantial for school mornings, especially since it is my baby’s first year.
These delicious breakfast muffins are the perfect easy breakfast for my kiddos that require little to no effort on my part. Score! Now we can focus on getting out the door on time with everything we need instead of worrying about meals!

Mini Strawberry Pancake Muffins Ingredients
- 2 1/4 Cups Pancake Mix
- 1 pound Frozen Strawberries, defrosted
- 4 tablespoons Maple Syrup
- 2 Large Eggs
Step 1
First, preheat your oven to 350° Fahrenheit and spray your mini muffin pan with non-stick spray.
Step 2
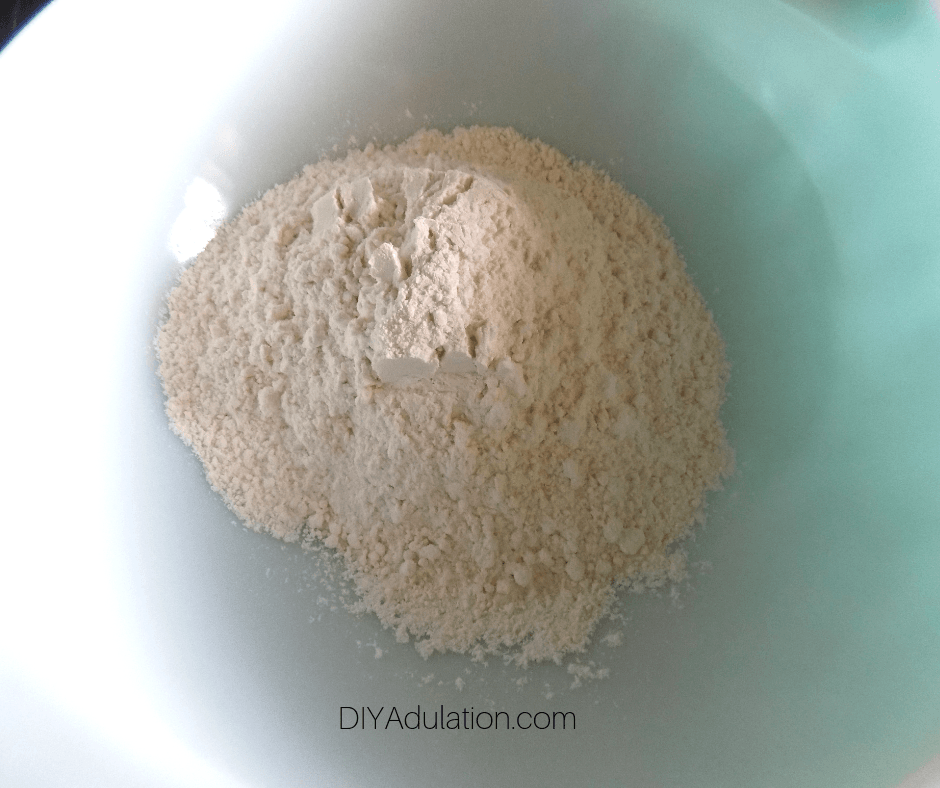
Next, add 2 1/4 cups of pancake mix into a large glass mixing bowl and set aside.
Step 3
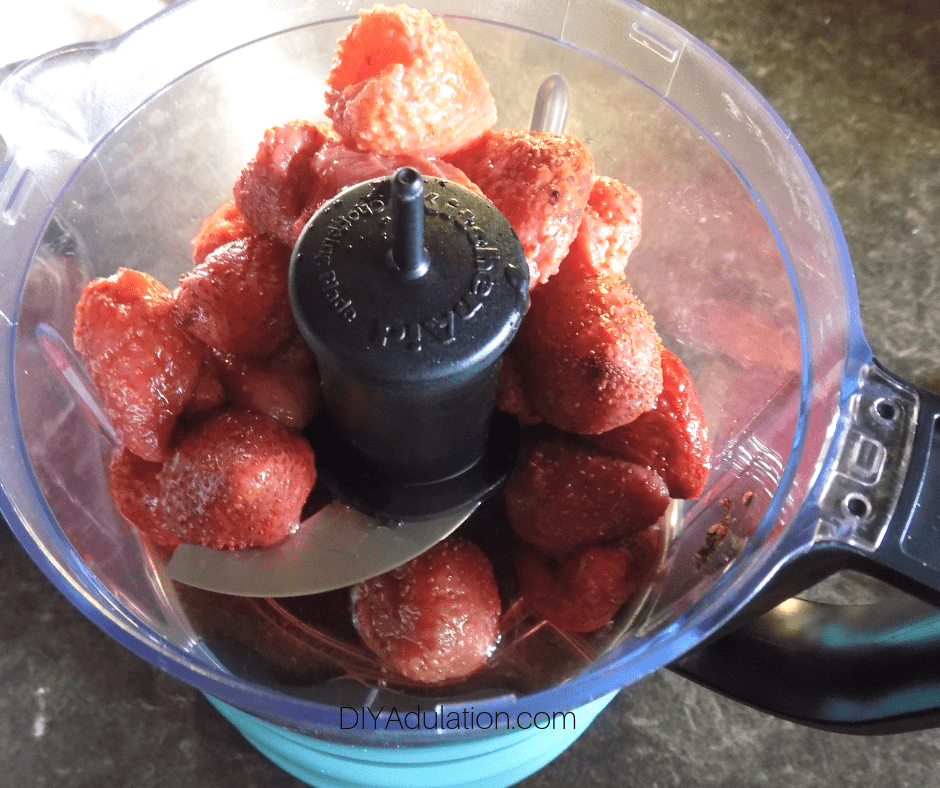
Then drain most of the water from your defrosted frozen strawberries and put them in a food processor.

Step 4
Add 4 tbsp of syrup to the food processor and puree the mixture until smooth.

Step 5
Next, pour the mixture into your mixing bowl with pancake mix and combine them together until a thick dough forms.
Step 6
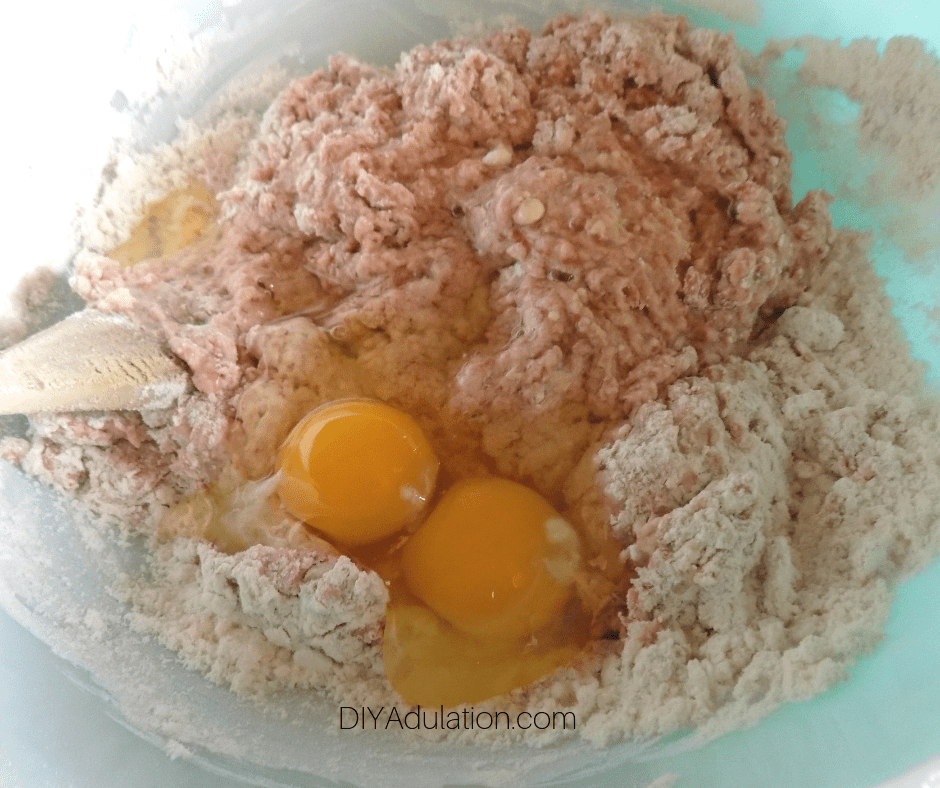
Then add 2 large eggs to the mixture and stir them in until well-combined. The mixture should be thicker than typical pancake mix.

Step 7
Fill each cup in your mini muffin pan 1/2 full with your batter and bake at 350° Fahrenheit for 15 minutes.
Step 8
Flip your muffins from the pan onto a cooling rack and cool for at least 5 minutes before serving.
How to Freeze
Place your cooled mini strawberry pancake muffins in a gallon freezer bag and freeze for up to 3 weeks. To warm up, place 2-3 on a microwave safe plate and microwave for 2 minutes.
Prep Time
10 minutes
Cook Time
15 minutes
Additional Time
5 minutes
Total Time
30 minutes
Ingredients
-
2 1/4 Cups Pancake Mix
-
1 pound Frozen Strawberries, defrosted
-
4 tablespoons Maple Syrup
-
2 Large Eggs
Instructions
- First, preheat your oven to 350° Fahrenheit and spray your mini muffin pan with non-stick spray.
- Next, add 2 1/4 cups of pancake mix into a large glass mixing bowl and set aside.
- Then drain most of the water from your defrosted frozen strawberries and put them in a food processor.
- Add 4 tbsp of syrup to the food processor and puree the mixture until smooth.
- Next, pour the mixture into your mixing bowl with pancake mix and combine them together until a thick dough forms.
- Then add 2 large eggs to the mixture and stir them in until well-combined. The mixture should be thicker than typical pancake mix.
- Fill each cup in your mini muffin pan 1/2 full with your batter and bake at 350° Fahrenheit for 15 minutes.
- Flip your muffins from the pan onto a cooling rack and cool for at least 5 minutes before serving.
Recommended Products
As an Amazon Associate and member of other affiliate programs, I earn from qualifying purchases.
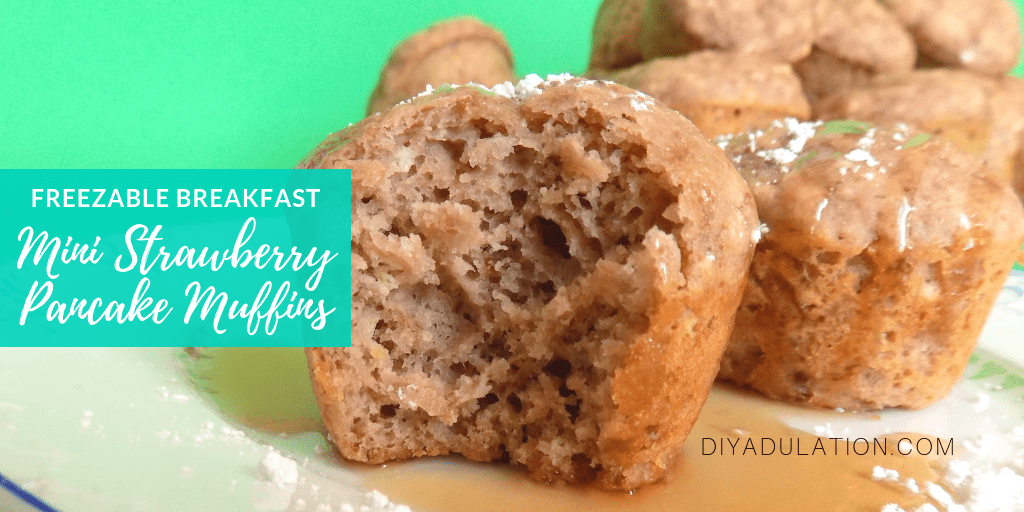
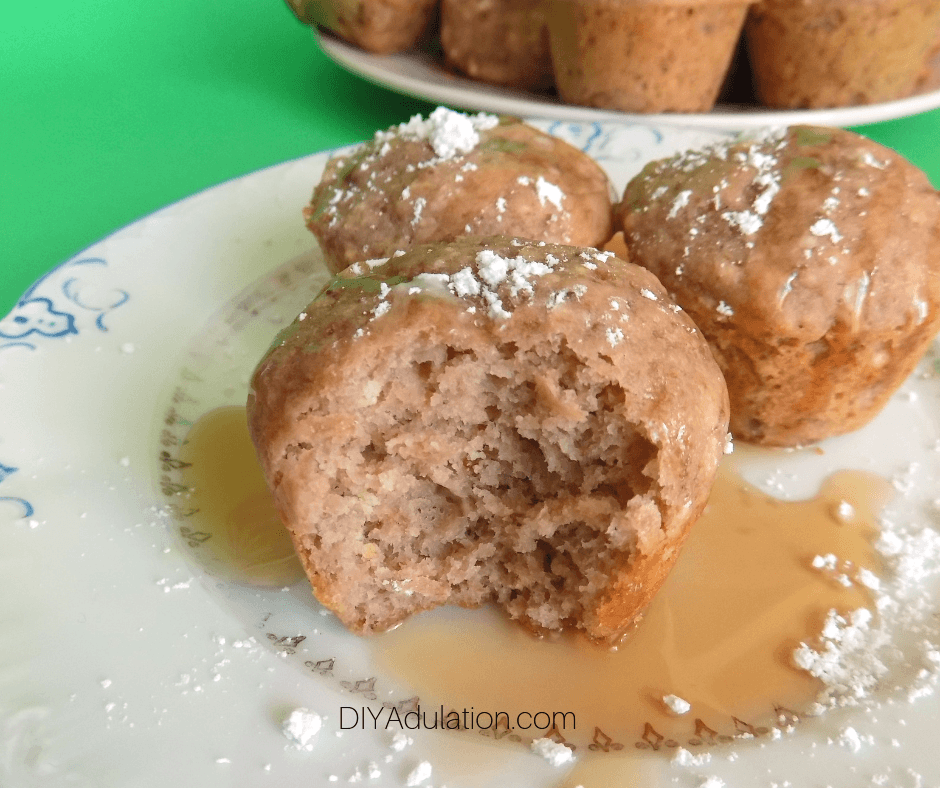
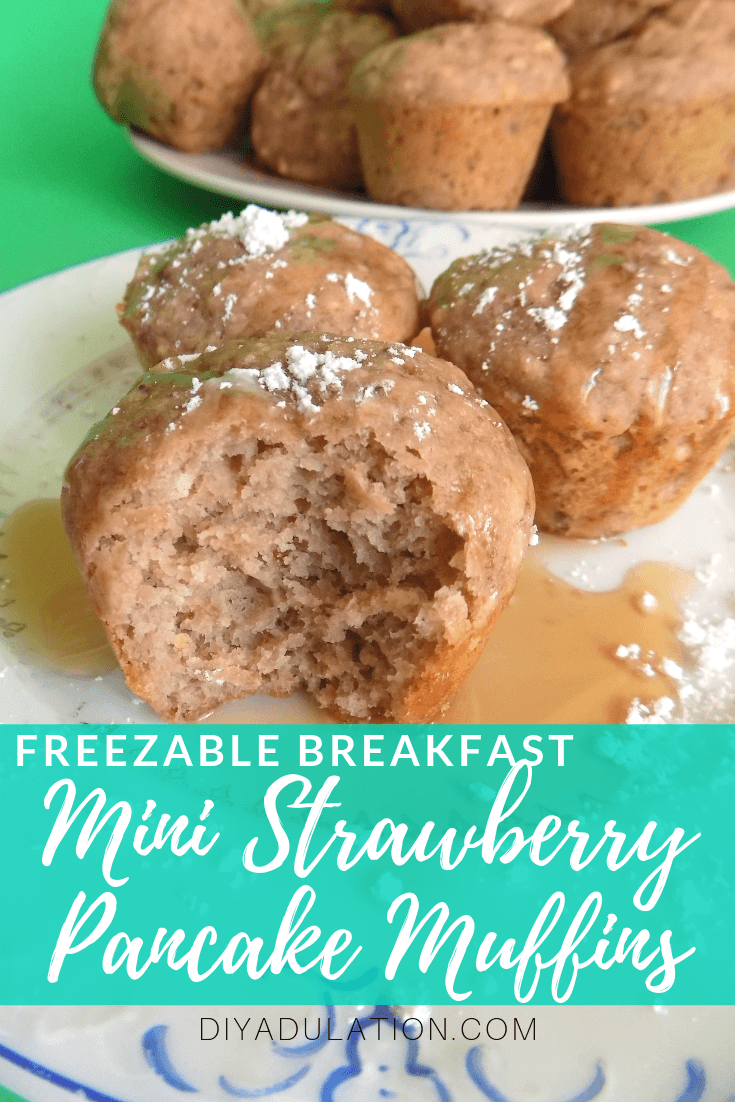
These mini strawberry pancake muffins are a delicious poppable breakfast that’s perfect for busy school morning! My kids like them with an additional drizzle of syrup and sprinkled with powdered sugar but of course kiddos are always about more sugar. I, on the other hand, think they’re totally great without anything extra. Whip up a double batch and have easy hot breakfasts for 2 or more weeks. Not bad for 30 minutes of work.
See where I’m linking up!
Don’t Forget to Pin It!
More Ideas You’ll Love: