DIY Seashells Monogram Wall Art | July Pinterest Challenge

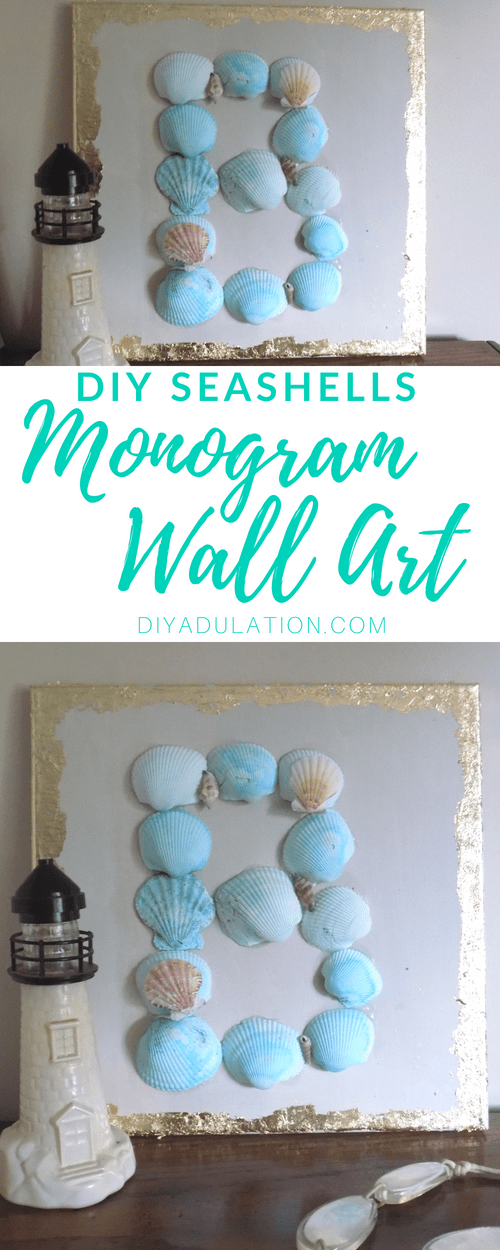
Clearly I cannot get the beach off of my mind this summer. From this DIY beach sunset painted rock magnet to these beachy decor ideas, I am fully ready for coastal living. This month’s Pinterest Challenge is no exception. Add to your own seaside decor with this DIY seashells monogram wall art.

Affiliate links may be used in this post. Ordering a product through these links may result in a commission. Read the full disclosure here.

Collage of Seashell Monogram Wall Art with text overlay: DIY Seashells Monogram Wall Art


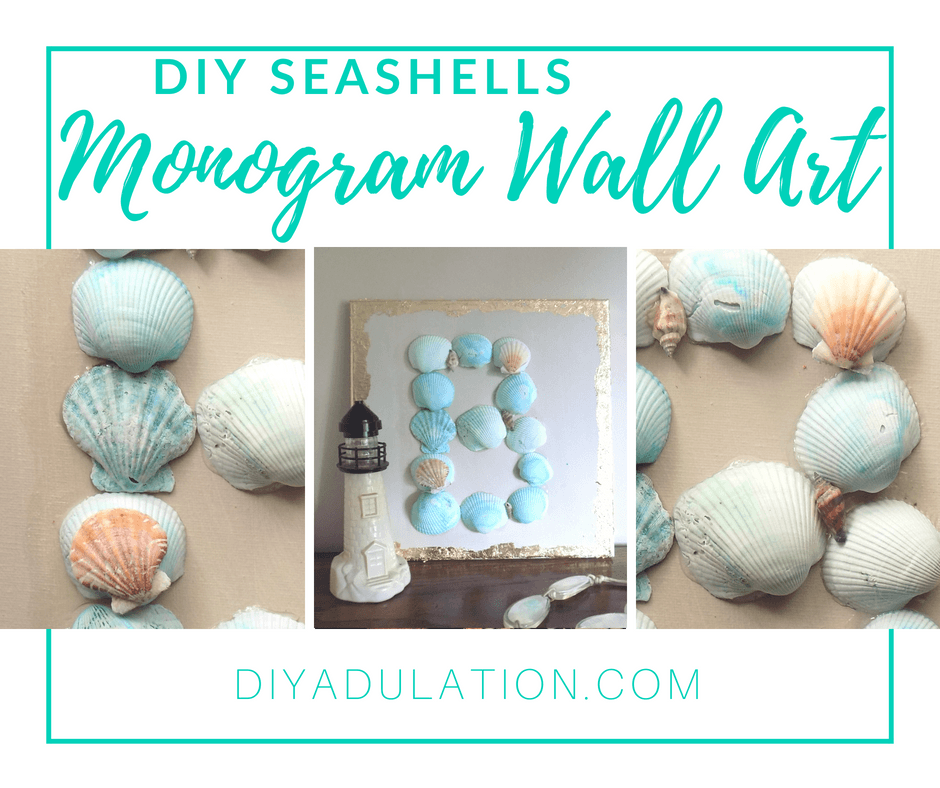
[bctt tweet=”Love the beach look but with a little more glam? Add some gorgeous and colorful coastal decor to your walls with this DIY seashells monogram wall art!” username=”diyadulation”]

The Inspiration Pin

https://www.pinterest.com/pin/390405861443817678/

When choosing a pin for this challenge, I was instantly captivated by this tutorial to dye your own sea shells. Admittedly, it’s a kid’s craft, but I’m basically 8 years old at heart, so that works.

Besides, once your kiddos makes these awesome dyed shells, what do you do with them? Now the answer is turn them into a gorgeous piece of decor for your home.
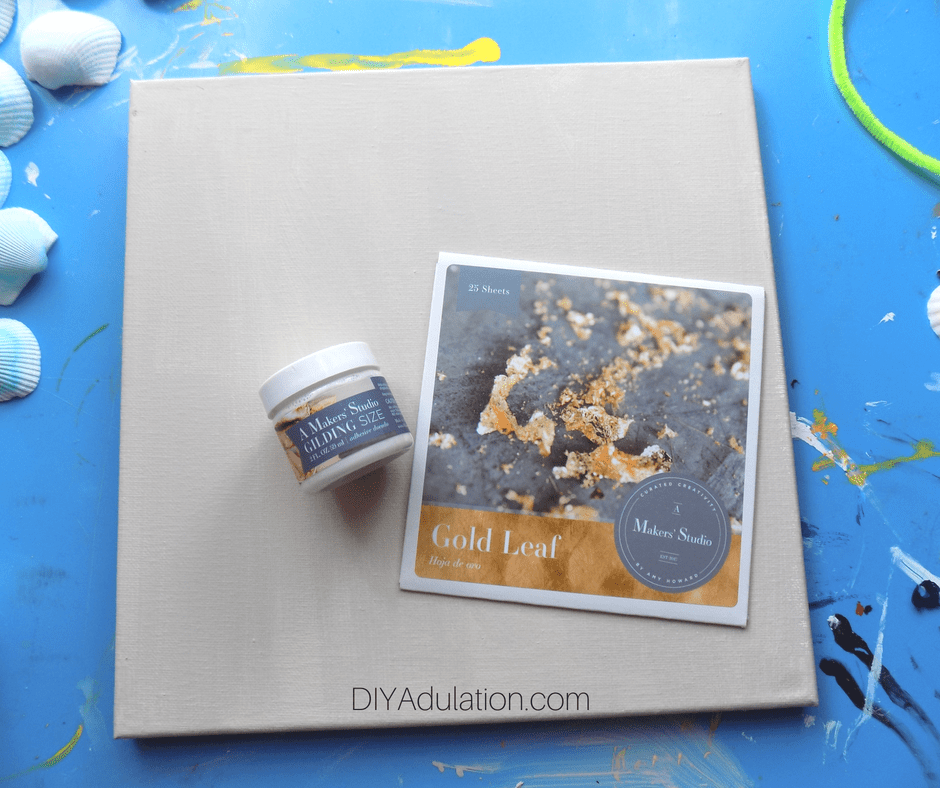
 

Seashell Monogram Wall Art

Materials


Seashells in Dye Solution

Step 1

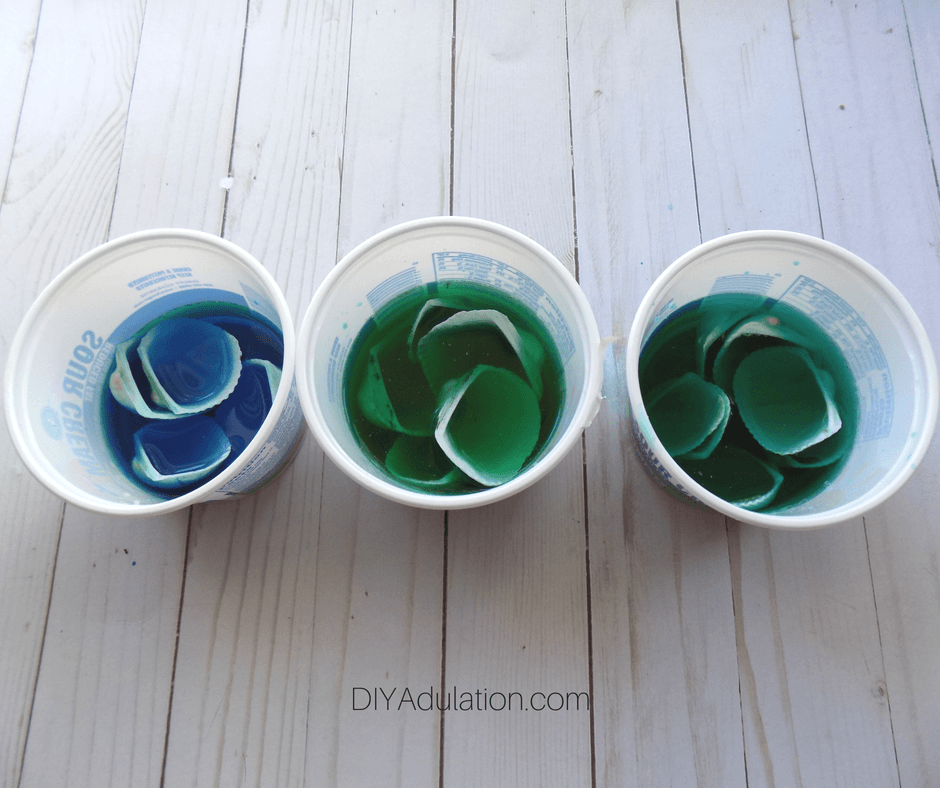
First, dye half of your seashells blue and green according to this tutorial from Rainy Day Mum.

Tips:


Blank Canvas next to Dyed Seashells

Step 2

While your shells are soaking, begin working on your canvas.


Painted Canvas next to Dyed Seashells

Step 3

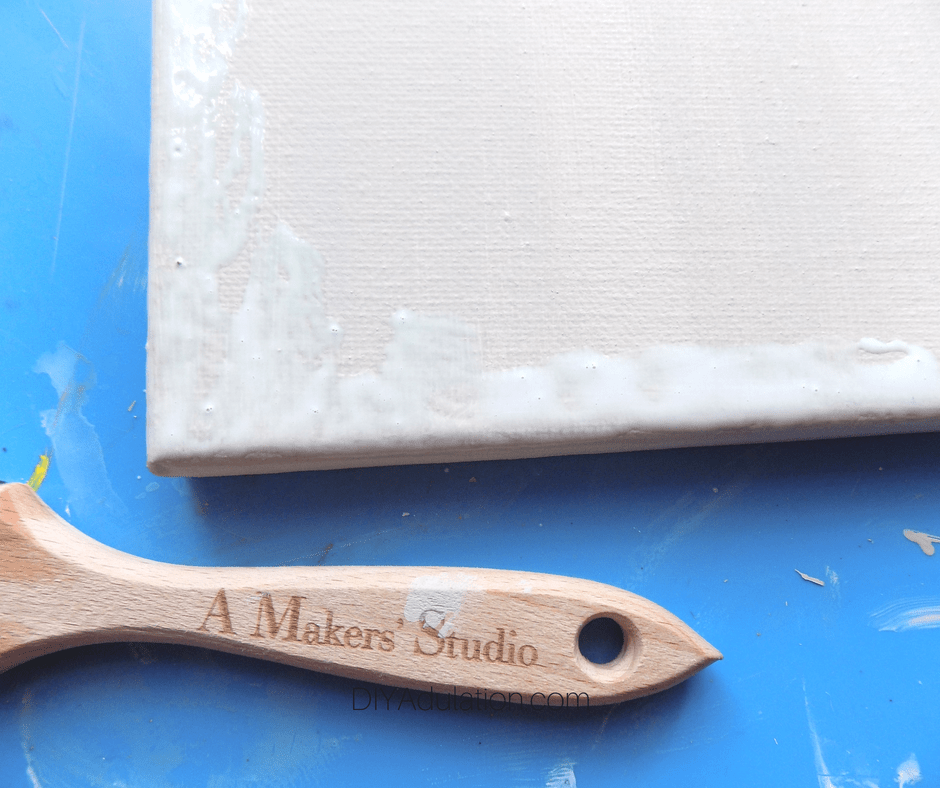
Start by covering the entire canvas with the Rescue Restore Paint. This paint dries very quickly and (bonus) it smells absolutely amazing! 


Gilding Size on Painted Canvas

Step 4

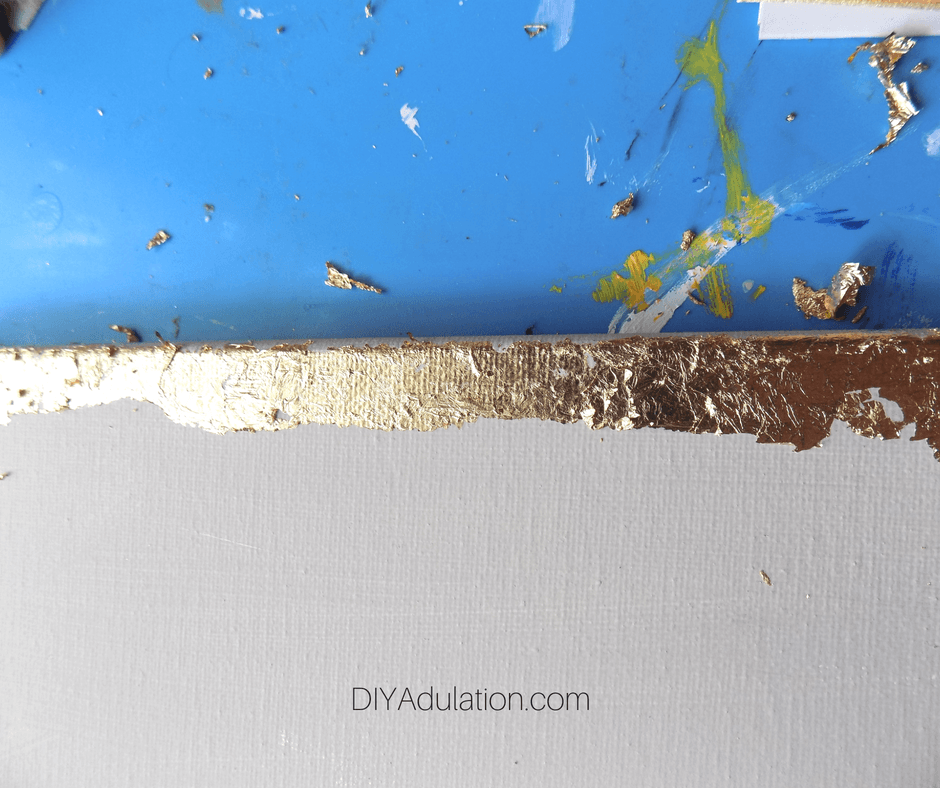
After your paint is dry, add gilding size around the border of your canvas.

Tip:

Step 5

Next, allow the gilding size to dry until lightly tacky.


Dyed Shells Drying on Paper Towels

Step 6

If you haven’t done so already, this is a good time to pull your shells out to dry on some paper towels.


Gold Leaf and Gilding Size on Painted Canvas

Gold Leaf on Painted Canvas

Step 7

Once your gilding size is lightly tacky, begin covering it with your gold leaf. Continue until your entire canvas is bordered in gold leaf.


Close up of Gold Leaf Edged Canvas

Step 8

Then, using a dry brush, gently brush away the excess gold leaf. Be careful not to brush too hard.


Monogram Shell Art

Step 9

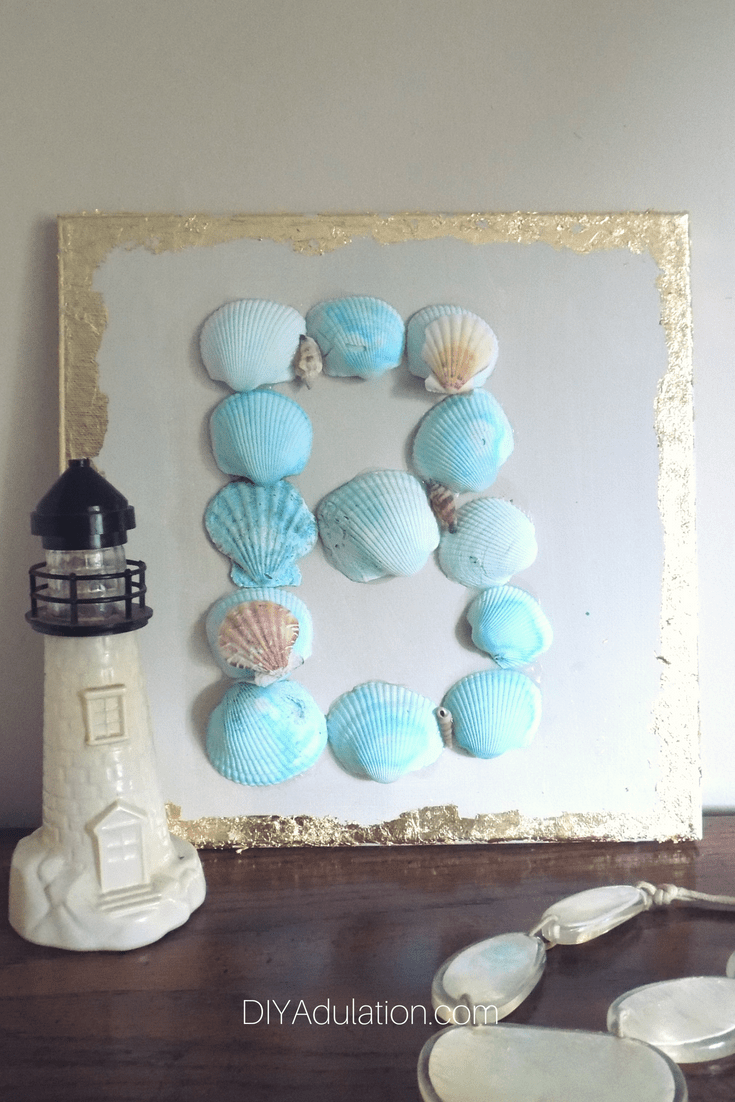
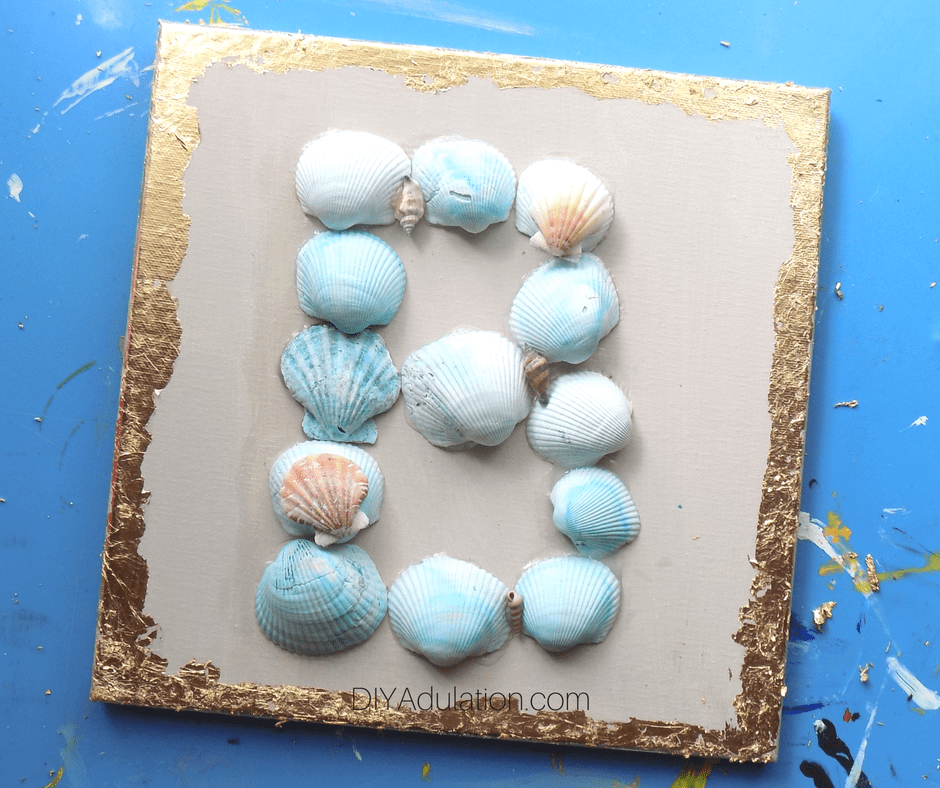
When your shells have dried, lay them out in the center of your canvas to design your monogram.


Glue on the back of a seashell

Step 10

After you are happy with your design, begin gluing your shells down with E6000.

Tip:


Seashells on a gold leafed canvas

Step 11

Finish off your design by gluing a few of the un-dyed shells to the top of your monogram.

Step 12

Lastly, allow your glue to dry 24 hours.


Seashell Monogram Wall Art

Collage of Seashell Monogram Wall Art with text overlay: DIY Seashells Monogram Wall Art

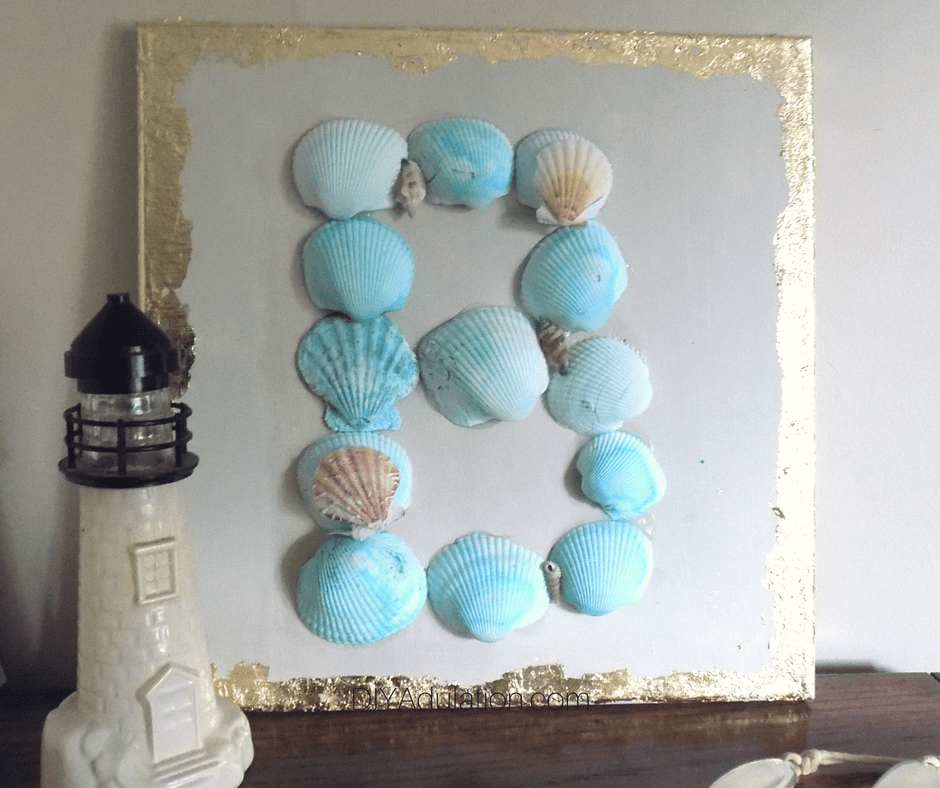
Confession. This DIY seashells monogram wall art isn’t for me, although I totally love it. It’s a gift for my mom who wants to decorate her new upstairs bathroom in a coastal theme. Hence the “B” for the monogram instead of an “L”. Of course, if you still really like the look of the beach, it could totally stand for beach as well. Either way, it will look beautiful on a gallery wall or hanging in the bathroom.

Now it’s time to check out what my friends are creating for this month’s Pinterest Challenge! Find out what worked, what didn’t, and how they tweaked these pins. If we can do it, you totally can too. What pin has been sitting on your boards forever? Hopefully you will be inspired to tackle it this week!

See where I’m linking up!

Don’t Forget to Pin It!

Collage of Seashell Monogram Wall Art with text overlay: DIY Seashells Monogram Wall Art


To join next month’s #pinterestchallenge, click here to sign-up ⇒ August Pinterest Challenge.


Now let’s see what other things Pinterest inspired! Head over and visit the other hosts to see what they crafted, cooked, built, or tried!

Pinterest Challenge Blog Hop

Erlene – My Pinterventures • Jenny – Cookies Coffee and Crafts
Debbee – Debbee’s Buzz • Laurie – My Husband Has Too Many Hobbies
Bri – Halfpint Design • Julie – Sum of their Stories
 T’onna – Sew Crafty CrochetBeverly – Across the Boulevard • Debra – Shoppe No. 5
Roseann – This Autoimmune Life • Terri – Our Good Life
Chelc – Inside The Fox Den • Cherryl – Farm Girl Reformed
Leslie – Once Upon a Time & Happily Ever After • Katrin – Kreativ K
Kelley – Simply Inspired Meals • Joanne – Our Unschooling Journey
Toni – Small Home Soul • Gail – Purple Hues and Me
Rebecca – Hello Central Avenue • Gwen – Geez, Gwen!
Marie – DIY Adulation • Kristie – Teadoddles • Marie – The Inspiration Vault
Lydia – Lydia’s Flexitarian Kitchen • Maria – Simple Nature Decor
Michelle – Our Crafty Mom • Emily – Domestic Deadline
Sam – Raggedy Bits • Alexandra – Eye Love Knots 


DIY Mad Scientist Hand Puppet | Easy Pretend Play for Kids

A few weeks ago, I shared these adorable DIY mermaid and narwhal hand puppets. Now it’s time to get a little crazy with this DIY mad scientist hand puppet. Let your little creative concoct crazy schemes and bring their monsters to life with play!

Affiliate links may be used in this post. Ordering a product through these links may result in a commission. Read the full disclosure here.

Collage of Mad Scientist Hand Puppet with text overlay: DIY Mad Scientist Hand Puppet


[bctt tweet=”Ready for some easy creative play? Unleash your kid’s inner scientific genius bent on world domination with this easy DIY mad scientist hand puppet.” username=”diyadulation”]

Who doesn’t feel a bit like a mad scientist sometimes. I feel that way any time I have to create dinner on the fly using only what’s in the pantry. Throw it in a pot, turn up the heat, and watch it simmer, right?

Now, your kiddos can get scientific and crazy on their own. Luckily, this isn’t going to add to your toy clutter. You can throw it in the same storage container with your other puppets and off you go.

Materials for Mad Scientist Hand Puppet


Yarn Wrapped Around a Notebook

Step 1

First, wrap the loose end of your yarn around your notebook 5-10 times.

Step 2

Cut where the yard is still attached to the skein and then cut a smaller, separate piece of yarn from the skein.


Rolled Yarn

Step 3

Next, carefully slide your wrapped yarn from the notebook and onto the smaller piece of yarn.

Step 4

Tie the smaller piece of yarn around the wrapped yarn.


Pieces of Yarn Tied Together

Step 5

Then cut through the yarn loops on either end.


One Side of Tied Yarn Frayed

Step 6

Hold one side of your tied yarn bundle firmly in your hand and comb the opposite side with a comb.

Tips:


Frayed Ends of Tied Yarn

Step 7

Repeat step 6 on the opposite side of your bundle of yarn.


Frayed Yarn Glued on Potholder

Step 8

Once your yarn is basically a big fluff ball, glue it to the top center of your potholder.

Tip:


Mad Scientist Hand Puppet

Step 9

After you have attached the hair, glue 2 large googly eyes to the potholder.


Pink Glitter Half Circle Next to a pair of Scissors

Step 10

Next, cut a wide semi-circle from a sheet of pink glitter foam. Make sure it is no wider than your potholder.


Tongue Glued on Mad Scientist Hand Puppet

Step 11

Finish your mad scientist hand puppet by gluing the foam semi-circle inside of the potholder as pictured.


Close Up of Mad Scientist Hand Puppet with text overlay: DIY Mad Scientist Hand Puppet

I love how this DIY mad scientist hand puppet turned out. In fact, I love it so much I think I’m going to make some cute little beakers and test tubes to go with it. Don’t worry, I’ll share them with you if I do.

If you still haven’t decided how to store your hand puppets, I recommend a plastic shoe box with a lid. It will also be plenty of room to store any accessories we make for it. Not bad for toy storage, don’t you think?

See where I’m linking up!

Don’t Forget to Pin It!

Collage of Mad Scientist Hand Puppet with text overlay: DIY Mad Scientist Hand Puppet


More Ideas You’ll Love:

DIY Mermaid and Narwhal Hand Puppets

Are you looking for more ways to encourage imaginative play in your kids? Sometimes our kids become so inundated with toys, their imagination muscles get weak and boredom skyrockets. A few key toys, like these DIY mermaid and narwhal hand puppets, are perfect for encouraging play without the avalanche of stuff in their bedrooms.

Affiliate links may be used in this post. Ordering a product through these links may result in a commission. Read the full disclosure here.


Collage of Hand puppets on wood background with text overlay: DIY Mermaid and Narwhal Hand Puppets


[bctt tweet=”Does it feel like your kids have a million toys but are always bored? These DIY mermaid and narwhal hand puppets encourage play without the toy avalanche. ” username=”diyadulation”]

I honestly believe in the power of imagination. Not only for kids, but for adults as well. Imaginative people are the problem solvers.

These are the people who can cope with difficulties because they have creative solutions. Imagination is what creates awesome stories like Harry Potter. I want my kids to grow up with as much imaginative power as possible.

That’s why I will always make fun toys for them like these DIY mermaid and narwhal hand puppets.


 Hand puppets on wood background

Materials for DIY Mermaid and Narwhal Hand Puppets


mermaid hand puppet

Mermaid Hand Puppet


teal potholder next to scissors

Step 1

First, remove all of the tags from your potholders.


Notebook and skein of yarn

Yarn Wrapped Around the Notebook

Step 2

Next, pull out your skein of yarn and wrap the end around a small notebook 10-20 times.


Yarn wrapped around a notebook

Step 3

Cut the end of the yard still attached to the skein.

Step 4

Then cut a second small piece of yarn from your skein.


Yarn wrapped around a notebook

Step 5

Tie the small piece of yarn around your wrapped yarn as pictured.


Yarn wrapped around a notebook

Tied together strands of yarn next to a pair of scissors

Step 6

Next, cut through your wrapped yarn on the opposite side of your notebook.


dot of glue on a potholder next to strands of yarn

yarn glued to teal potholder

Step 7

Put a dab of E6000 on the top center of your potholder and attach your yarn.


teal potholder next to googly eyes

mermaid hand puppet

Step 8

Lastly, glue on 2 googly eyes toward the opening of the potholder. See the picture above for reference.

Note:


blue narwhal hand puppet

Narwhal Hand Puppet


small sparkly pompoms

glued together sparkly pompom

Step 1

Start by hot gluing 4 pompoms together, with the largest on the bottom and the smallest on top.


pompom on a blue potholder

Step 2

Next, glue the pompom “horn” to the top center of the potholder with E6000.

Tip:


blue potholder next to googly eyes

blue narwhal hand puppet

Step 3

Then, choose 2 googly eyes for your narwhal and glue them to the potholder with E6000.

Note:

Step 4

Set your puppet to the side and pull out a piece of silver glitter foam.


small piece of glitter foam next to a pair of scissors

Step 5

Next, cut a tongue out of the silver glitter foam.


blue narwhal hand puppet

Step 6

Lastly, use E6000 to glue your tongue into the opening of the potholder (where the pot would go).


Hand puppets on wood background with text overlay: DIY Mermaid and Narwhal Hand Puppets

Now your kids will be ready for all of their undersea adventures with these DIY mermaid and narwhal hand puppets! Even better, you can breath easier without all of those toys cluttering up your home. Come back later this month to find out how to make this fun Mad Scientist Hand Puppet! Until then, the the pretend play begin.

See where I’m linking up!

Don’t Forget to Pin It!

Collage of Hand puppets on wood background with text overlay: DIY Mermaid and Narwhal Hand Puppets


More Ideas You’ll Love: