Baked Chicken and Bacon Alfredo Freezer Meal

Summer break will be here before you know it. In the beginning, you have grandiose plans for all of the fun you’ll have with the kids. By the end of it, you’re willing to pay any amount of money for school to start back up. In both cases, dinner is the last thing you want to think about and this baked chicken and bacon Alfredo freezer meal doesn’t take any thought!

Affiliate links may be used in this post. Ordering a product through these links may result in a commission. Read the full disclosure here.

Collage of Chicken and Bacon Alfredo Pasta with text overlay - Baked Chicken and Bacon Alfredo Freezer Meal


[bctt tweet=”When dinner is the last thing you want to think about, pull out this delicious baked chicken and bacon Alfredo freezer meal. Throw it in the oven and done!” username=”diyadulation”]

A lot of people hate to use the stove or oven when summer rolls in. I’m not one of them. I have no problem throwing a freezer meal in the oven during the summer. Why? Because it frees up precious time for me. If I feel like it’s too warm in the house, then go outside. Still too hot? Hang out in the basement.

Let’s be honest. As long as you’re not holed up in a hot kitchen to make dinner, it’s not too bad anyway. This baked chicken and bacon Alfredo is the perfect meal to throw in the oven, set a timer, and forget it. It’s also a fantastic recipe for using up leftovers. I got my shredded chicken from the leftovers of a baked store chicken. You know, the pieces too small for anyone to decide worthy at the original dinner you ate it.


Close Up of Chicken and Bacon Alfredo

Baked Chicken and Bacon Alfredo Ingredients


Bowl of Uncooked Bow Tie Pasta

Step 1

First, empty your entire box of bow tie pasta into a large glass mixing bowl.


Alfredo Sauce in Bowl of Uncooked Bow Tie Pasta

Step 2

Then pour your bottle of Alfredo sauce into the bowl on top of the pasta.

Tip:


Bacon and Alfredo Sauce in Bowl of Uncooked Bow Tie Pasta

Step 3

Next, add in your bacon crumbles to the mixture.


Chicken Bacon Alfredo Sauce and Pasta in Bowl

Mixing Bowl Full of Veggies and Chicken

Step 4

Add your shredded chicken and diced zucchini to your mixing bowl as well.


Mixing Bowl with Pasta Chicken Sauce and Mushrooms

Step 5

Lastly, add in your diced baby bella mushrooms.


Mixed Alfredo Pasta in Bowl

Step 6

Use a spatula to thoroughly mix all of the ingredients together. Make sure the sauce is spread throughout otherwise your noodles will not cook during baking.


Close up of Uncooked Alfredo Mixture in Pan

Round Pans full of Alfredo Mixture

Step 7

Pour the mixture into freezer containers. We have a large family so we pour an entire batch into a lasagna dish. Split the mixture between two small round pans for 4 servings each meal.

Note:


Cheese on top of Uncooked Alfredo Mixture in Pan

Round Pan full of Alfredo Mixture Topped with Cheese

Step 8

After your mixture is in your pans, spread your cheese evenly over the top.

Step 9

Then cover with foil and label for freezing.


Forkful of Alfredo with plate in background

To Cook After Freezing


Close Up of Alfredo Pasta on Plate with text overlay - Baked Chicken and Bacon Alfredo Freezer Meal

We love to serve this baked chicken and bacon Alfredo freezer meal with delicious homemade garlic bread. This awesome dish is the perfect budget-friendly meal to keep on hand in your freezer for those busy summer days. Put it in the oven, set a time, and go back outside to play with the kiddos. Or, if it’s the end of summer and you’re just trying to make it through, throw it in the oven and take that bubble bath you so desperately need. You’ll thank yourself later for some meal prep now.


Yield: 2 Freezer Meals

Chicken and Bacon Alfredo Freezer Meal

Close Up of Chicken and Bacon Alfredo
Prep Time 10 minutes
Cook Time 1 hour
Total Time 1 hour 10 minutes

Ingredients

  • 12 oz. Box of Bow Tie Pasta
  • 15 oz. Jar of 4 Cheese Alfredo Sauce
  • 2.5 oz. Package of Bacon Crumbles
  • 1.5 Cup Shredded Chicken
  • 1 Medium Zucchini, diced
  • Half Cup Diced Baby Bella Mushrooms
  • 1 cup Shredded Mozzarella Cheese

Instructions

  1. First, empty your entire box of bow tie pasta into a large glass mixing bowl.
  2. Then pour your bottle of alfredo sauce into the bowl on top of the pasta.
  3. Next, add in your bacon crumbles to the mixture.
  4. Add your shredded chicken and diced zucchini to your mixing bowl as well.
  5. Lastly, add in your diced baby bella mushrooms.
  6. Use a spatula to thoroughly mix all of the ingredients together. Make sure the sauce is spread throughout otherwise your noodles will not cook during baking.
  7. Pour the mixture into freezer containers. We have a large family so we pour an entire batch into a lasagna dish. Split the mixture between two small round pans for 4 servings each meal.
  8. After your mixture is in your pans, spread your cheese evenly over the top.
  9. Then cover with foil and label for freezing.
  10. To cook it frozen, carefully pull off your label and bake, covered, at 350° Fahrenheit for 1.5 hours. Then remove the foil cover and bake an additional 15-20 minutes, until the cheese is bubbly.
  11. To cook defrosted, bake covered in the oven at 350° Fahrenheit for 40 minutes. Then remove the foil and bake for an additional 20 minutes until the cheese on top is bubbly.

See where I’m linking up!

Don’t Forget to Pin It!

Close Up of Alfredo Pasta on Plate with text overlay - Baked Chicken and Bacon Alfredo Freezer Meal


More Ideas You’ll Love:


Mouthwatering Bacon Cheeseburger Meatloaf Freezer Meal Recipe

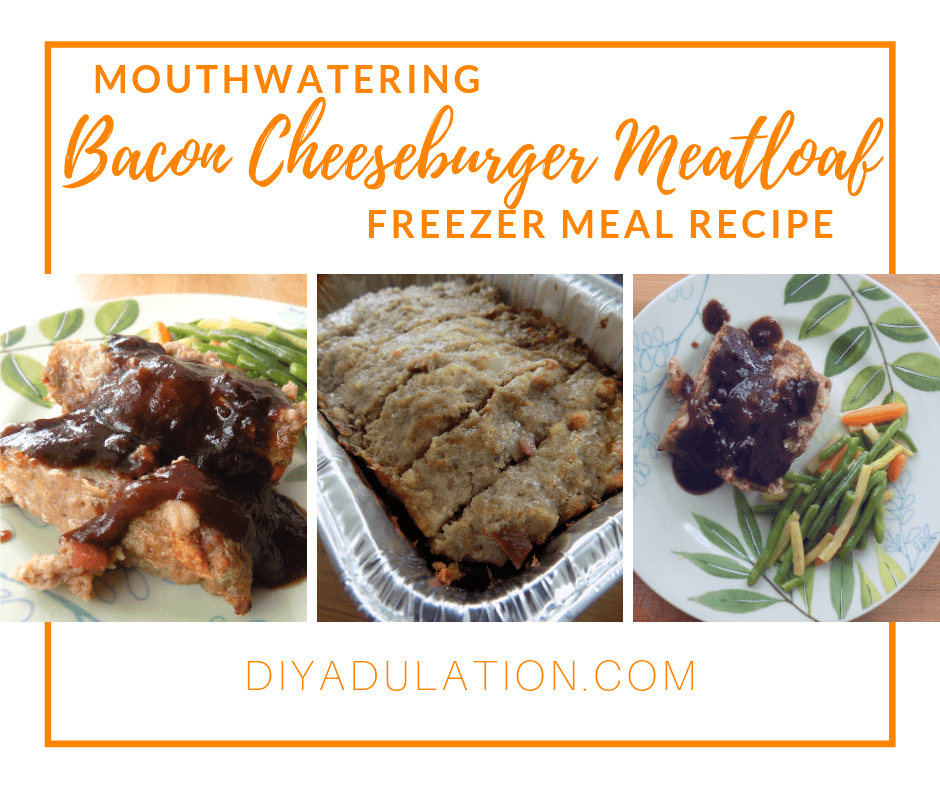
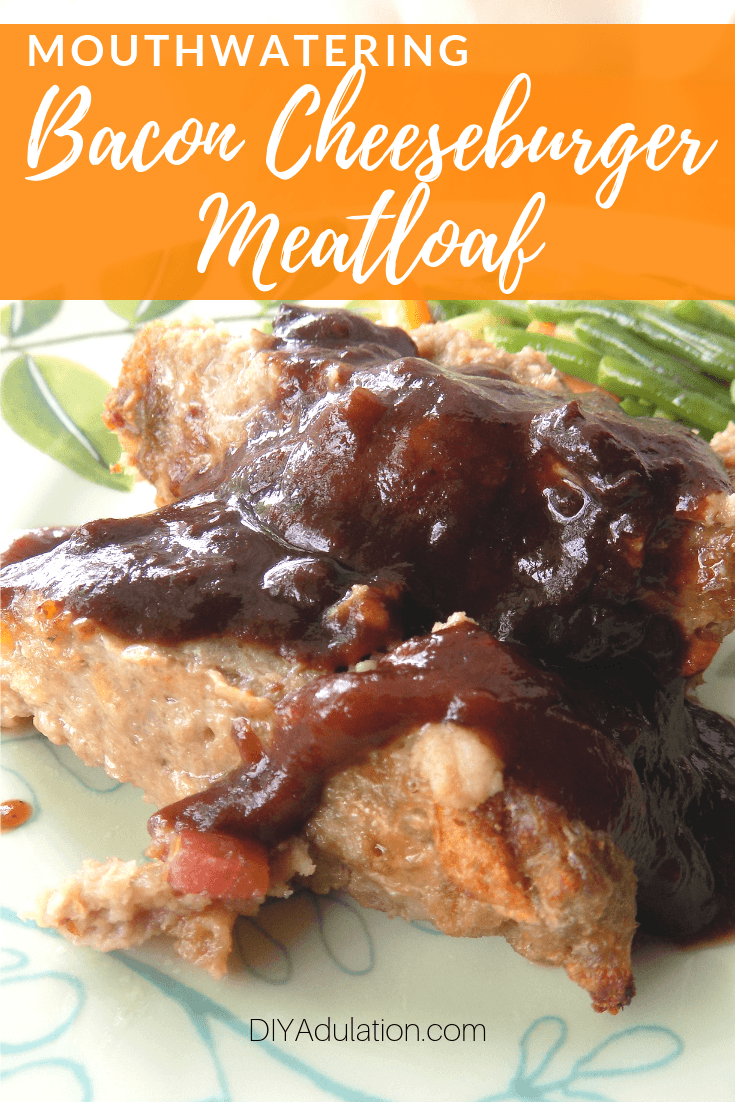
It’s easier than ever to order takeout thanks to services like Doordash. When you’re not prepared for dinner, the temptation to order out because you don’t feel like cooking is even stronger. That’s why meals like this mouthwatering bacon cheeseburger meatloaf are a must have in your freezer. It makes saving money on food and delicious dinners at home as easy as ordering in.

Affiliate links may be used in this post. Ordering a product through these links may result in a commission. Read the full disclosure here.

Collage of Meatloaf Photos with text overlay - Mouthwatering Bacon Cheeseburger Meatloaf


[bctt tweet=”Meals like this mouthwatering bacon cheeseburger meatloaf are a must have in your freezer. Saving money on food and delicious dinners are easy as pie!” username=”diyadulation”]

Bacon cheeseburgers are amazing… they can be time-consuming to make at home though. You not only have to prepare your burgers but also cook the bacon, slice the tomatoes and onions, and toast the bun for that satisfying warmth. What mom has time for that on a regular school night? Certainly not me.


Close Up of BBQ Covered Meatloaf

Instead of resorting to a drive-thru (or, my fave, Doordash), save some money and calories with this meatloaf version. It’s super easy to make and one recipe makes 3 meatloaves! I don’t even defrost it before throwing it in the oven. Simply toss it in and let it cook a little longer. Don’t worry. I tell you how below.

Bacon Cheeseburger Meatloaf Ingredients

Step 1

First, preheat your oven to 400° Fahrenheit.


Ground Turkey in Bowl

Step 2

Then add your ground turkey to a large mixing bowl.


Stuffing on top of Ground Turkey in Bowl

Step 3

Next open your box of stuffing and add it to your ground turkey.


Bacon Stuffing Egg and Ground Turkey in Bowl

Step 4

Add the entire package of bacon crumbles and 1 egg to your mixing bowl.


Cheese Bacon Stuffing Egg and Ground Turkey in Bowl

Step 5

Lastly, add your cheese to the mixing bowl.


Meatloaf Mixture in Red Bowl

Step 6

Once all of your ingredients are in the mixing bowl, mix until well combined.


Meatloaf Mixture Divided into 3 Pans

Close Up of Uncooked Meatloaf in Pan

Step 7

After the ingredients are mixed, divide the mixture into thirds and place in loaf pans.

Note:


Close Up of BBQ Covered Meatloaf on Plate

Step 8

To make immediately, bake at 400° Fahrenheit for 45 minutes.


Close Up of Label on Freezer Meatloaf

How to Freeze Bacon Cheeseburger Meatloaf

Unless you’re feeding a crowd, 3 meatloaves are enough for 3 meals. To freeze them, cover the loaf pan with foil. Add a piece of painter’s tape to the top and label with the meal, cooking instructions, and serving recommendations.

Freezer Cooking Instructions

I hate it when I forget to defrost dinner which is why I love freezer meals that I can throw in the oven or Crock Pot frozen. That’s totally how you prepare these super easy meatloaves. Simply remove the painter’s tape label (carefully so that you don’t rip the foil). Then place in a 400° oven for 1 to 1.5 hours. Then serve it topped with barbecue sauce and with your choice of side dish for a super simple weeknight meal.


Close Up of BBQ Covered Meatloaf on Plate with text overlay - Mouthwatering Bacon Cheeseburger Meatloaf

Now you can enjoy an amazing dinner easily when you stock your freezer with this bacon cheeseburger meatloaf recipe! For a truly quick and easy meal, serve with a salad or microwave vegetables. Done and done! If you’re feeling a bit more ambitious, this is also incredible served with creamy mashed potatoes. Those take more time, from scratch, so maybe just save them for a weekend dinner or get the microwave kind. Either way, it will be yummy!

Bacon Cheeseburger Meatloaf Freezer Meal

Close Up of BBQ Covered Meatloaf on Plate
Prep Time 10 minutes
Cook Time 45 minutes
Total Time 55 minutes

Ingredients

  • 3 Pounds Ground Turkey
  • 1 Box of Turkey Stuffing
  • 1 Egg
  • 2.5 ounce Package of Bacon Crumbles
  • 2 Cups Shredded Colby Jack Cheese

Instructions

  1. First, preheat your oven to 400° Fahrenheit.
  2. Then add your ground turkey to a large mixing bowl.
  3. Next open your box of stuffing and add it to your ground turkey.
  4. Add the entire package of bacon crumbles and 1 egg to your mixing bowl.
  5. Lastly, add your cheese to the mixing bowl.
  6. Once all of your ingredients are in the mixing bowl, mix until well combined.
  7. After the ingredients are mixed, divide the mixture into thirds and place in loaf pans.
  8. To make immediately, bake at 400° Fahrenheit for 45 minutes.
  9. After freezing, bake at 400° for 1 to 1.5 hours.
  10. Serve topped with barbecue sauce.

See where I’m linking up!

Don’t Forget to Pin It!

Close Up of BBQ Covered Meatloaf on Plate with text overlay - Mouthwatering Bacon Cheeseburger Meatloaf


More Ideas You’ll Love:

Easy and Fresh Homemade Salsa Recipe

A visit to any Mexican restaurant with free salsa proves that you can never get enough. It is seriously delicious and a perfect appetizer or snack idea. Of course, free salsa doesn’t combat the cost of eating out. Save money and enjoy a healthy take on the dish with this easy and fresh homemade salsa recipe.

Affiliate links may be used in this post. Ordering a product through these links may result in a commission. Read the full disclosure here.

Fresh Salsa with text overlay - Easy and Fresh Homemade Salsa


[bctt tweet=”This easy and fresh homemade salsa recipe is just what you need for those upcoming barbecues. It’s so easy to make you’ll never go back to the jarred one.” username=”diyadulation”]

You already know how much I adore tacos so it should come as no shock that I also love salsa. My favorite is the fresh mild salsa at Chipotle which is what inspired this delicious recipe. The freshness and crispness of that salsa… I could eat it with a spoon and this salsa is equally as good, if not better!

You’ll feel the same way about this salsa. In fact, after mixing it all together, you will sneak a taste immediately. Before you get to it, though, I want to warn you to scrubs your hands thoroughly after mixing up this deliciousness. The capsaicin from the jalepenos gets stuck under your nails if you don’t. One itchy eye later and you feel like your whole face is on fire. Don’t let that happen to you.


Bowl of Salsa Next to Jalepeno and Cilantro

Fresh Homemade Salsa Ingredients

Step 1

First, dice up your tomatoes and place them in a bowl.

Step 2

Next, cut the stem off of your jalepenos and cut them in half lengthwise. Remove the seeds from the jalepenos.

Step 3

After your seeds are removed, finely dice your jalepenos and add them to the bowl with your tomatoes.

Step 4

Then peel and dice your red onion. Add it to the mixture in the bowl.

Step 5

Next, chop up your cilantro and add it to your bowl.

Note:

Step 6

Top the mixture with your lime juice and a pinch of salt (if adding salt).


Close Up of Fresh Salsa

Step 7

Lastly, stir the mixture with a rubber spatula until well-combined.


Jar of Fresh Salsa

Serving and Storage

Serve with some crispy tortilla chips for an awesomely satisfying snack or appetizer. Store your salsa in glass jars in the fridge for up to 2 weeks (longer if you don’t mind it being a little mushy). I used pint sized jam jars but you could honestly use any jars you have on hand. You can also mix this up with some mashed avocados for some fresh guacamole in minutes. How awesome is that? Fresh deliciousness on hand when you want it.


Close Up of Salsa with text overlay - Easy and Fresh Homemade Salsa

Summer is on its way and this easy and fresh homemade salsa recipe is exactly what you need for those upcoming barbecues. Of course, it’s also the perfect healthy food staple to keep in your fridge for meals too. Top your tacos with it, add it to your fave quinoa bowl, or dip some corn chips in it for a satisfying snack. What’s even better is that it’s so easy to make you’ll never go back to the processed jar stuff again. Pretty awesome, right?

Fresh Homemade Salsa Recipe

Fresh Homemade Salsa Recipe
Prep Time 15 minutes
Total Time 15 minutes

Ingredients

  • 3 Large Roma Tomatoes
  • 2 Fresh Jalepenos
  • 1 Medium Red Onion
  • Juice from 1 Lime
  • 1/4 Cup Fresh Cilantro
  • Optional - Pinch of Salt

Instructions

  1. First, dice up your tomatoes and place them in a bowl.
  2. Next, cut the stem off of your jalepenos and cut them in half lengthwise. Remove the seeds from the jalepenos.
  3. After your seeds are removed, finely dice your jalepenos and add them to the bowl with your tomatoes.
  4. Then peel and dice your red onion. Add it to the mixture in the bowl.
  5. Next, finely chop up your cilantro and add it to your bowl.
  6. Top the mixture with your lime juice and a pinch of salt (if adding salt).
  7. Lastly, stir the mixture with a rubber spatula until well-combined.

See where I’m linking up!

Don’t Forget to Pin It!

Close Up of Salsa with text overlay - Easy and Fresh Homemade Salsa


More Ideas You’ll Love: