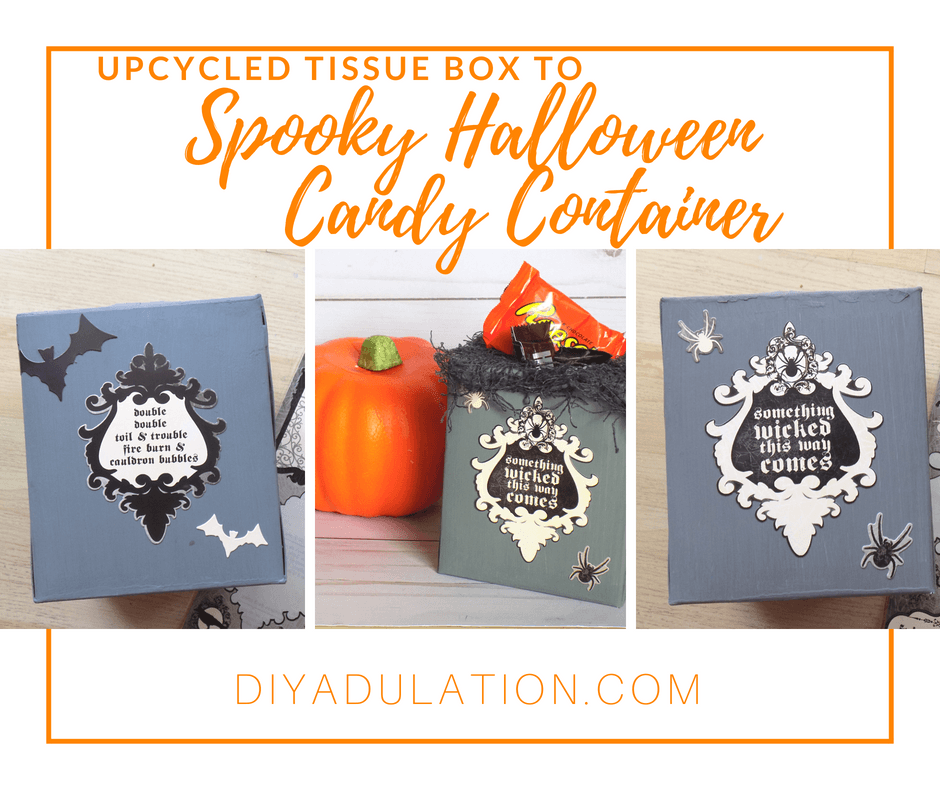
Awesome Halloween decor doesn’t have to cost a fortune. Create your own amazing decor on a budget by using what you already have. That’s exactly what this easy upcycled tissue box spooky Halloween candy container delivers!
Affiliate links may be used in this post. Ordering a product through these links may result in a commission at no extra cost to you. Read the full disclosure here.
[bctt tweet=”Are you looking for awesome Halloween decor ideas on a budget? Turn an empty tissue box into this awesomely spooky Halloween candy container!” username=”diyadulation”]
I have been so excited to make this easy project that I’ve been holding onto this empty tissue box for weeks. I can’t count the number of times someone in my house asked me if it could be tossed out.
Of course, it was a little early at the time to start crafting for Halloween but September is the official green light in my mind. Now I can start pulling out the Halloween fun!
It’s time for you to start thinking about your own Halloween decorations, too. Start saving those tissue boxes so you can make your own spooky Halloween candy container.

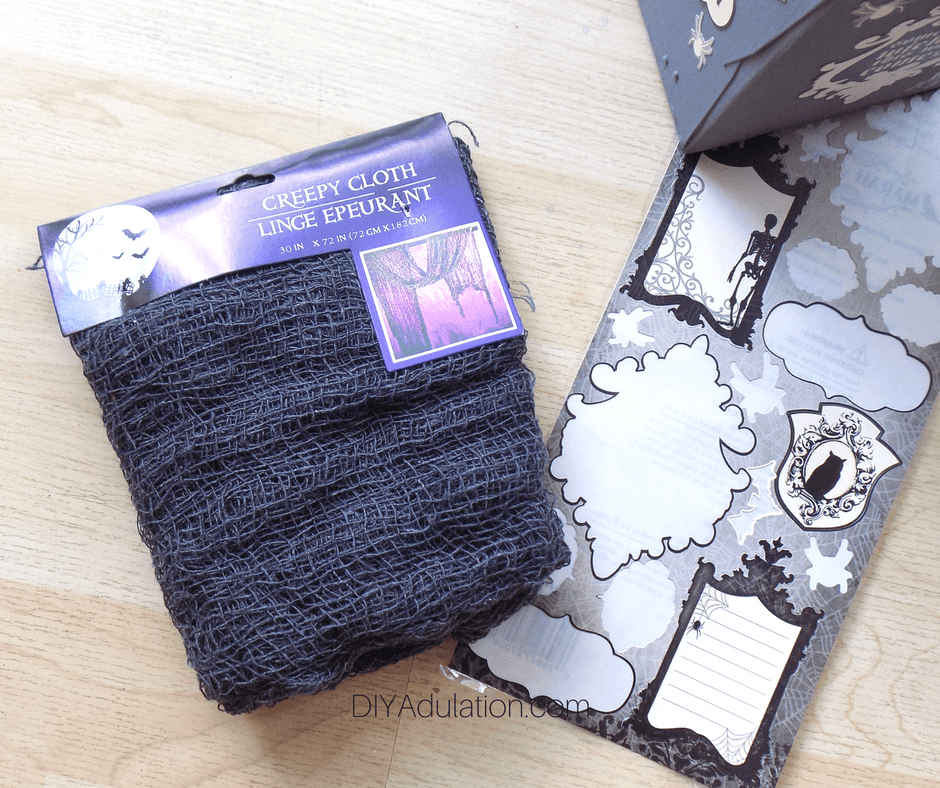
Materials
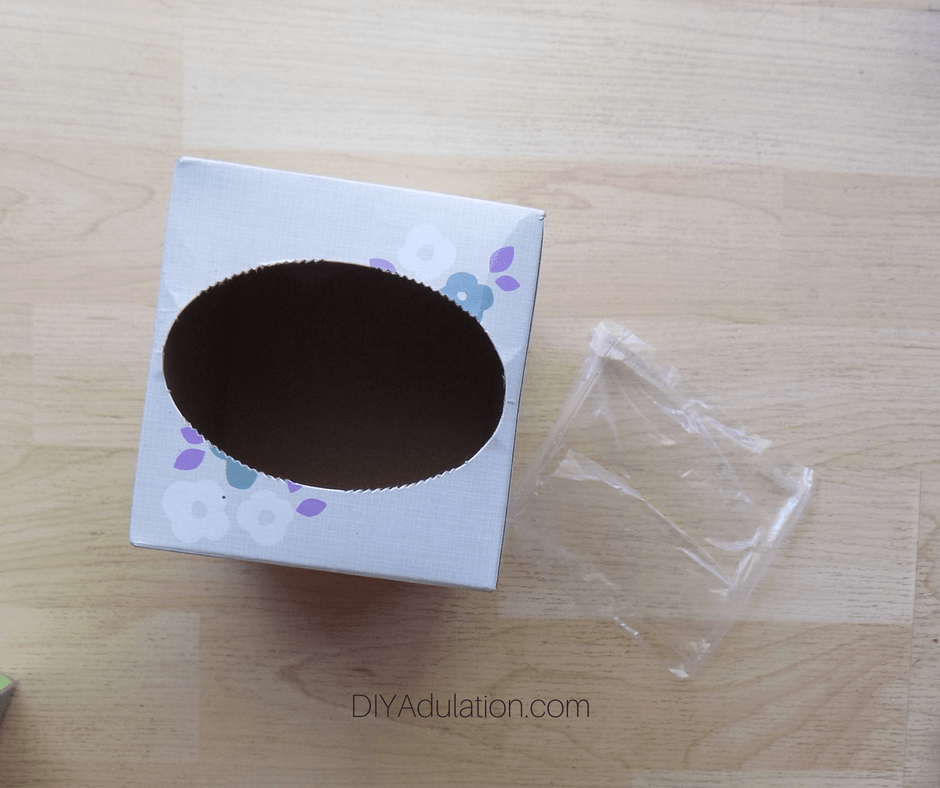
Step 1
First, remove the plastic from around the inside of the tissue box opening.

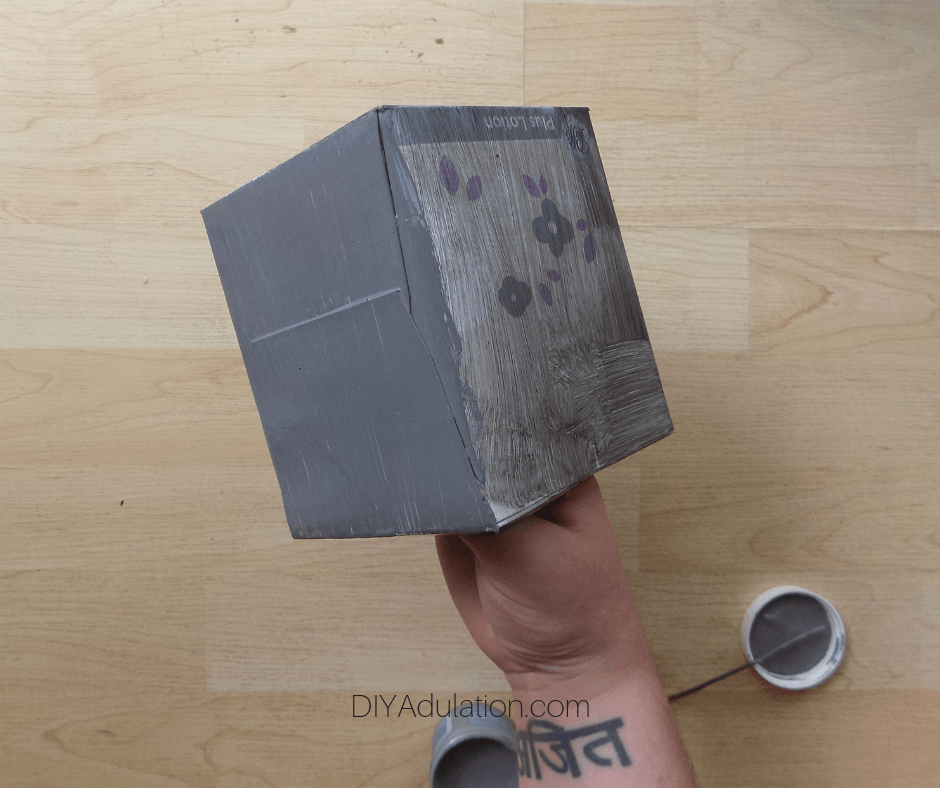
Step 2
Next, paint your entire box with your rescue restore paint. Allow it to dry before moving on.
Note:
- If you’re still on the fence about adding Rescue Restore paints to your crafting arsenal, check out the difference between one coat of black acrylic paint and one coat of Rescue Restore paint.
- Not only does it take a ton more coats but you will have to seal it on projects like this one. The Rescue Restore paint takes less coats, is less work, and saves you tons of time! Seriously, grab some now and give it a try. It’s awesome!


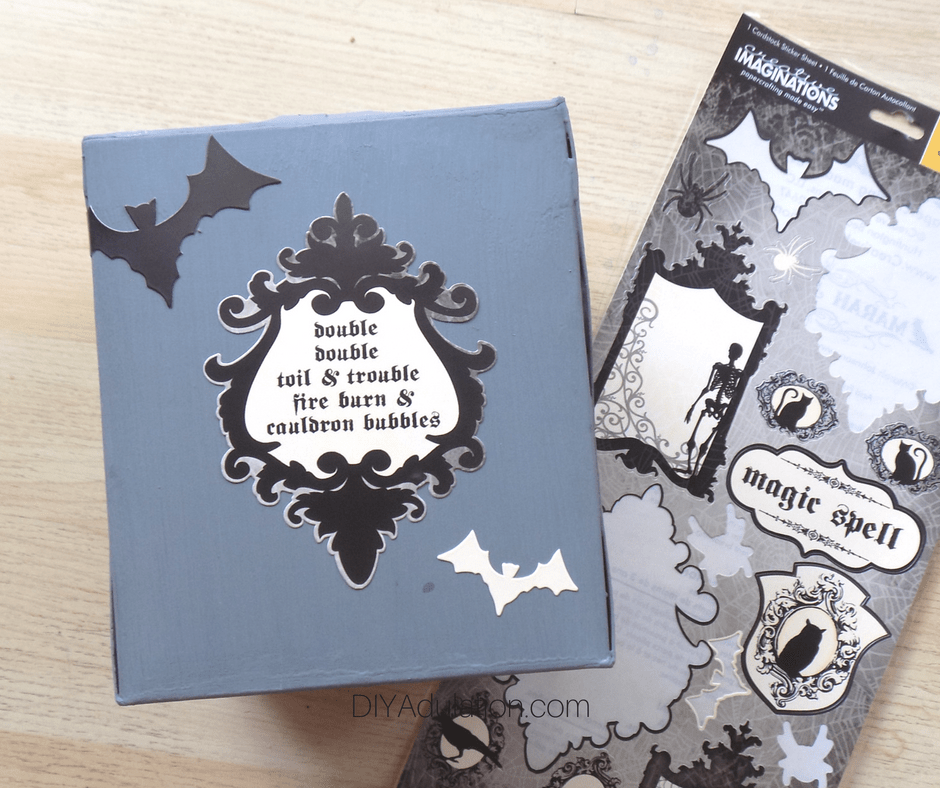
Step 3
After you paint has dried, add your stickers to your box. Only work with one side at a time and focus on designing that one before moving to the next.

Tip:
- Don’t be afraid to fold some of the stickers around the edges. It doesn’t detract from the design. Promise.
Step 4
Now, remove the packaging from your black creepy cloth and unfold it.

Step 5
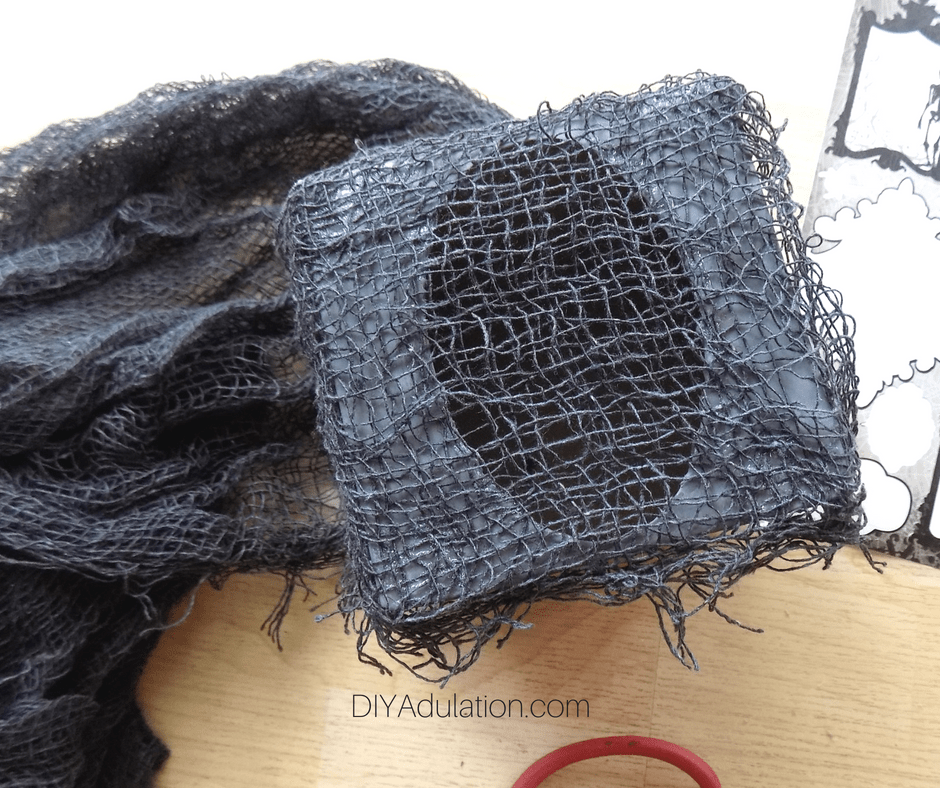
Then add E6000 to the top corners of your tissue box and around the opening.
Step 6
Next, press a corner of your black creepy cloth into the glue. Don’t worry about covering your tissue box opening.

Step 7
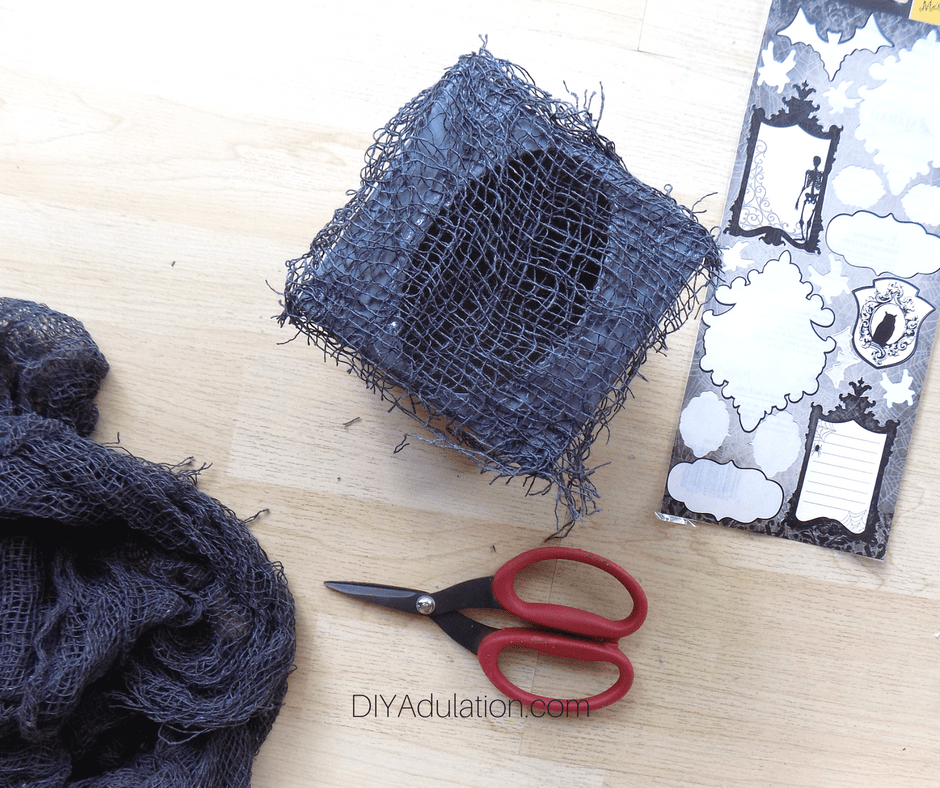
Carefully cut around the edges of the box to remove the glued section of your black creepy cloth from the rest of it.

Step 8
Again working carefully, cut out the black creepy cloth covering the hole in the top of your tissue box.

Tip:
- Some of the fabric strands fell into the tissue box while I cut around the box opening. If this happens to you, simply wrap some tape around your finger, sticky-side out, and press it around the inside of your tissue box.
Step 9
Next fix any areas of the black creepy cloth that pulled away from the glue.

Step 10
Lastly, allow your glue to dry 24 hours then fill with your favorite Halloween candy!

Would you ever guess that this gorgeous spooky Halloween candy container used to hold tissues?! It is seriously easy to make although you might want to have a backup stash of candy to refill it. I must deprive my family because they are already flying through it (minus a few Kit Kats I nabbed). Luckily, even empty it’s still an awesome piece of Halloween decor for the table!
See where I’m linking up!
Don’t Forget to Pin It!

More Ideas You’ll Love: