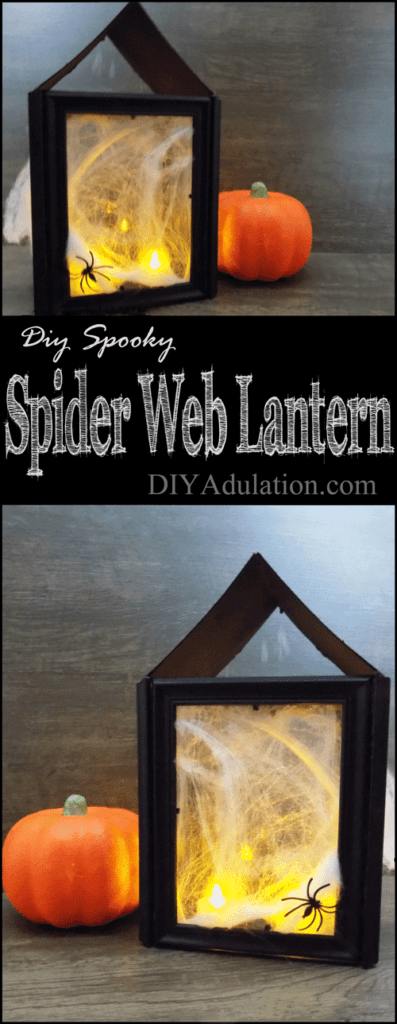
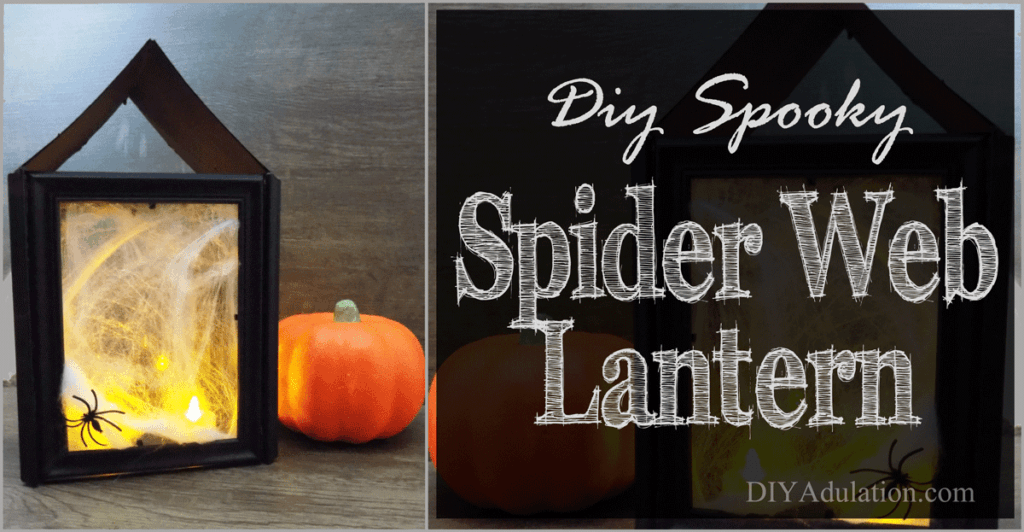
Seasonal holiday décor is always a great way to energize your home’s style. Unfortunately, you don’t always have hundreds of dollars to spend on holiday decorations. This frugal momma sure doesn’t. That is why Dollar Tree is so fantastic. They have a ton of ready-made Halloween décor at rock bottom prices to get your home ready for October. They also have a variety of items that can be used to create your own unique holiday décor on a budget. For example, this DIY spooky spider web Halloween lantern only cost me $5.00 to make! You can make your own budget décor piece with the tutorial below.

[bctt tweet=”Create this budget-friendly #DIY spooky spider web #lantern for Halloween! #ad” username=”diyadulation”]
Materials
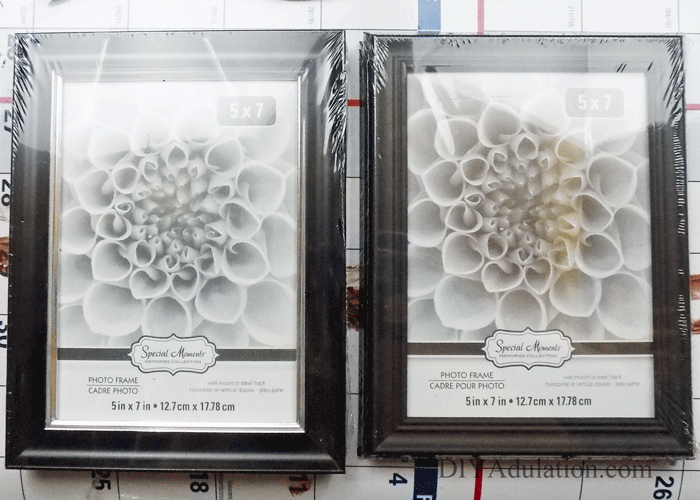
Step 1
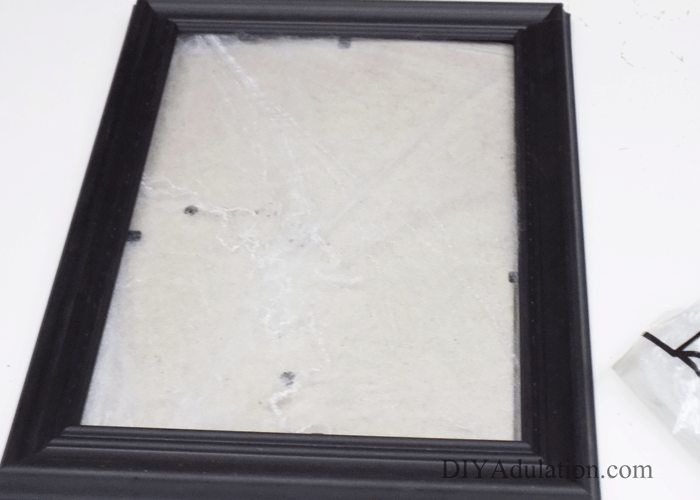
First, remove all of the packaging from your frames.
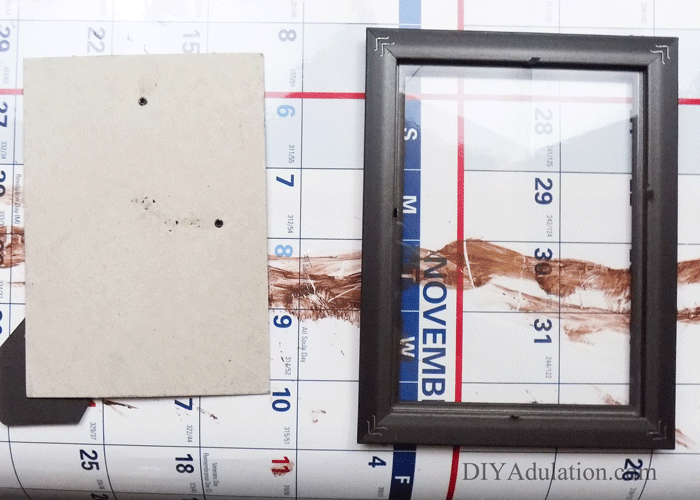
Step 2
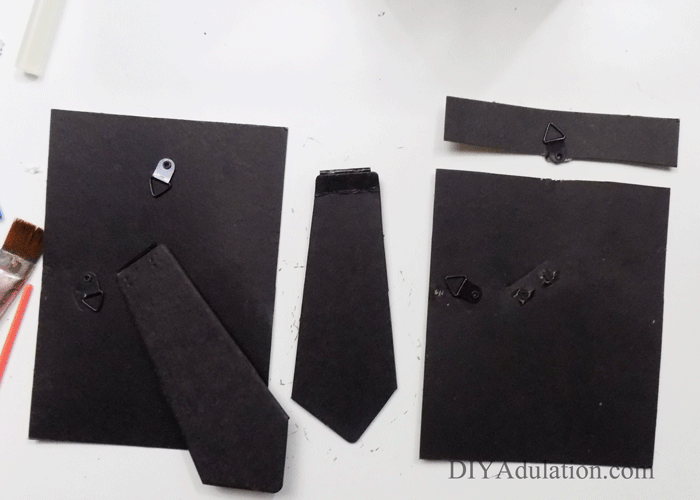
Next, disassemble each of your frames.
Note:
- Set the cardboard backings and paper inserts to the side.
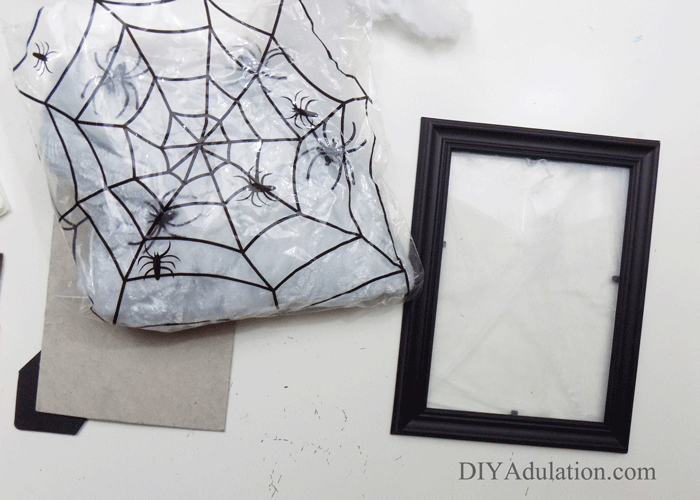
Step 3
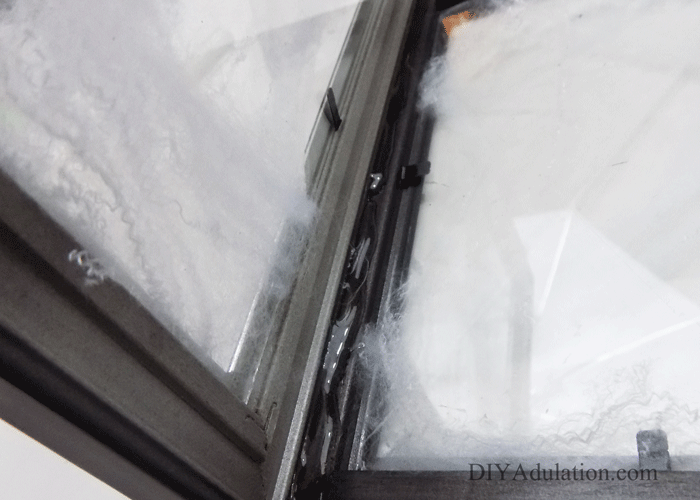
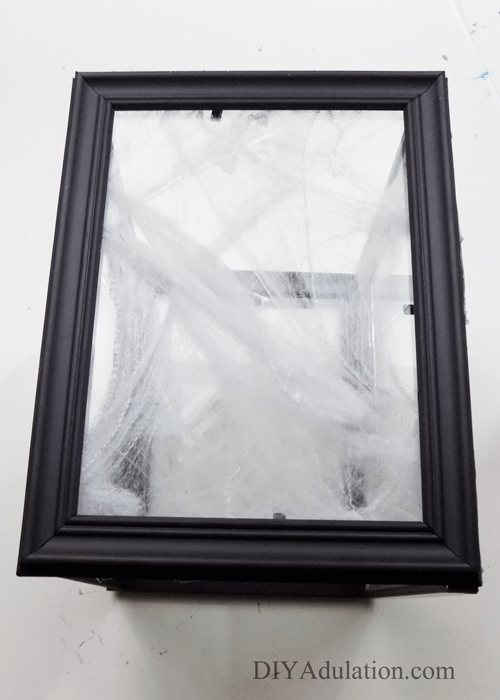
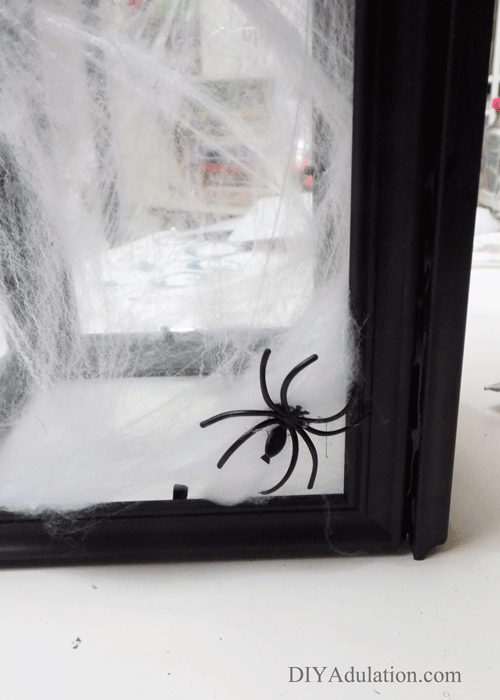
Add spider web to the glass inserts and return to your frame.
Tips:
- Go heavy on the spider web to help add to the creep factor.
- You may need to cut the extra spider web with scissors. If so, cut it after securing the glass back into the frame. This will help hold it in place better.
Step 4
Continue step 3 until each piece of glass is covered in spider web and returned to the frames.
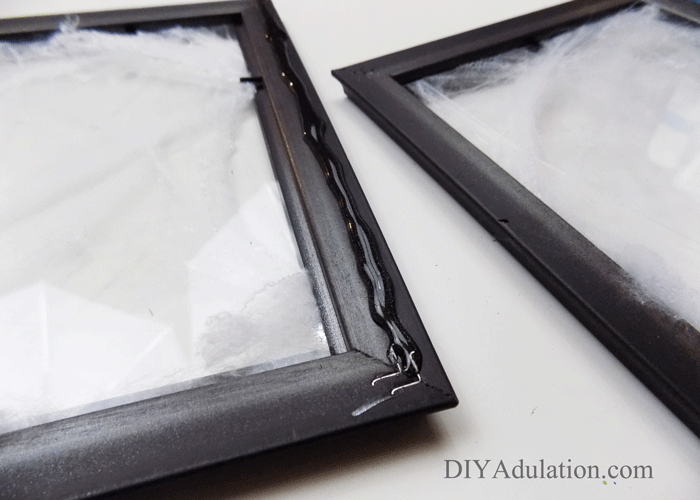
Step 5
Next, add glue to the back, right edge of one frame.
Note:
- It doesn’t matter which frame you choose.
Step 6
Attach a second frame to the glued edge.
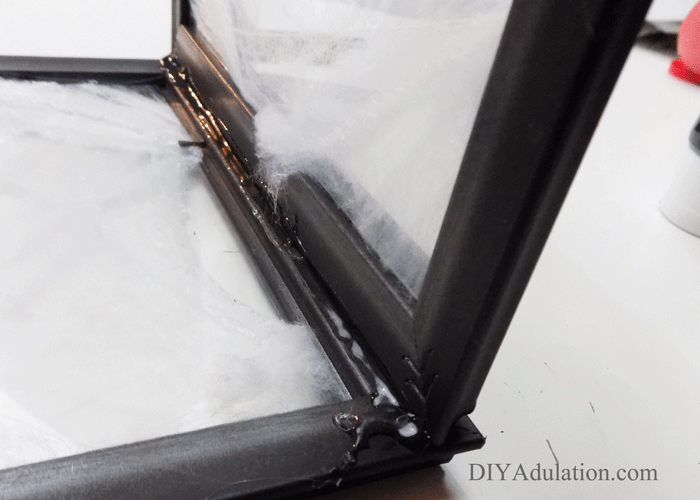
Step 7
Add more glue to the left side of the first frame.
Tip:
- The “first frame” is the one that you added glue to in step 5.
Step 8
Next, attach your 3rd frame to the glue line.
Step 9
Add glue to the left and right edges of your loose frame.
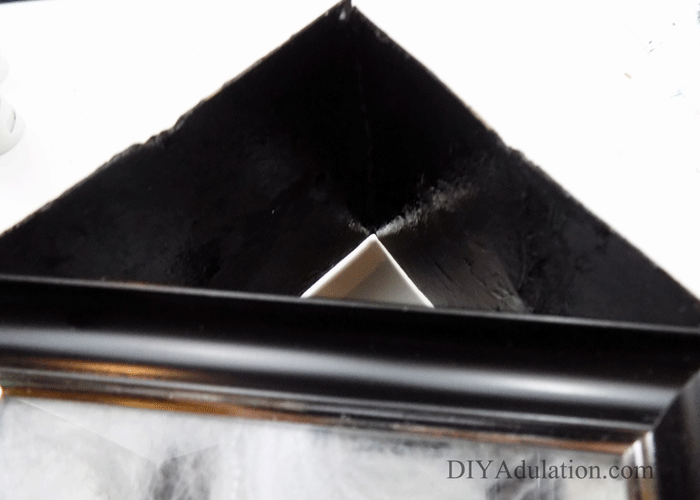
Step 10
Press the 3 attached frames into the glue covered edges.
Step 11
Next, trim 2 of the cardboard frame backings to match the width of the top of your lantern.
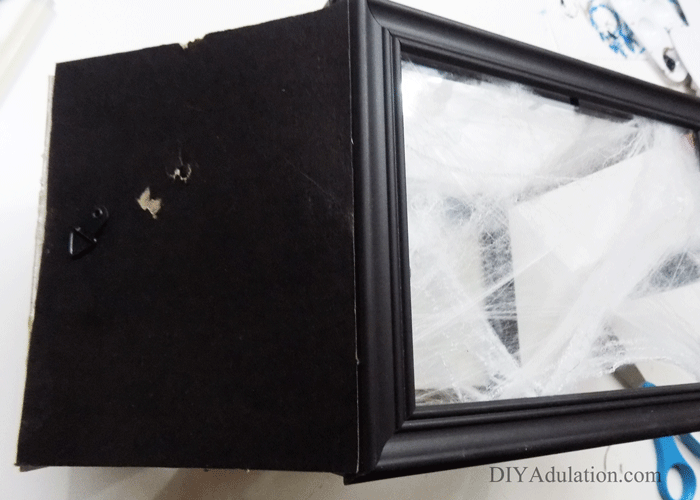
Step 12
Remove the props from the back of your cardboard pieces and glue them to the frames and at the center where they meet.
Step 13
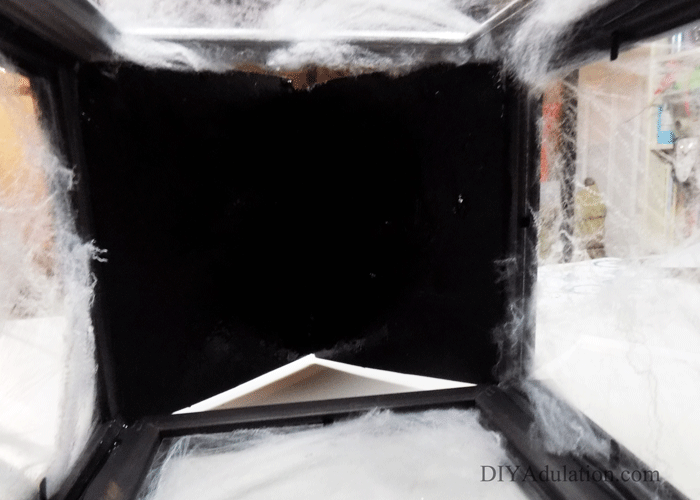
After attaching the cardboard piece to your lantern, paint the undersides of them black.
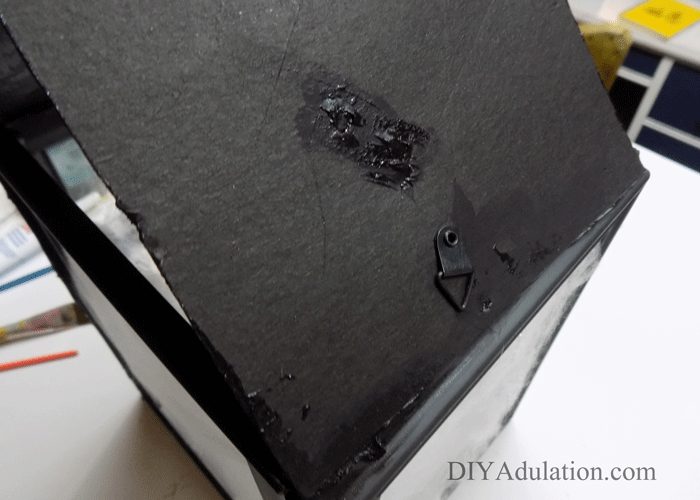
Step 14
Next, touch up any brown areas on top with black paint.
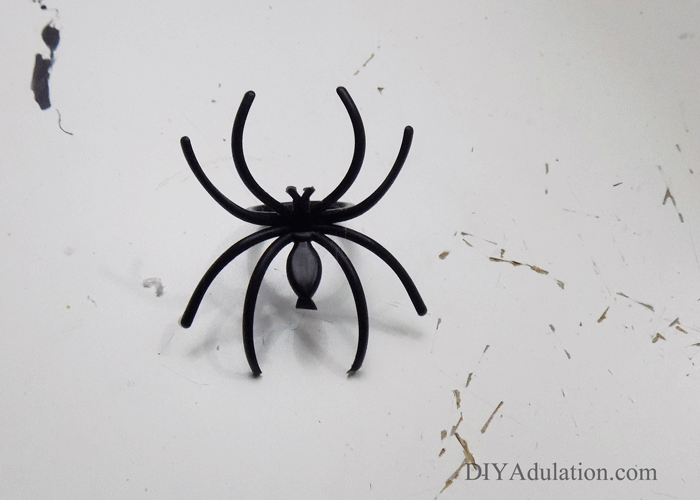
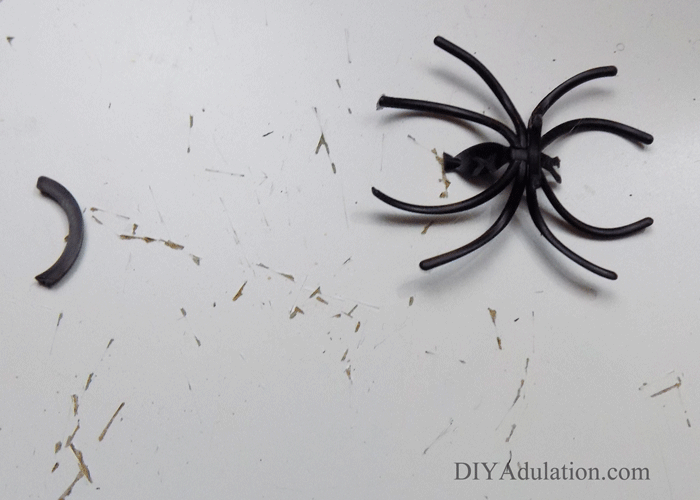
Step 15
Then cut the back off of your spider ring.
Step 16
Lastly, glue the spider to your lantern.
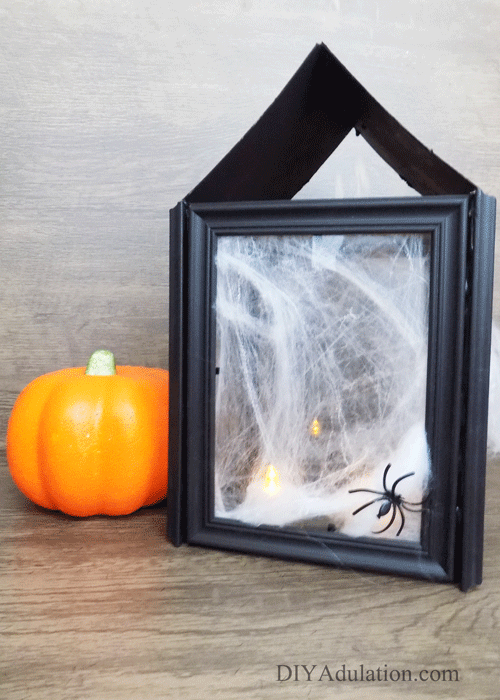
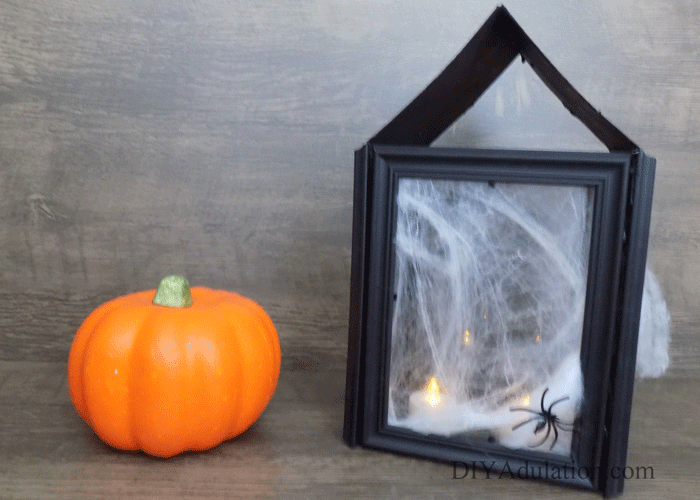
Once your lantern is finished, place it over 2 electronic candles. I used tea lights in the photos but I think electronic pillar candles would look fantastic as well. This DIY spooky spider web lantern is so easy to make that you will want to make several different size ones to create a spooky vignette. Luckily, you can create many of them guilt-free with Dollar Tree. Looking for more frugal DIY Halloween décor? Check out these Mini Pumpkin Lanterns or this awesome DIY Buffy Hush box. Don’t forget to come back on Thursday for the Thrift Store Haunted House Makeover.
See where I’m linking up!
Don’t Forget to Pin It!