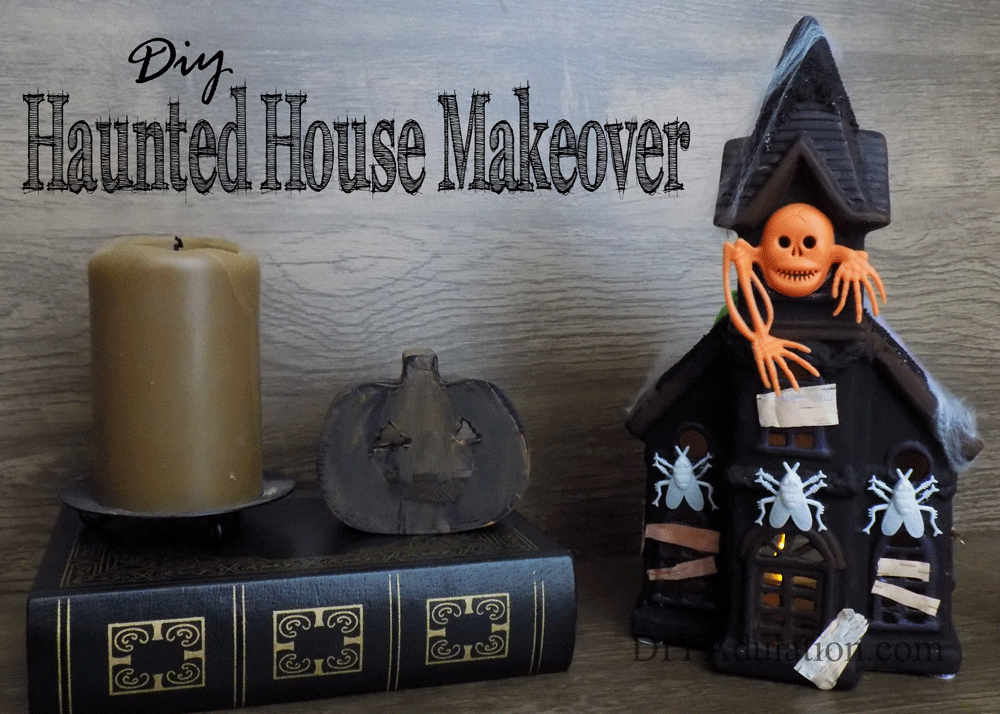
It is time for the Monthly Thrift Store Décor Upcycle Challenge. This month we are keeping with our Halloween momentum and I am crazy excited about it. I picked up this Christmas house from Goodwill last November and immediately knew I wanted to turn it into a haunted house. The snow on the rood and the many windows are perfect for a creepy piece of Halloween décor. Keep reading to find out how to make your own DIY haunted house makeover.
Affiliate links may be used in this post. Ordering a product through these links may result in a commission at no extra cost to you. Read the full disclosure here.

The Rules:
- Upcycle an item(s) from a thrift store, resale store, or garage sale into a new piece of decor.
- There’s no monthly theme.
- There’s no budget to stick to.
Meet the Hosts
Amanda | Domestically Creative Michelle | Our Crafty Mom
Victoria | Dazzle While Frazzled Pili | Sweet Things Debra | Shoppe No. 5
Chelc | Inside the Fox Den Jeannee | Centsably Creative Michelle | Michelle James Designs
Molly | Just a Little Creativity Angela | Simply Beautiful by Angela
Marie | DIY Adulation Denise | My Thrifty House Lindsay | Crazy Organized
Florence | Vintage Southern Picks Shirley | Intelligent Domestications
Make sure you follow our board on Pinterest for more upcycled decor inspiration!

[bctt tweet=”#DIY haunted house makeover from a thrift store Christmas statue! #repurposeit” username=”diyadulation”]
Materials
- Thrift Store Christmas House
- Black Acrylic Paint
- Brown Acrylic Paint
- White Acrylic Paint
- Purple Acrylic Paint
- Acrylic Spray Sealant
- Birch Bark
- Plastic Halloween Toys (I got mine at the Dollar Tree)
- Scissors
- Hot Glue Gun and Glue Sticks
- Fake Spider Web

Step 1
First, cover your entire house in black acrylic paint and let it dry.
Step 2
Next, paint the front door brown.
Step 3
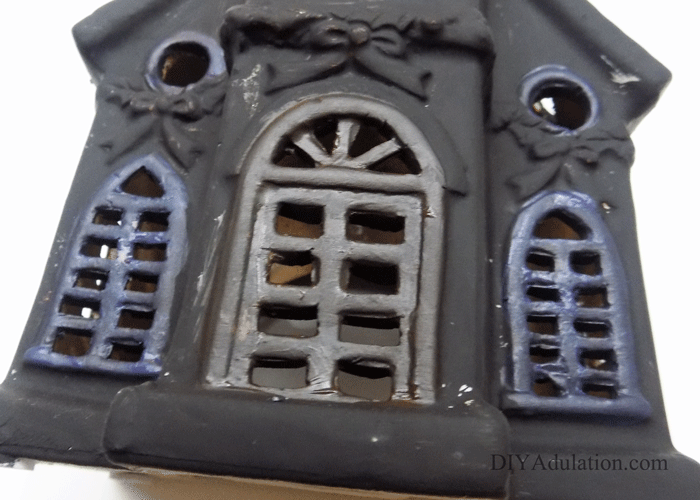
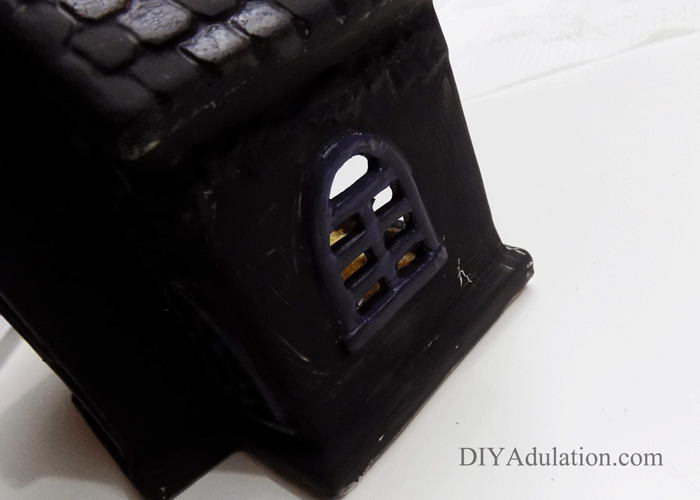
Then mix a small amount of brown paint with your purple paint and paint all of the windows on your house.

Step 4
Next, mix a small amount of white and brown paint and paint the trim of the door.


Step 5
Add the same lightened brown paint to the trim of your house.
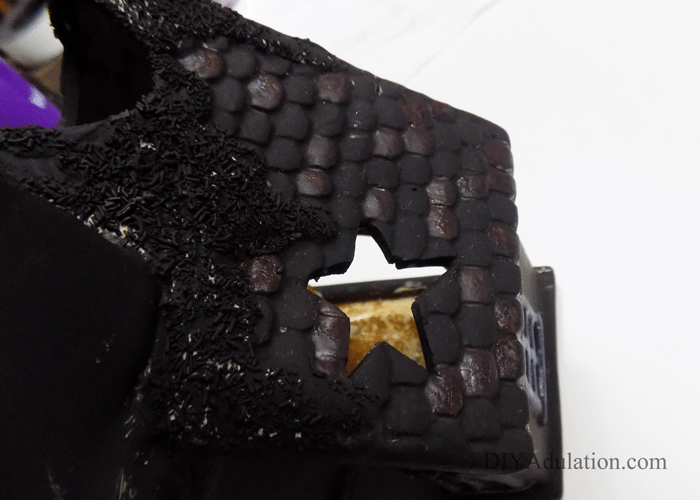
Step 6
Then add some of the brown and purple mixed paint to random shingles of your roof.

Step 7
Touch up any areas that need it and allow the paint to dry.
Step 8
Spray your entire house with acrylic sealant and let it dry.

Step 9
While your sealant dries, cut small pieces of birch bark to look like boards for the windows.

Step 10
Next, glue the boards across all of the bottom windows on your house.
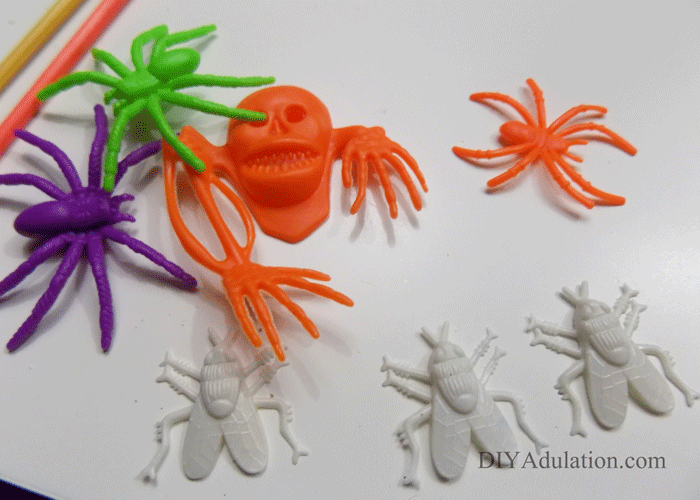
Step 11
Now select some plastic Halloween toys to embellish your house with, including one skeleton bookmark.


Step 12
Cut the bottom off of your skeleton bookmark.
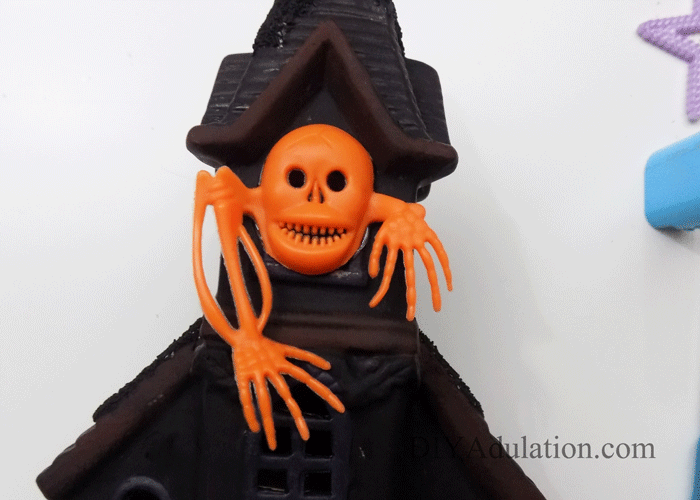
Step 13
Next, attach the skeleton to the top front window on your house with hot glue.

Step 14
Then glue small toys over each wreath on your house.

Step 15
Add a board across the window directly above the door and one board next to the door.
Step 16
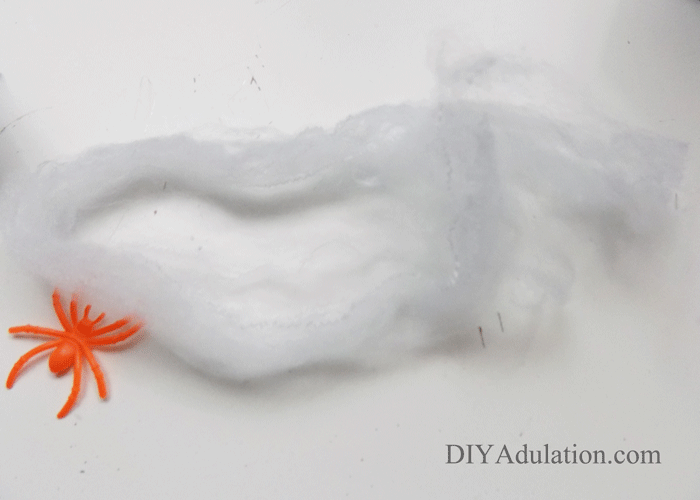
Next, pull off a small amount of fake spider web.
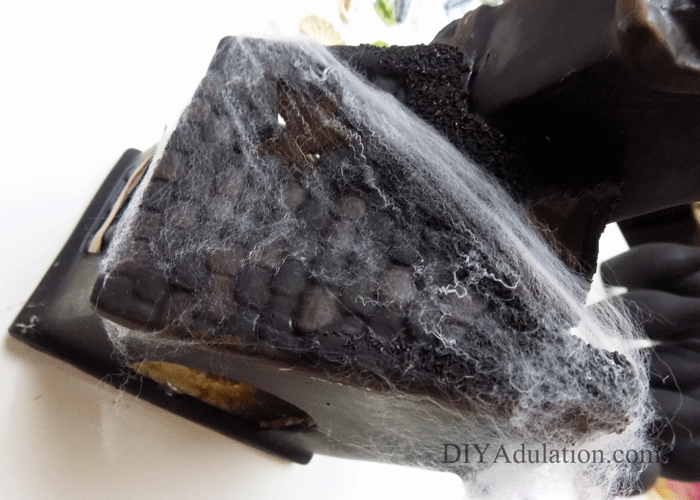

Step 17
Add the spider webs to the roof of the house.
Tip:
- You may need to add dabs of hot glue to keep the spider webs in place at the edges of the roof.


Step 18
Lastly, glue a plastic spider or 2 on the spider webs.
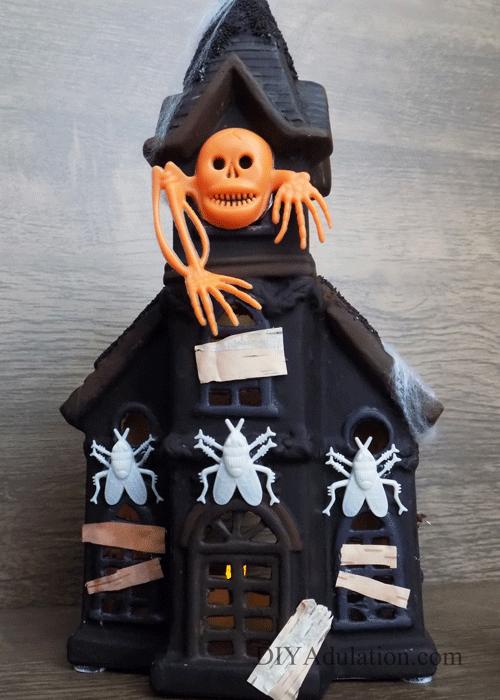
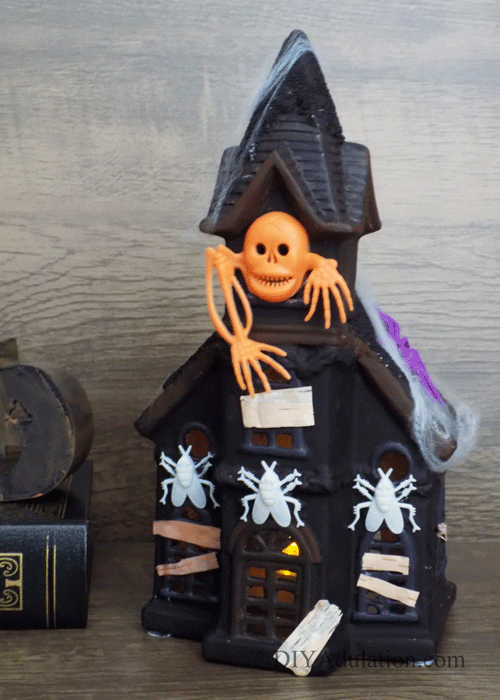
This DIY haunted house makeover turned out fantastically! The fun colors of the plastic Halloween toys make it more playfully spooky so that it doesn’t scare the kiddos. If you want to up the creep factor, stick with the white toys exclusively or paint the toys bronze before adding them to your haunted house. Whichever style you choose, you will have a fun and thrifty new piece of Halloween décor. We’re not done with the upcycled fun yet. Check out the other thrift store projects from my friends below!
See where I’m linking up!
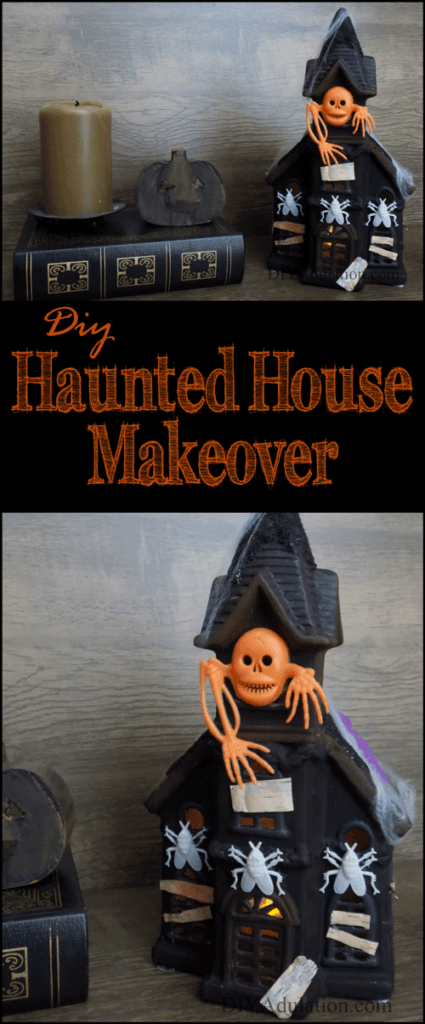
Don’t Forget to Pin It!
And now for more thrifty goodness!
Check out what my fellow upcyclers created below!
