In need of some super simple and budget-friendly new Halloween decor this year? You can’t beat these fun and colorful Halloween jars. They’re so easy to make with some glass jars and fun Halloween napkins from the dollar store!
Affiliate links may be used in this post. Ordering a product through these links may result in a commission at no extra cost to you. Read the full disclosure here.

[bctt tweet=”Get ready for a simple and budget-friendly new Halloween project with these fun and colorful Halloween jars! They’re super easy to make and totally festive!” username=”diyadulation”]
For the past month, I’ve been basically stalking the Dollar Trees in my area hoping to find some of those glittery branches they have every year. While I haven’t seen those in store yet, I have found a ton of other inspiring items. I mean, do you ever leave the dollar store without buying at least a couple of items?
Lucky for you, my loss is your gain because it means tons of awesome new Halloween projects like these easy-to-make colorful Halloween jars. They are so much fun and totally fit with the fun and non-spooky theme I’m loving this year. Even better, the only items you have don’t already have in your craft stash are the napkins and possibly the cylinder vase making the entire craft only 2 bucks! I can’t think of a better deal than that!
Don’t worry. I’m going to keep hunting those sparkly branches, because I have a super fun idea for them. Until then, enjoy this latest craft project for your Halloween decor!


Colorful Halloween Jars Materials
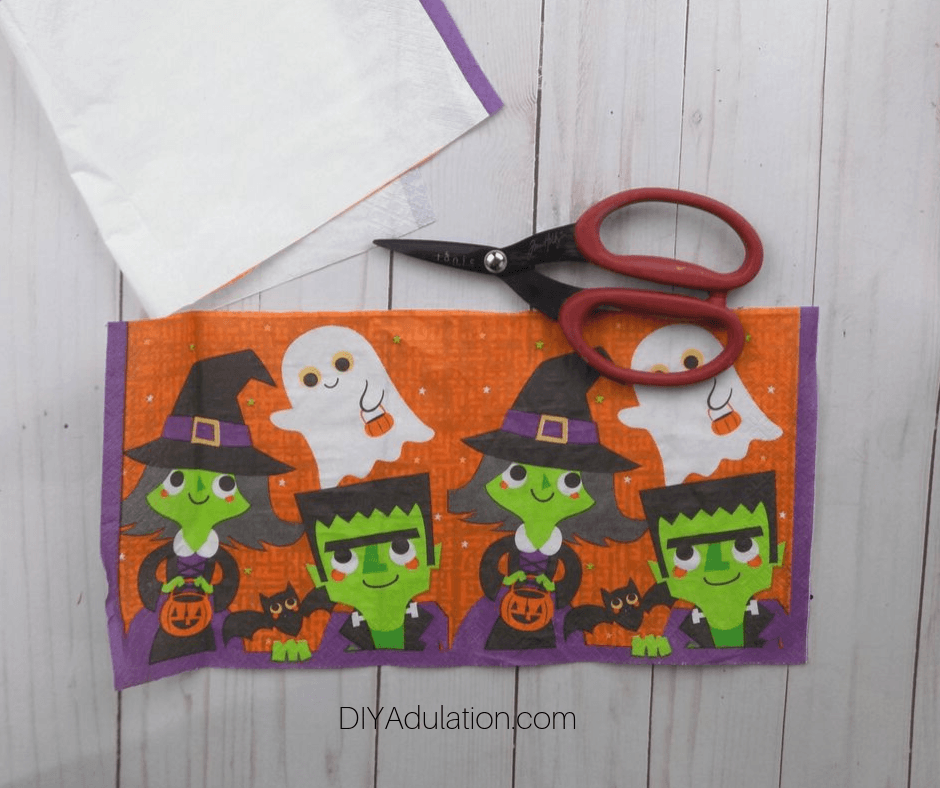
- Halloween Character Napkins
- 1 Glass Cylinder Vase
- 2 Small Glass Jars
- Scissors
- Mod Podge
- 1 inch Sponge Brush
Step 1
First, clean you vase and jars and allow them to dry.
Step 2
Next, cut one napkin so that only the picture remains.

Step 3
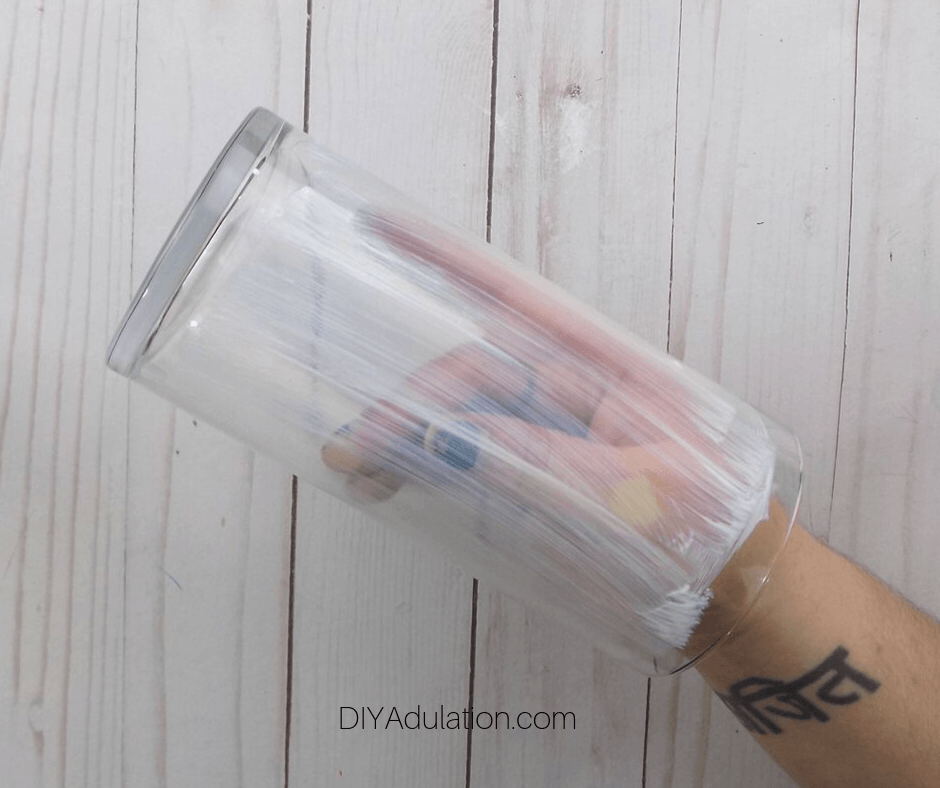
Then measure it around your vase and fold the excess so that there is a slight overlap at the ends.

Step 4
Next, cut at the fold you made.

Step 5
Cover your vase in a coat of Mod Podge and begin attaching your napkin.

Step 6
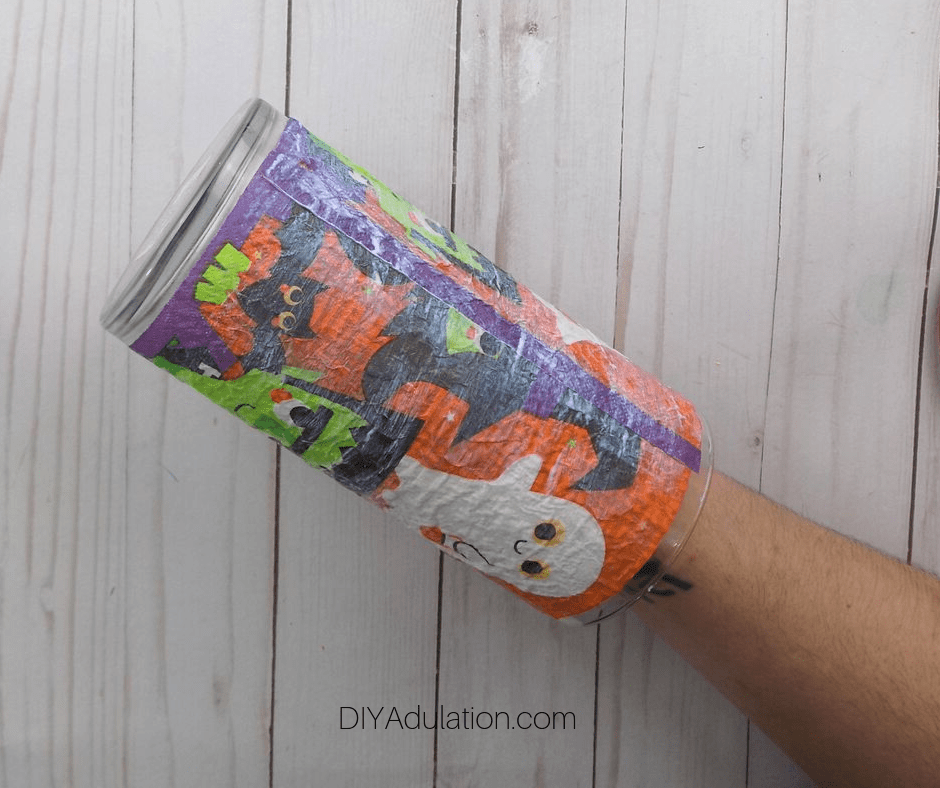
Continue until your napkin is completely wrapped around your vase.
Step 7
Further secure the napkin to the vase by covering the outside of the napkin with another coat of Mod Podge. Set your vase aside to dry.
Note:
- Wipe away any excess Mod Podge from the top and bottom edges.

Step 8
Next, cut out only the vampire from a napkin. Keep as close to the outline as possible when cutting.

Note:
- After you cut him out, go back and trim any excess that is outside of his outline.

Step 9
Attach the vampire to one small jar using the same method you did on the vase.
Step 10
Again, go over the vampire with a second coat of Mod Podge and set the jar aside to dry.
Step 11
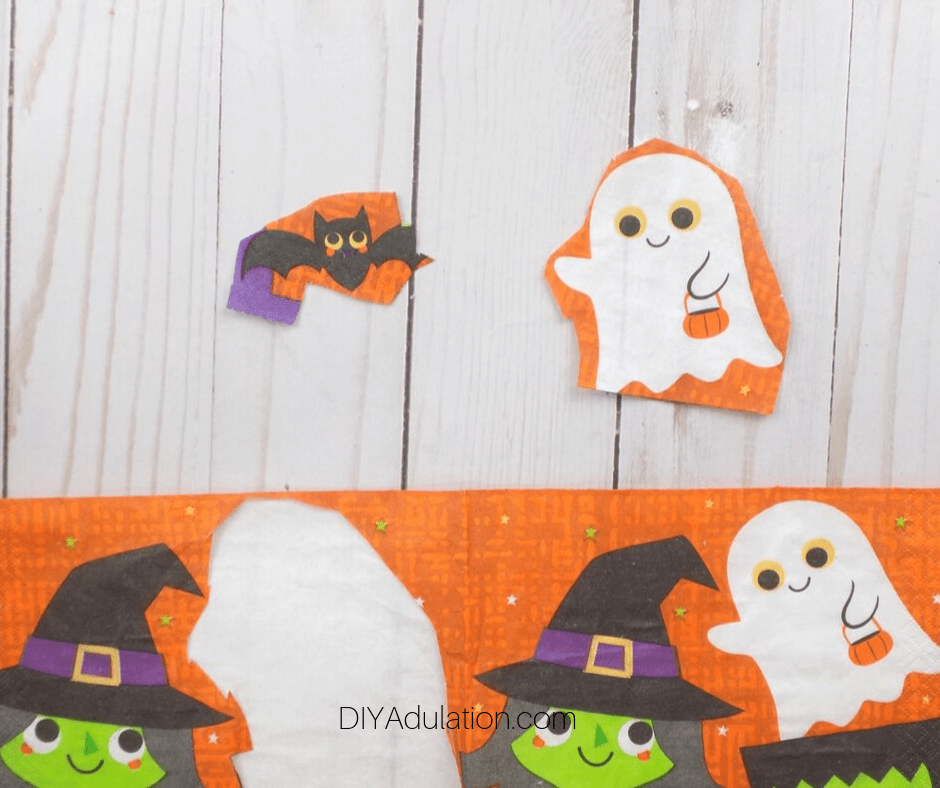
Lastly, cut out the ghost and bat from the same napkin that you cut your vampire from. Again, make sure that you trim all that extra orange from around the edges.

Step 12
Then attach the ghost and bat to the 2 small jar with Mod Podge. Cover the outside of the ghost and bat with Mod Podge too and, again, allow it to dry.


Once your fun and colorful Halloween jars are dry, put some electric tealights in and use them as luminaries in a vignette on your mantle for the season. You can also fill them with candy and flowers (as I did) to create a festive and practical centerpiece for your dining table. No matter which you choose, you’ll have some easy and inexpensive new Halloween decor to display through October!
See where I’m linking up!
Don’t Forget to Pin It!

More Ideas You’ll Love: