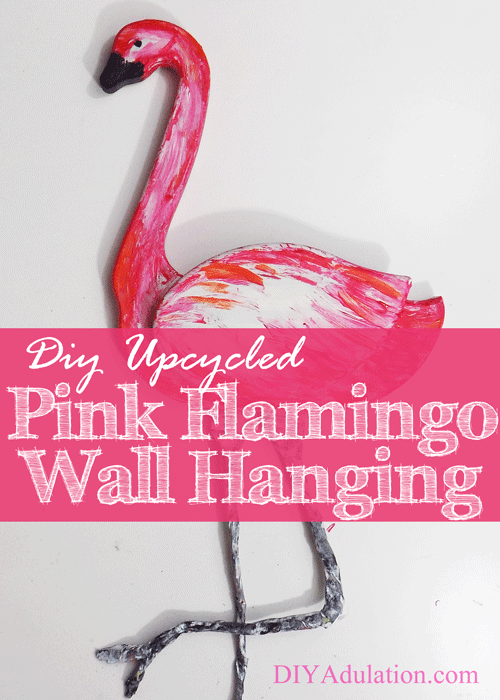
Have you ever seen those country wooden geese at the thrift store? They remind me of an old kitchen painted dusty rose and blue. Not my style at all. Yuck! The last time I came across one I was struck with inspiration. I have wanted to add a flamingo to my wall for a while and this would be a perfect base. The hardest part is figuring out the legs. Well guess what! I figured it out and I’m finally ready to share this awesome makeover at the Monthly Thrift Store Decor Upcycle Challenge! Find out how to turn an ugly thrift store goose into an awesome DIY upcycled pink flamingo wall hanging.
Affiliate links may be used in this post. Ordering a product through these links may result in a commission at no extra cost to you. Read the full disclosure here.

The Rules:
- Upcycle an item(s) from a thrift store, resale store, or garage sale into a new piece of decor.
- There’s no monthly theme.
- There’s no budget to stick to.
Meet the Hosts
Amanda | The Kolb Corner Maureen | Red Cottage Chronicles Kim | Made in a Day
Dru | Polka Dot Poplars Erlene | My Pinterventures Colleen | Life on Kaydeross Creek Pili | Sweet Things
Shirley | Intelligent Domestications Debra | Shoppe No. 5 Marie | DIY Adulation
Chelsea | The Johnsons Plus Dog Jes | My DIY Envy Lindsay | Crazy Organized
Molly | Just a Little Creativity Ashley | 3 Little Greenwoods Kimm | Reinvented Michelle | Our Crafty Mom
Jeannee | Shepherds and Chardonnay Sue | A Purdy Little House Sara | Twelve on Main
Claire | Pillar Box Blue Chelc | Inside the Fox Den Kim | Farmhouse Made Victoria | Dazzle While Frazzled
Sherry | Savvy Apron Jennifer and Vicki | 2 Bees in a Pod Lora | Craftivity Designs
Ann | Duct Tape and Denim Denise | My Thrifty House Toni | Small Home Soul Megan | C’mon Get Crafty
Make sure you follow our board on Pinterest for more upcycled decor inspiration!
[bctt tweet=”Turn an ugly thrift store goose into an awesome pink flamingo wall hanging. #repurposeit #diy” username=”diyadulation”]
Pink Flamingo Wall Hanging Materials

Step 1
Clean your wall art.
Step 2
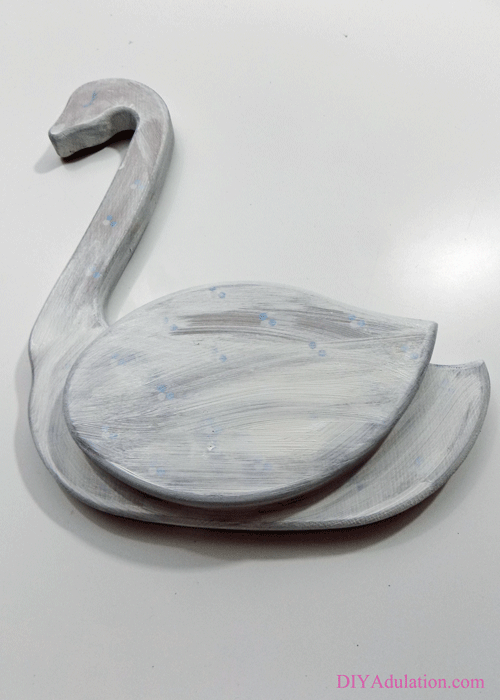
Paint a coat of white over the entire goose.
Step 3
Let the paint dry.
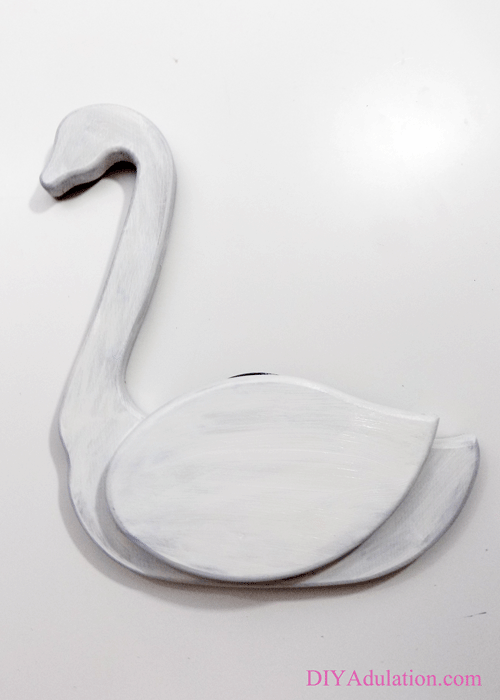
Step 4
Paint a second coat of white paint.

Step 5
Start adding red paint as seen in the photo above before your second coat of white dries.

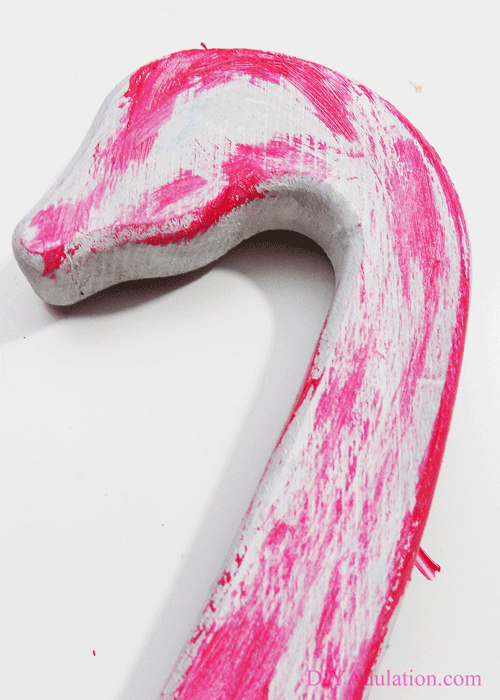
Tips:
- Only brush your paint in one direction to give the illusion of feathers.
- Leave a white area in the middle of the wing.
- Add the red paint more heavily on the tail, base of the neck, and the top of the head.
Step 6
Set your goose off to the side to dry.
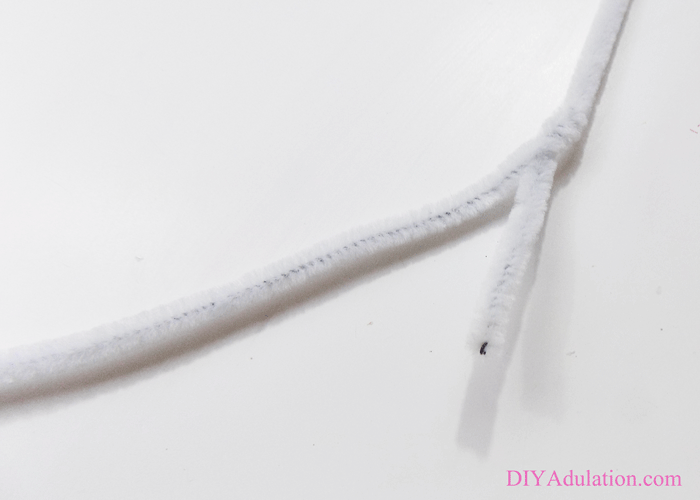
Step 7
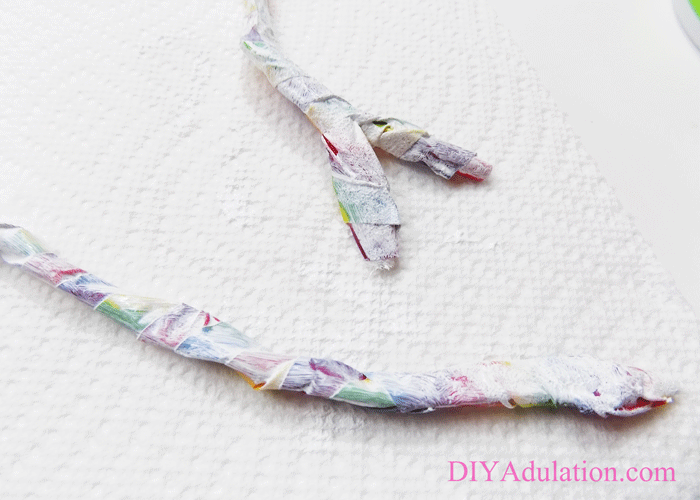
Now it is time to form the legs. At the end of one of your pipe cleaners (about 1 inch from the bottom) twist a second pipe cleaner.
Step 8
Snip off the excess of the twisted pipe cleaner so that you are left with 2 claw-like ends.
Step 9
Next, bend your pipe cleaner at the ‘knee’.

Step 10
Cut a second pipe cleaner in half.

Step 11
Fold each half into an upside down triangle.
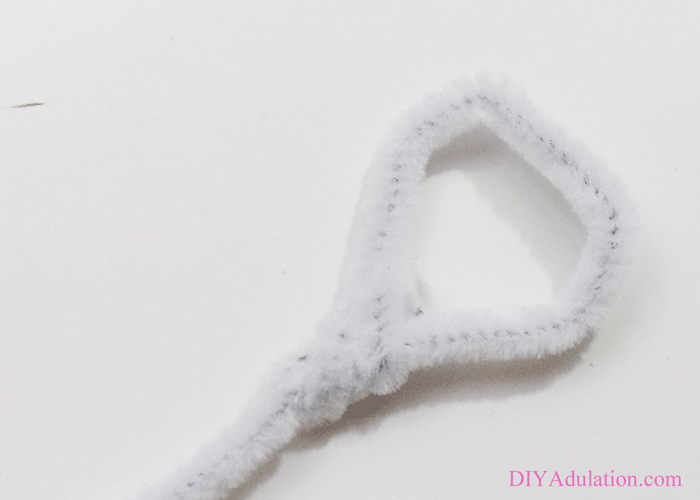
Step 12
Attach one triangle, point side down to the end of your pipe cleaner opposite the claws. Do this by twisting the open points around the end.
Step 13
Repeat step twelve on a fresh pipe cleaner.

Step 14
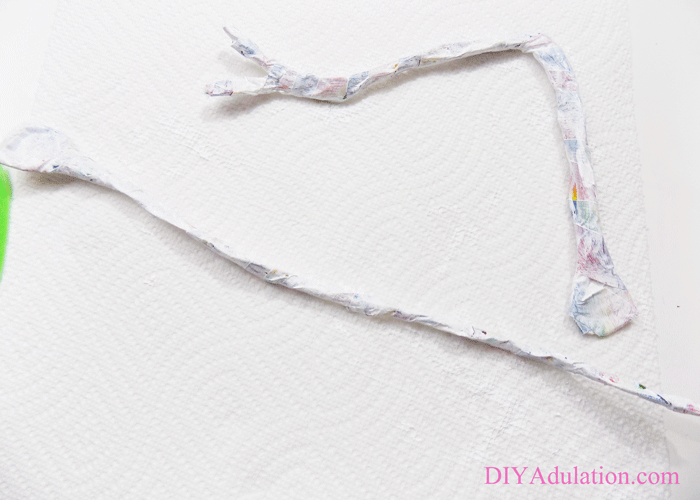
Next, wrap tape around the triangle end of your pipe cleaner legs.
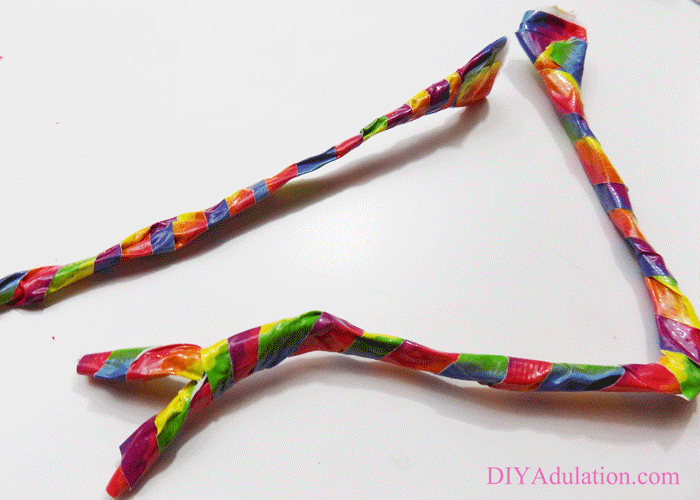
Step 15
Continue wrapping the legs until they are completely covered.
Tips:
- Thoroughly cover your pipe cleaners with the tape paying special attention to the joints.
- Wrap your tape in a way that adds volume to your legs. The tape is to make them bigger as well as secure them.

Step 16
If needed, fix the bend in your clawed leg.
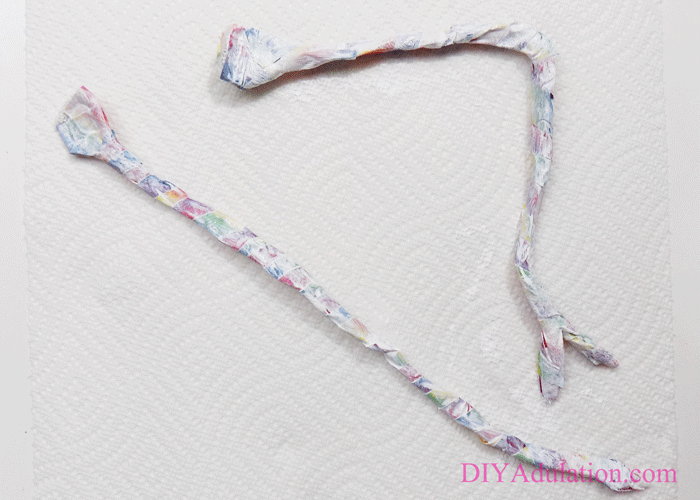
Step 17
Place your legs on a paper towel and cover with a coat of white paint. Set aside to dry.
Step 18
Now, mix together a small amount of red and yellow paint to get a dark red-orange.

Step 19
Next, add the orange to the dark red areas on your goose.
Tip:
- It’s fine if your paint hasn’t quite dried yet.


Step 20
Lastly, paint the black beak and the eye. Set aside to finish drying.
Step 21
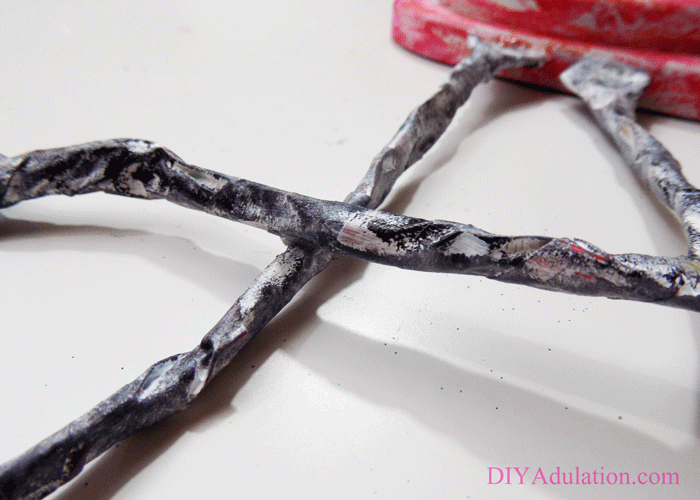
Add a second coat of white paint to your legs.

Step 22
Without waiting for the second coat of white to dry, dab your legs with black paint.
Tip:
- The black should be heavier at the bottom and lighter on top.
Step 23
Allow your paint to dry completely before moving on.


Step 24
Attach your legs to your swan with hot glue.
Step 25
Secure the bent leg to the straight leg with a dab of hot glue.


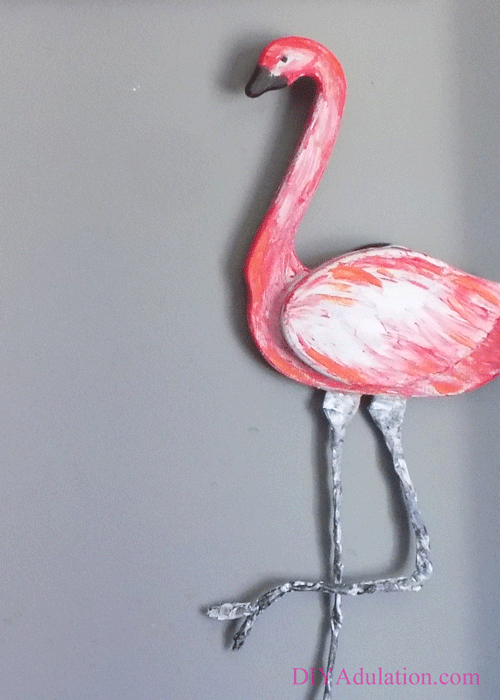
Now hang your flamingo on the wall and enjoy. Can you believe how amazing this turned out? Who would have thought you could turn an ugly thrift store goose into an awesome flamingo wall hanging with pipe cleaners and some tape? This is my favorite thrift store makeover so far! *Insert giddy girl squeal here.* Before you run out to buy your own ugly goose, make sure you check out the awesome projects from my friends below!
And now for more thrifty goodness!
Check out what my fellow upcyclers created below!
See where I’m linking up!
Don’t Forget to Pin It!