Glittery DIY Candy Wreath for Your Christmas Door

It’s Day 1 of the 4th annual 12 Days of Christmas blog hop! If you are looking for awesome DIY candy decor for your home this year, follow along with all of the creative fun right here. We are going full gingerbread house starting with this glittery DIY candy wreath!

Affiliate links may be used in this post. Ordering a product through these links may result in a commission. Read the full disclosure here.

Collage of Photos of Candy Wreath Hanging on Door with text overlay - DIY Glittery Candy Wreath


[bctt tweet=”Turn your home into your own personal Candyland with this glittery DIY candy wreath + check out more Christmas wreaths from the 12 Days of Christmas Hop!” username=”diyadulation”]


Welcome to Day 1 of the Fourth Annual 12 Days of Christmas Series!

DIY Christmas Ideas and Recipes you can use this year! DIY Christmas Decor and Games Ideas #12daysofChristmas

We have teamed up with 50 plus bloggers to bring you a oodles of DIY Ideas and Recipes to make your holiday season merrier. There are 12 different posts in the series and we have spread them out over a four week period with three posts per week. Now is the time to subscribe!

GO HERE for the complete list of Dates and Topics plus a collection of most popular holiday ideas including ornaments, games, recipes and more from all 50 plus talented bloggers!

It’s Day 1 and we are sharing DIY Wreath Ideas!


I seriously have a candy problem and I don’t even mean eating too much of it. Bath bombs that look like sweet treats, giant gummy bear lamps, even Vanellope von Schweetz from Wreck It Ralph because of the candy in her hair all make me crazy excited.

This year that quirky love is totally your benefit because I’m channeling all of it into creating awesome candy-themed Christmas decor!


Candy Wreath Hanging on Door

Glittery DIY Candy Wreath Materials


Wrapped Starburst Candy on Blue Mat

Unwrapped Starburst Candy Next to Foam Wreath Form

Step 1

First, remove your candies from their wrappers. I used 2.6 pounds but it didn’t cover the back of the wreath. If you want the entire wreath covered, I recommend unwrapping 5 or 6 pounds.


Candy Glued Around Edge of Foam Wreath Form

Step 2

Next, begin gluing your candies to your wreath starting on the outer edge.

Note:


Candy Glued Around Edge of Foam Wreath Form 2

Step 3

Continue gluing on candies working your way towards the front of your wreath.


Candy Covered Wreath

Step 4

Keep adding candies until the front and sides of your wreath are covered.


Close Up of Candy Wreath with Mod Podge on It

Close Up of Mod Podge Spread on Candy

Step 5

Once your candies are on your wreath, place it on a protected surface and cover it with Mod Podge. I chose to spread mine with a 2” paint brush but you can use whatever you have on hand.


Close Up of Glitter on Candy Wreath

Glitter on Candy Wreath

Step 6

Next, sprinkle glitter all over the Mod Podge and allow it to dry completely before moving on.

Step 7

After your Mod Podge is dry, seal your wreath with clear engine paint. Make sure you cover the entire wreath to properly seal it (and to protect it from animals if you hang it on your door).

Step 8

Again, let the engine paint dry before moving on.


Glitter Ribbon Tied on Candy Wreath

Step 9

Now cut a length of ribbon that is double the length that you want your wreath to hang and tie it in a circle around your wreath.


Excess Ends Turned into Bow

Step 10

Turn any excess ribbon from your knot into a bow. See the photo above for reference.


Folded Pink Glitter Ribbon

Side View of Folded Pink Glitter Ribbon

Step 11

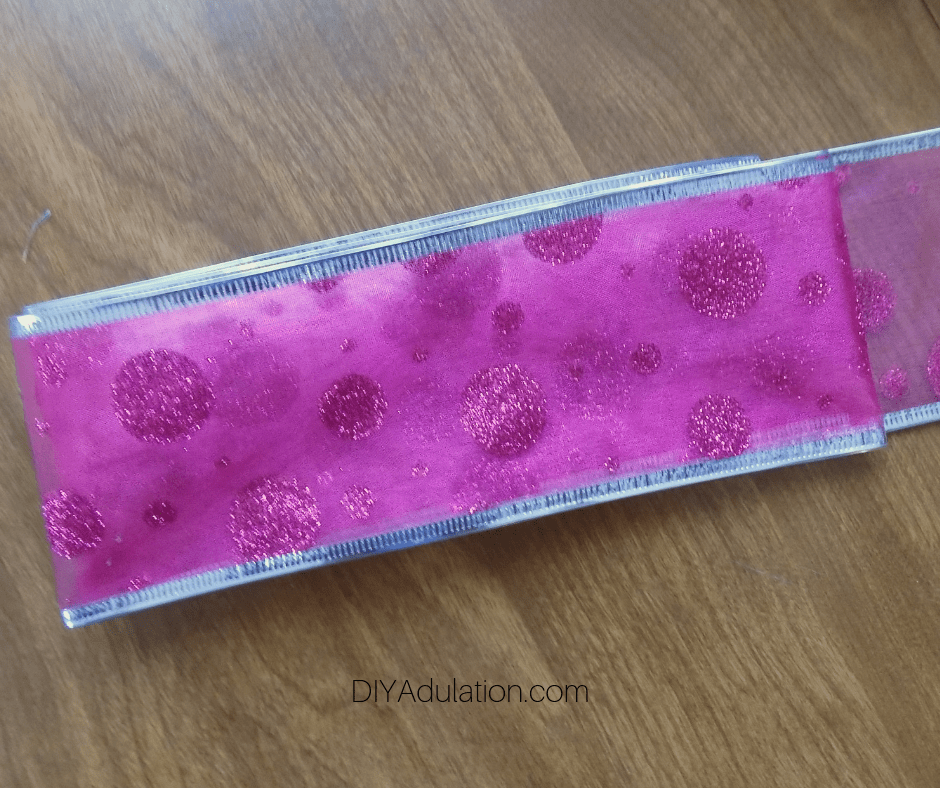
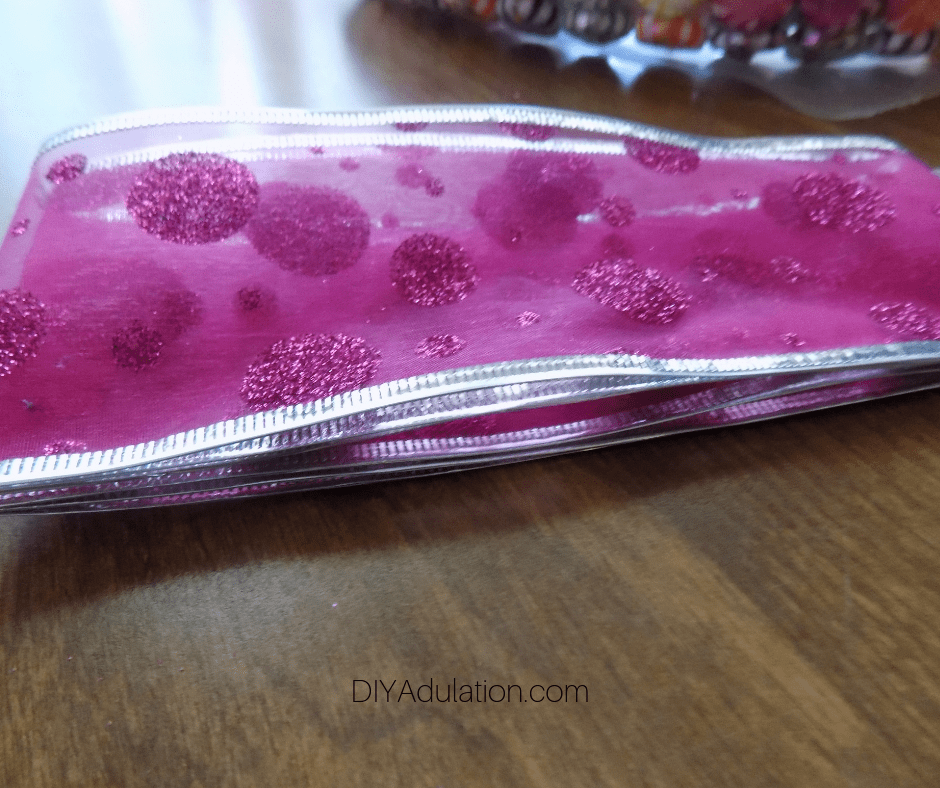
Next, fold more ribbon from your spool in on itself 4-6 times as pictured.


Folded Pink Glitter Ribbon Cut from Spool

Step 12

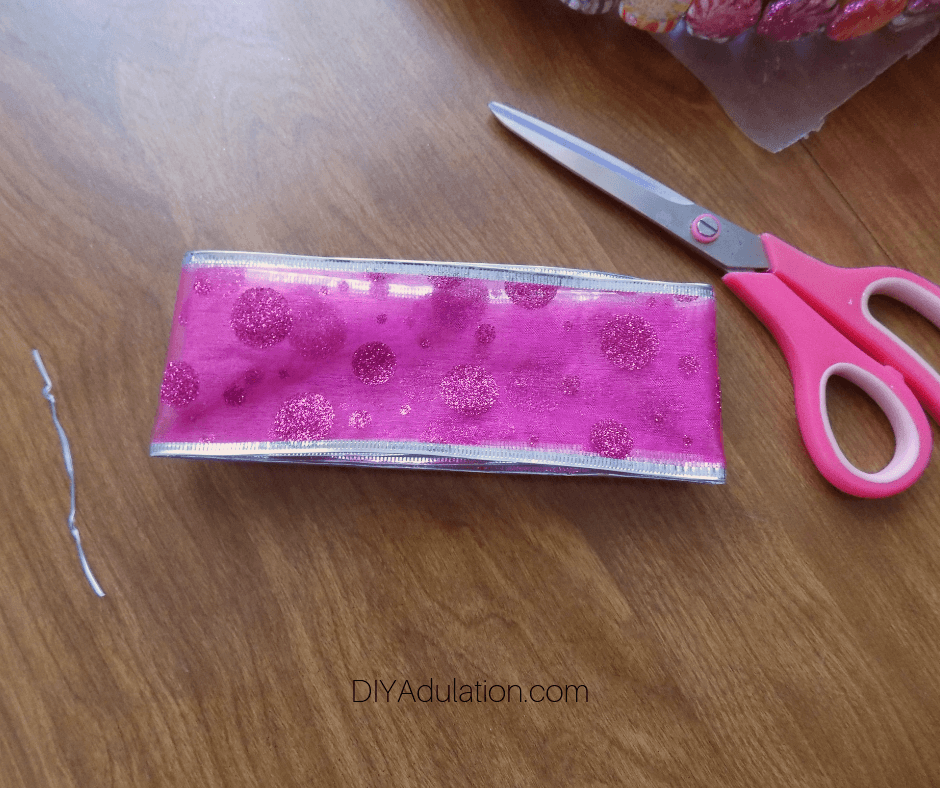
Cut the folded ribbon from your spool.


Clear Twist Tie Wrapped Around Folded Pink Glitter Ribbon

Step 13

Now, cinch the center of your folded ribbon and secure it with your clear twist tie.


Close Up of Bow Attached to Wreath

Fluffed Up Bow Attached to Candy Wreath

Step 14

Lastly, attach the twist tie to the bottom of your tied ribbon hanger and fluff the folds into a bow.


Close Up of Candy Wreath Hanging on Door with text overlay - DIY Glittery Candy Wreath

Turn your home into your own personal Candyland starting with this glittery DIY candy wreath! Even better, this is totally easy to make and will make you totally excited every time you come home from the holiday chaos during the season. Now it’s time to check out all of the other amazing wreaths created by my friends below. Don’t forget to check the series introduction for more Christmas DIY projects and a list of all of the upcoming candy fun!

See where I’m linking up!

Don’t Forget to Pin It!

Candy Wreath Hanging on Door with text overlay - DIY Glittery Candy Wreath


Scroll down for many more DIY Wreath Ideas for your holiday season!


Sweet Snowman Crafts for Winter

The weather is turning colder and Thanksgiving is only days away. That means it is time to start switching your gears from fall to winter mode. What better way to do that than with these sweet snowman crafts for winter?

Collage of Snowman Crafts with text overlay - Sweet Snowman Crafts for Winter

[bctt tweet=”It’s time to start switching your gears from fall to winter mode. What better way to do that than with these sweet snowman crafts for winter?” username=”diyadulation”]

We got our first ice storm last week which resulted in being without power for 7 hours. Let me tell you, being without heat makes you realize quickly how wintry the weather has turned. It also makes you super grateful for modern amenities like heated blankets (which I have totally been taking for granted).

It has also put me in full winter and Christmas crafting mode. If you are also experiencing crazy winter weather already, embrace it with these sweet snowman crafts for winter.

Upcycled Pumpkin Snowman

Upcycled Pumpkin Snowman (Domestically Creative)

Wondering what to do with those leftovers pumpkins? Turn them into an adorable snowman porch decoration with this easy tutorial.

Yarn snowman wall hanging

Cute Yarn Snowman Wreath (Made in a Day)

It doesn’t get much cuter, or easier, than this awesome snowman craft. Hang it on your wall or adorn your front door with it this winter!

Wood block snowman

DIY Wood Block Snowman (Anika’s DIY Life)

Get your wood crafting on with this adorable little snowman. It’s the perfect winter decor for your mantle or make it a part of your tablescape.

Glittery snowman ornament

Christmas Ornaments from Clay (The Country Chic Cottage)

She shows you how to make multiple clay ornaments in this easy and detailed tutorial but you have to admit that the little snowman is definitely one of the cutest! He will make an adorable addition to you holiday tree!

Snow Globe snowman ornament hanging on Christmas Tree

DIY Dollar Store Snowman Jar Ornament (Across the Blvd.)

Raise your hand if you love dollar store crafts as much as me! This ornament is a great budget-friendly project for your tree!

Paper strips snowman

How to Make a Snowman Craft with Paper Strips (The Crafty Blog Stalker)

If paper crafting is more your thing, grab the kids and make this super fun paper snowman! It is the perfect crafts for the whole family.

Glittery pompom snowman

Sparkly Pom-Pom Christmas Ornament Craft for Kids (Our Family World)

Pom poms make everything cuter and this adorable snowman ornament is no exception. Easy enough that the kiddos can make it and cute enough to proudly display on your Christmas tree!

Candy Cane Pompom Snowmen

Candy Cane Snowmen (Val Event Gal)

Did I mention how awesome pom poms are? These adorable candy cane snowman are an easy festive treat to pass out to all of the nieces and nephews this year!

Hanging Snowman ornaments

Snowman Handmade Christmas Ornament (Petticoat Junktion)

If you have old jar lid inserts laying around, turn them into super fun ornaments like these snowmen! Super simple to make and good on the environment. Score!

Snowman made out of juice bottle

Pomegrante Juice Bottle Snowman (The Kim Six Fix)

Speaking of recycled crafts, this tutorial shows you how to turn an empty juice bottle into an adorable snowman easily.

Snowman ornament hanging on tree

Snowman Christmas Ornament Craft (Premeditated Leftovers)

This snowman ornament is another great crafts for the kids to get in on this winter! Grab the glue and paint and get ready for an afternoon of fun with you little ones this week!

Upcycled Snowman Treat Jar

Adorable Upcycled Snowman Treat Jar (DIY Adulation)

Of course, I couldn’t let you go without sharing my own adorable upcycled snowman craft. Throw it on your coffee table and fill it with candy for a sweet treat at your fingertips all season long.

Collage of Snowman Crafts with text overlay - Sweet Snowman Crafts for Winter

There are so many sweet snowman crafts for winter out there and these ones are perfect to get you started on your winter crafting. You can find even more at this week’s Merry Monday link party below. Check out all of the awesome projects being shared and don’t forget to link up your own too! See you down there.

Don’t Forget to Pin It!

Collage of Snowman Crafts with text overlay - Sweet Snowman Crafts for Winter

DIY Green Glow in the Dark Slime Recipe

Kids love making and playing with slime. It will seriously keep gets entertained for an hour, if you don’t mind the mess that typically comes along with it. This time around we amped up our slimy fun by making this DIY green glow in the dark slime recipe!

Affiliate links may be used in this post. Ordering a product through these links may result in a commission. Read the full disclosure here.

Collage of Glowing Slime with text overlay: DIY Green Glow in the Dark Slime


[bctt tweet=”Kids love making and playing with slime. Make your next batch Halloween themed with this DIY green glow in the dark slime recipe!” username=”diyadulation”]

This slime recipe is a part of another awesome Movie Monday challenge. We’re getting into the swing of Halloween with classic monster movies this month. I decided to go with a classic this year: the 1958 film The Blob!

I know that the Blob is red, but frankly, red doesn’t glow nearly as well. Also, red slime resembles blood a little too much for me to share it with the kiddos. This green version is a more family-friendly spooky.


Materials for Slime Next to Bowl with Spoon in It

Ingredients


Glue in Bowl next to Elmers Slime Solution

Step 1

Empty your entire container of liquid glue into a small glass bowl.

Step 2

Next, open your mica powder and pour it onto the glue.

Step 3

Mix your mica powder and glue until they are well combined.

Step 4

Then pour in the recommended amount of Elmer’s Slime Solution into the glue and powder mix according to the package instructions.


Mixed Green Slime in Glass Bowl

Step 5

Lastly, stir your mixture until the slime solution is thoroughly incorporated into the glue and powder. It should be slime at this point.


Hand in Glowing Slime

Green Slime on Paper Plate

Glow in the Dark Slime Play Idea

We have some fun mini erasers coming in the mail to mix into our slime. I chose this set so that we would have animals, vehicles, and signs to represent that the Blob eats everything it touches.

Set them in a small plastic bin or on the table. Then drag your slime across seeing how many you can pick up with it. It’s a fun new way to play with slime that should definitely create an interesting texture when we’re through.


Hand in Glowing Slime with text overlay: DIY Green Glow in the Dark Slime

We had such a blast playing with this DIY green glow in the dark slime in the bathroom. That’s the darkest room of the house. It’s also one of the easiest to clean if things get messy. (You’re welcome.)

Now it’s time to check out all of the other awesome classic monster movie projects in this month’s Movie Monday Challenge. Visit them all and get ready for some great ideas to get you in the Halloween spirit!

 See where I’m linking up!


On the last (or fourth) Monday of each month, a group of bloggers participate in a #MovieMondayChallenge, hosted by C’mon Get Crafty! We decide on a topic, genre, or specific movie to use for inspiration and everyone gets free reign to create something wonderful!


This month’s challenge was. . . . MONSTER MOVIES! Everyone was allowed to choose their own favorite film so long as it was inspired by the challenge word. 

NOW LET’S SEE WHAT EVERYONE ELSE WAS INSPIRED TO CREATE FOR THIS MONTH’S #MOVIEMONDAYCHALLENGE!! IF YOU’D LIKE TO JOIN OUR FACEBOOK GROUP, YOU CAN REQUEST AN INVITE HERE.


 Don’t Forget to Pin It!

Collage of Glowing Slime with text overlay: DIY Green Glow in the Dark Slime


More Ideas You’ll Love: