Spring is such an exciting time of year. It brings more sunshine, new life, and promises hope. It also signals that summer is on its way which personally fills me with endless excitement. While it hasn’t quite peeked its head out yet, spring is right around the corner. You are probably, like me, catching the spring bug that motivates you to start cleaning out your home and planning your garden. To welcome the season and all of the wonderful promises that come along with it I’m showing you how to make this gorgeous DIY spring wreath today.
Affiliate links may be used in this post. Ordering a product through these links may result in a commission. Read the full disclosure here.

[bctt tweet=”Celebrate the season with this gorgeous DIY spring wreath! #diy #springwreath”]
Spring is such an exciting time of year. It brings more sunshine, new life, and promises hope. It also signals that summer is on its way which personally fills me with endless excitement.
While it hasn’t quite peeked its head out yet, spring is right around the corner. You are probably, like me, catching the spring bug that motivates you to start cleaning out your home and planning your garden.
To welcome the season and all of the wonderful promises that come along with it I’m showing you how to make this gorgeous DIY spring wreath today.
DIY Spring Wreath Materials
Step 1
Choose 3 of your floral stems to being forming your wreath.
Note:
- I got the ones pictured at Hobby Lobby for 50% off making the total cost of my florals about $10.

Step 2
Find the thickest stem in one set of florals and attach the bottom stem of a second set to it using your floral wire. Next, attach more floral wire about every 3” or so to ensure it stays together as you form them into a circle.
Tip:
- You want to be sure to fluff the other stems to cover the wire. Only wrap the 2 stems you are securing with floral wire, not all of the stems and leaves together.

Step 3
Repeat step 2 with the third set of florals only attaching it to the second set of florals instead of the first.

Step 4
Complete forming your circles by repeating step 2 again, this time attaching the bottom stem of the first set of florals to the thickest stem on the third.


Step 5
When you’ve finished forming your circle it will look like the above photo with random flowers hanging off. Clean it up a little by “pinning” those flowers to the circle using your floral wire.
Step 6
Next, begin adding in your remaining floral stems to fill out the rest of your wreath. Use the existing attached floral wire to secure and only add more wire where needed.
Tip:
- I cut the stems off of the long base for this part because I wanted the placement flexibility. This is entirely up to you and will also be dependent on the floral stems you have chosen.
- You’ll also notice (in the completed wreath photos) that I chose to let some of the florals remain hanging to give the wreath a more natural look. Not only does it look pretty, it also mean less work for you. Score!
Step 7
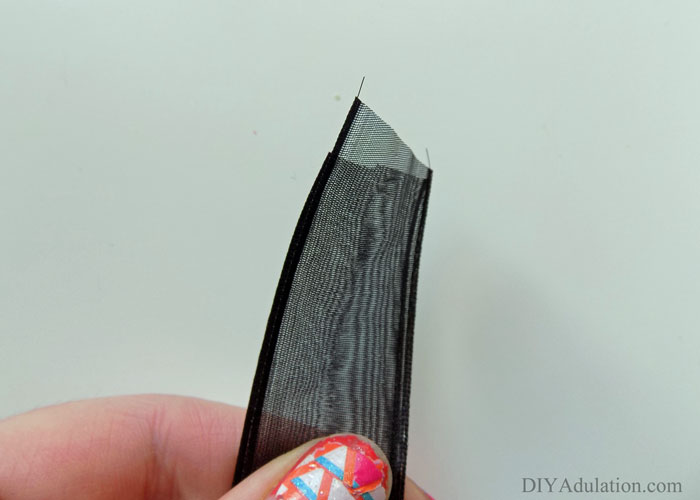
Cut a length of ribbon and place it around your wreath with the needs together at the top.
Tip:
- My ribbon was about 18” long but this will vary based on the size of your wreath.
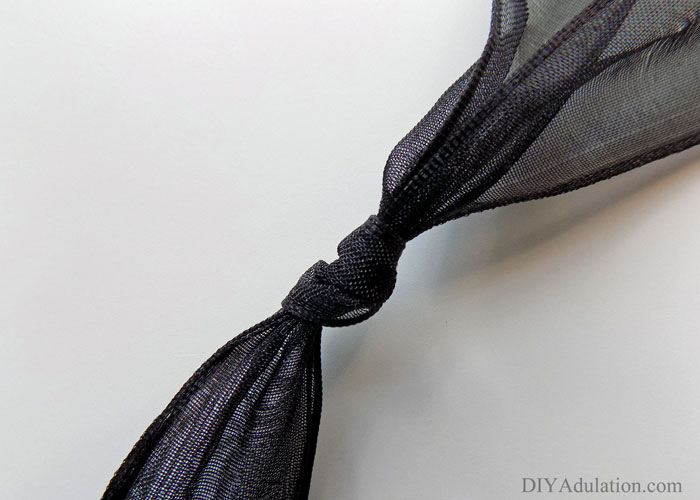
Step 8
Knot the ends together but leave long pieces free, out of the knot.

Step 9
Rotate the ribbon so that the knot is at the wreath and tie your loose ends into a bow. Next hang up your wreath and enjoy.


If you aren’t yet feeling motivated to tackle your spring potential hopefully making this gorgeous DIY spring wreath will help. Wave good-bye to winter with me (perhaps with Barbara Streisand singing “So Long Dearie” joyously in your head) and get psyched for the upcoming season. You’ll love having this bright and cheery wreath welcome you every day during this spring.
See where I’m linking up!
Don’t Forget to Pin It!