Using envelopes as a budgeting technique is not a new concept. However, it took me a lot of trial and error to find a system that worked for me. A lot of people take the envelope system as this one-size-fits-all concept (I know I did) but this way of thinking ignores the uniqueness of people’s budgets.
Affiliate links may be used in this post. Ordering a product through these links may result in a commission. Read the full disclosure here.
If you are new to the idea of an envelope system, here is a quick overview:
An envelope system is a method for organizing and categorizing you budget. This can be done with cash or electronically through some apps and websites. Once you determine how much goes in each envelope, the theory is that you are “locked in” to those amounts (ie: not taking money from the Food envelope to pay for gas).

With that being said, I am huge fan of the cash envelope system and after years of trial and error, I want to share with you the hybrid system that works best for me. Feel free to tweak, alter, or totally re-invent this system to work for you.
What do I mean by hybrid?
For me, it is just not practical to do an entirely cash budget. I don’t take the entire paycheck out of the bank to divvy up among all of the envelope categories.
Certain funds stay in the bank account so that some bills can be paid online. These include payments such as the mortgage, utilities, and internet service. You do want to pay these immediately, though, and subtract them from your balance. Then withdraw remaining funds from the ATM and separate those into their respective categories. (This percentage system is a great way to help you delegate funds).
How to Catagorize Your Envelopes
I used to use actual individual envelopes which were organized together by type:
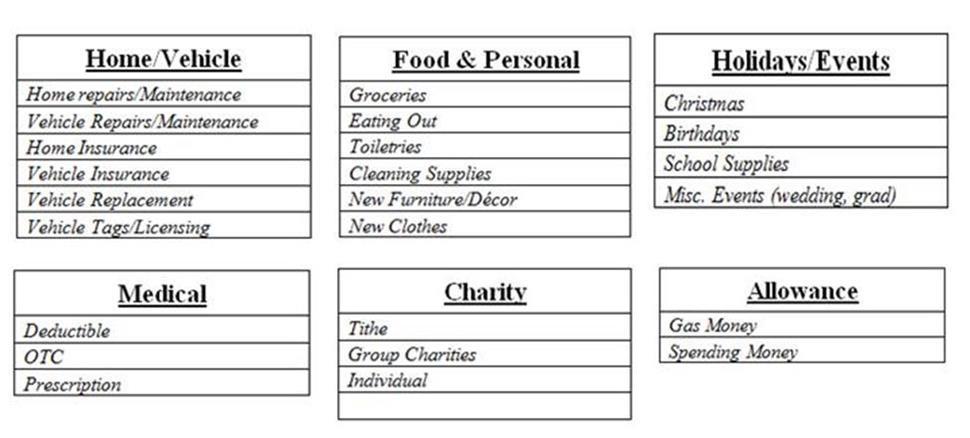
Each item listed was its own envelope and in addition to the envelopes, I had a register for each one… um, are you seeing why this just wasn’t working? I felt like I was constantly losing track and my budget was befuddled and I would allocate money into my “New Furniture” envelope in anticipation of the new mattress desperately needed only to have a part on the central air unit go bad and need replacing. I tried obeying the “envelope law” of not taking from one envelope for another, but come on! Is new furniture really a priority when it’s almost 90 degrees in your house?!
The solution to this problem? Give yourself more grace. Use an expandable file folder and break your budget down by more general categories like below:
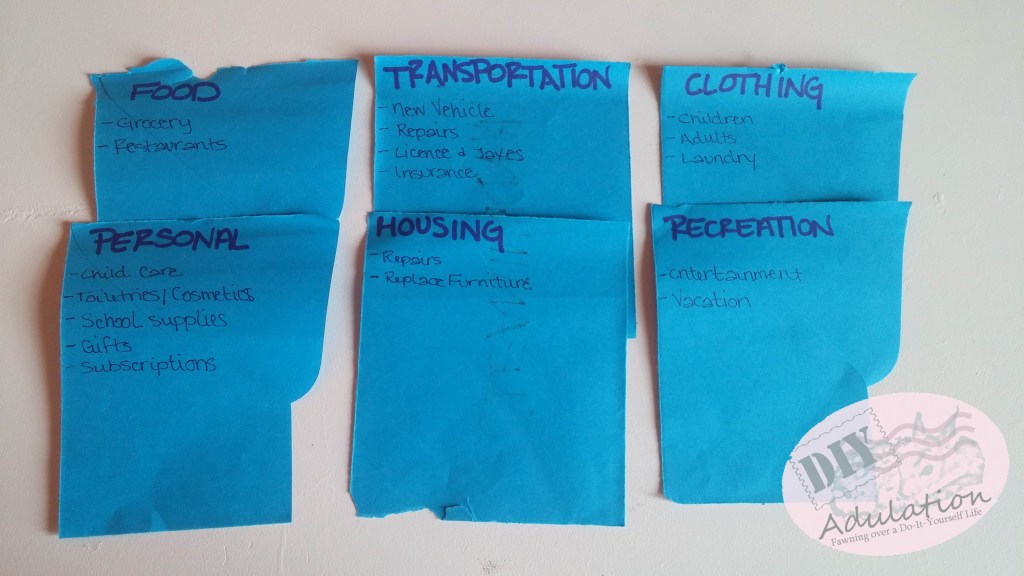
This more lenient method allows you to be more consistent and stay on top of things. Also, stop keeping registers for each envelope. It is more work than it is worth and it doesn’t make you a horrible budgeter if you don’t. Use this percentage system and know they are getting the appropriate amounts. As long as you are diligent with that system, you won’t have to worry about the money being there when you need it.

Bonus Tips:
Don’t limit your envelopes to cash. Include your gift cards, gift certificates, and more all filed in the appropriate categories. Having it all in one place simplifies your life!
- Use a binder clip on it and hang it from the wall on a push pin or small nail. This lets you put it anywhere that is convenient for you and your family.
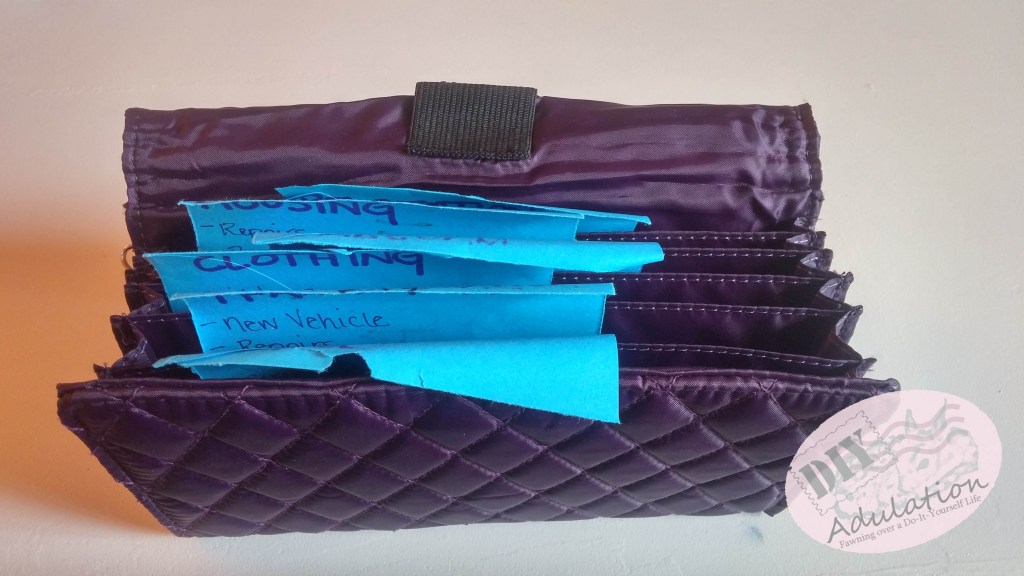
- Skip the plastic filofax and go for a cloth or leather one. This doesn’t have to be expensive. You can get the quilted organizer pictured here for $5.
I’d love to hear about your experiences with the envelope system. Any special tricks that work for you and your family? Let me know in the comments!