How to Make Fall Cleaning Fun and Easy


It came to my attention back in May that my kids thought that I loved cleaning. Say what?! I clean because I have to but to say I love it is more than an overstatement. Fast forward to now when it is time to start on our fall cleaning and that revelation from May has been on a my mind a lot. What if you could make fall cleaning fun and easy? Take those boring chores that have to get done and turn them into a fun activity that you actually enjoy doing. Now, with the help of The Libman Company, I am doing just that. Find out how to embrace life’s messes with the right tools and a heap of fun.

What if you could make fall cleaning fun and easy? Find out how to embrace life’s messes with the right tools and a heap of fun. #ad

[bctt tweet=”@LibmanCompany is my go-to for all my fall cleaning needs! Find out why today! #ad ” username=”diyadulation”]

What if you could make fall cleaning fun and easy? Find out how to embrace life’s messes with the right tools and a heap of fun. #ad

I’m totally mopping and taking a photo at the same time!!

Start With the Right Tools

Let’s face it: no matter how much fun you make something, if you are using the wrong tools you are still going to dread the task. That is why the first step is choosing the right cleaning tool for your arsenal. This is I recommend having a look at this review and buying one of these mops. After all, there are so many mops on the market, how are you supposed to make a decision without a guide! The Libman Wonder Mop is the perfect tool to keep your home clean. Don’t let the fact that this is a mop fool you.

Right now you can save $3.00 on your Libman Wonder Mop when you sign up for The Libman Company Newsletter.

What if you could make fall cleaning fun and easy? Find out how to embrace life’s messes with the right tools and a heap of fun. #ad

Play Music

Play upbeat music while you clean. It helps motivate you to mover and makes the cleaning feel more like a dance party. Or, if you’re like me, it becomes a literal dance party with you twirling and dipping all over the house…

[bctt tweet=”Make fall cleaning fun and easy with the right tools and tips! #EmbraceLifesMesses #ad @LibmanCompany” username=”@diyadulation”]

Have a Race

Something I’ve learned from my kids thinking I love to clean is that they should get in on the action more. Grab your kids, set a timer, and see who can get their room clean first. The timer creates a sense of urgency while the competition keeps it fun. Don’t forget to have a victory treat ready at the end.

What if you could make fall cleaning fun and easy? Find out how to embrace life’s messes with the right tools and a heap of fun. #ad

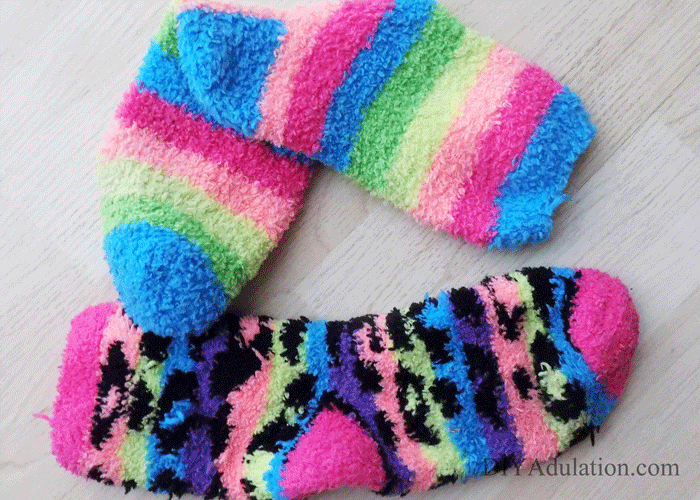
Wear Big Fuzzy Socks

How many times have you mopped the floor and found that your kids trampled through the area immediately after? Frustrating, I know. Instead, put pairs of big, fuzzy socks on their feet and let them dance around while you mop. That means less drying time for your clean floors all while they play.
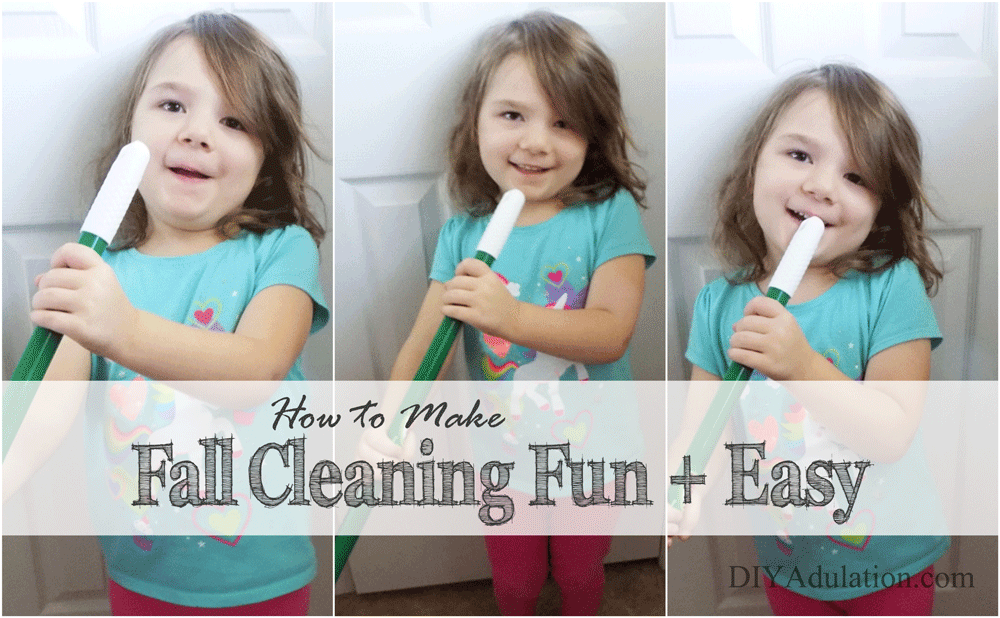
What if you could make fall cleaning fun and easy? Find out how to embrace life’s messes with the right tools and a heap of fun. #ad

Mop Karaoke

This one is another great way to get the kids excited about cleaning. Everyone picks a song to sing and they mop while singing the song into the mop handle. Make sure that everyone gets a turn and continue singing until the job is done. Mop karaoke seriously has my kids begging me to mop the floor. It’s hysterical.

Reward Yourself

When you take on your fall cleaning like a boss, don’t forget to reward yourself. Plan a picnic with your family, rent a movie you have all wanted to see, or make delicious cookies together. Whatever it is, savor it for a job well done.

What if you could make fall cleaning fun and easy? Find out how to embrace life’s messes with the right tools and a heap of fun. #ad

Now that you know how to make fall cleaning fun and easy with your new secret weapon, The Libman Wonder Mop, what are you waiting for? Snag your $3.00 off coupon and head on to get a jumpstart on your fall cleaning. Wait, you still want more? Then check out this fantastic sweepstakes that The Libman Company is running right now:

20 Winners will receive a Libman prize package comprised of some of your favorite Libman products!

Sweepstakes runs from Friday, September 1, 2017 – Friday, September 29, 2017

Enter for your chance to win!

Don’t Forget to Pin It!

What if you could make fall cleaning fun and easy? Find out how to embrace life’s messes with the right tools and a heap of fun. #ad

See where I’m linking up!

DIY Family Chores Wall System for Busy Families

Have you started getting ready for the school year yet? We are pretty lax with our schedule during the summer. Bedtimes are pushed back. The days are less structured. It is a fun and relaxing time of year. It is because of this that it is important to plan ahead for the school year. We need to get back into the structured rhythm that comes along with it. Part of that is getting an updated list of daily tasks that need to be completed each day. Another part of getting ready is creating organization systems that keep us on track and make life easier. That is exactly what this DIY family chores wall system does.

Affiliate links may be used in this post. Ordering a product through these links may result in a commission at no extra cost to you. Read the full disclosure here.

Get back into the structured rhythm of back to school with this DIY family chores wall system! It is the perfect solution for busy families.


[bctt tweet=”This DIY family chores wall system is the perfect solution for busy families! #organization #diy” username=”diyadulation”]

Materials


Get back into the structured rhythm of back to school with this DIY family chores wall system! It is the perfect solution for busy families.

Step 1

Remove any packaging that is on your pan.

Tip:

  • If your pan’s label is attached with glue, you will want to clean any excess sticky off of it before continuing.


Get back into the structured rhythm of back to school with this DIY family chores wall system! It is the perfect solution for busy families.

Step 2

Cover the top of the pan with one color of acrylic paint.

Tips:

  • I only did one coat of paint because I like the look of the metal showing through. If you want a solidly colored chart, add a second coat of paint after the first coat dries.
  • Use a different color of paint on each pan to make it easier to recognize whose pan each is.

Step 3

Let the paint dry completely before moving on.


Get back into the structured rhythm of back to school with this DIY family chores wall system! It is the perfect solution for busy families.

Step 4

Carefully put a washi tape grid on your pan as pictured above.

Get back into the structured rhythm of back to school with this DIY family chores wall system! It is the perfect solution for busy families.

Tip:

  • You need to be careful and precise during this step because your pan has not been sealed yet. The paint will chip if you try to reposition the washi tape or scratch it with jewelry.


Get back into the structured rhythm of back to school with this DIY family chores wall system! It is the perfect solution for busy families.

Step 5

Next, paint “Tasks”, “Ø”, and “√” in the respective areas using white acrylic paint.


Get back into the structured rhythm of back to school with this DIY family chores wall system! It is the perfect solution for busy families.

Step 6

After your white paint has dried, seal your pan with engine enamel paint.


Get back into the structured rhythm of back to school with this DIY family chores wall system! It is the perfect solution for busy families.

Step 7

While you wait on the enamel to dry, pull out your Post-It notes.


Get back into the structured rhythm of back to school with this DIY family chores wall system! It is the perfect solution for busy families.

Step 8

Next, cut the sticky part off of the Post-It notes.


Get back into the structured rhythm of back to school with this DIY family chores wall system! It is the perfect solution for busy families.

Step 9

Cut the sticky strip in half.


Get back into the structured rhythm of back to school with this DIY family chores wall system! It is the perfect solution for busy families.

Step 10

Then write the tasks that need to be completed each day on the papers and stick one in each grid on the left.

Step 11

Next, add a hook to the right handle of your pan.

Step 12

Repeat steps 1 through 11 for each family member.


Get back into the structured rhythm of back to school with this DIY family chores wall system! It is the perfect solution for busy families.

Step 13

Hang your family chores wall system using Command picture strips.


Get back into the structured rhythm of back to school with this DIY family chores wall system! It is the perfect solution for busy families.

Step 14

Add bucket to the hooks for storage.

Note:

  • We didn’t add hooks or buckets to the youngest kids’ pans because they don’t really need the storage yet. I don’t want to risk them losing the buckets so I have them and the hooks put up for now.


Get back into the structured rhythm of back to school with this DIY family chores wall system! It is the perfect solution for busy families.

Step 15

Lastly, add magnetic pins to track the completion of tasks.


Get back into the structured rhythm of back to school with this DIY family chores wall system! It is the perfect solution for busy families.

With this DIY family chores wall system you can easily keep track of daily tasks. In addition, you can have homework supplies at children’s fingertips in the buckets. You can also use the buckets to hold your Daily Workout Sticks like I do. The extra space on the right side lets you keep track of notes, appointments, and permission slips. We also chose to add photo magnets from Shutterfly to label each chart. This makes it easy for little ones to know which charts belong to them and provides an extra magnet to hold notes. This is definitely an all-encompassing system that will have your family ready for back to school. If you want more tips for changing your summer schedule back to the school schedule, check out Get Your Family Back to School Ready!

See where I’m linking up!

Don’t Forget to Pin It!

Get back into the structured rhythm of back to school with this DIY family chores wall system! It is the perfect solution for busy families.

Upcycled Room Cleaning Buckets from Easter Buckets

The easiest way to keep your house clean is to always have the supplies you need. That is why you need these upcycled room cleaning buckets. Place one in each coordinating room and know that have what you need for daily cleaning. Don’t forget to add these Printable Room by Room Cleaning Checklists to your buckets. With both of these tools your home will actually stay clean, especially if you remember to enlist help from your kiddos.

Affiliate links may be used in this post. Ordering a product through these links may result in a commission at no extra cost to you. Read the full disclosure here.

The easiest way to keep your house clean is to always have the supplies you need. That is why you need these easy upcycled room cleaning buckets.

[bctt tweet=”Keeping your home clean is easy with these #upcycled room #cleaning buckets!” username=”diyadulation”]

Materials


The easiest way to keep your house clean is to always have the supplies you need. That is why you need these easy upcycled room cleaning buckets.

Step 1

Clean your Easter buckets thoroughly and allow them to dry completely.

Step 2

Spray each bucket with a coat of paint in a well-ventilated area. Allow the paint to dry.

Step 3

Repeat step 2 until you can no longer see the patterns through the paint. This took 4 coats on my buckets and the base color of the bucket did not seem to affect the number of coats.


The easiest way to keep your house clean is to always have the supplies you need. That is why you need these easy upcycled room cleaning buckets.

Step 4

Fill each bucket with the appropriate supplies and printable checklist.

Step 5

Place your cleaning buckets in each room and you’re done.

Cleaning Buckets Tips

Don’t feel like you have to put full size cleaners in your buckets. In fact, I recommend dividing your cleaners up among the buckets. Here are some tips for how to divide your cleaners and other supplies for your buckets.

The easiest way to keep your house clean is to always have the supplies you need. That is why you need these easy upcycled room cleaning buckets.

Portable Wipes Container

You know those little plastic containers for wipes that you throw in your diaper bag? Use these to divide disinfecting wipes among each bucket.


The easiest way to keep your house clean is to always have the supplies you need. That is why you need these easy upcycled room cleaning buckets.

Small Spray Bottles

Get small spray bottles that you can separate cleaners into. I used a bottle of concentrate to make mine but you can also divide up a full-size, ready-mixed cleaner among them. Don’t forget to label your spray bottles so that you know which cleaner is in them.

Sponges

You will want a separate sponge for each bucket. If you are worried about putting wet sponges back in the buckets when you’re done, get a plastic soap container. Poke a few holes in it to allow air in and your sponges can dry without creating a mess in your buckets.

Plastic Bags

Always keep a few plastic grocery bags in each bucket. This makes it easy to change out trash cans or collect any waste you come across when cleaning. This is especially true for kids’ rooms. They have the uncanny knack of hiding ripped up papers, empty wrappers, and broken toys.


The easiest way to keep your house clean is to always have the supplies you need. That is why you need these easy upcycled room cleaning buckets.

Keeping your home clean has never been easier than it will be with these upcycled room cleaning buckets. They have made my new cleaning habit so much easier to develop. I firmly believe in not spending more time cleaning than you absolutely have to. That includes wasting time looking for cleaning supplies and now you won’t have to. I get all of my cleaning done in 20 minutes or less because of these buckets. Imagine only spending 20 minutes a day to keep your house beautiful. It can totally be done! Don’t forget to grab your printable cleaning checklists before you go.

See where I’m linking up!