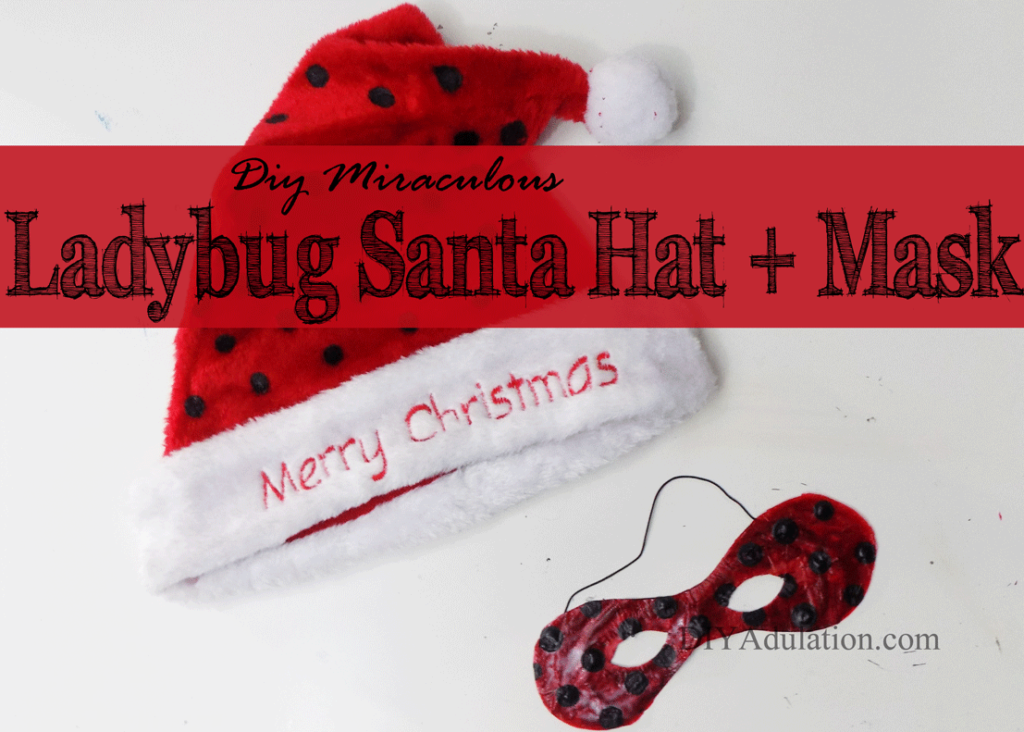
It’s no secret that Christmas movies are one of my favorite things about Christmas. That is why I’m so excited they are the theme for Day 2 of the 12 Days of Christmas blog hop. Instead of the traditional movies I let my kiddos pick the Christmas movie I created a craft for. They chose A Christmas Special: Miraculous: Tales of Ladybug and Cat Noir. If you haven’t seen it, you totally should. You can find it on Netflix. It’s one of the few kid shows that I don’t mind watching over and over (as much). This DIY Miraculous Ladybug Santa hat and mask are a wonderful Christmas surprise for your little superhero.
Affiliate links may be used in this post. Ordering a product through these links may result in a commission at no extra cost to you. Read the full disclosure here.
Welcome to the third annual 12 Days of Christmas Blog Hop!
Stop by every day from December first through the twelfth for new ideas you can use to make your season brighter!
Meet Your Hosts
They have all been busy as Elves creating, decorating, cooking and crafting tons of new ideas for you to try this holiday season!
Shirley~Intelligent Domestications I Alli~An Alli Event I Michelle~Our Crafty Mom I Marie~DIY Adulation
Erlene~My Pinterventures I Beverly~Across The Blvd. I Debra~Shoppe No. 5 I Victoria~Dazzle While Frazzled
Megan~C’mon Get Crafty I Michelle~Michelle James Designs I Amanda~Domestically Creative
Deborah~Salvage Sister & Mister I Jeanie~Create & Babble I Sherry~Olives & Okra
Jenny~Cookies Coffee & Crafts I Emily~Domestic Deadline I Bonbon~Farmhouse 40
Leanna~Of Faeries & Fauna I Pam Larmore~P.S. I Love You Crafts I Kelly~North Country Nest I
Marie~The Inspiration Vault I Gail~Purple Hues and Me I Lynne~My Family Thyme I
Karen~Dragonfly and Lily Pads I Trisha~Blowing Away Out West Lorrin~Embrace The Perfect Mess I
Terri~Christmas Tree Lane I Sam~Raggedy Bits I Cyn~Creative Cynchronicity Valeria~Val Event Gal
Yami~The Latina Next Door I Jeannee~Centsably Creative I Tania~Little Vintage Cottage
Lauren~Wonderfully Made I Vanessa~DIY 180 I Kimberly~A Wonderful Thought I
Kim~Everyday Parties I Dru~Polka Dot Poplars
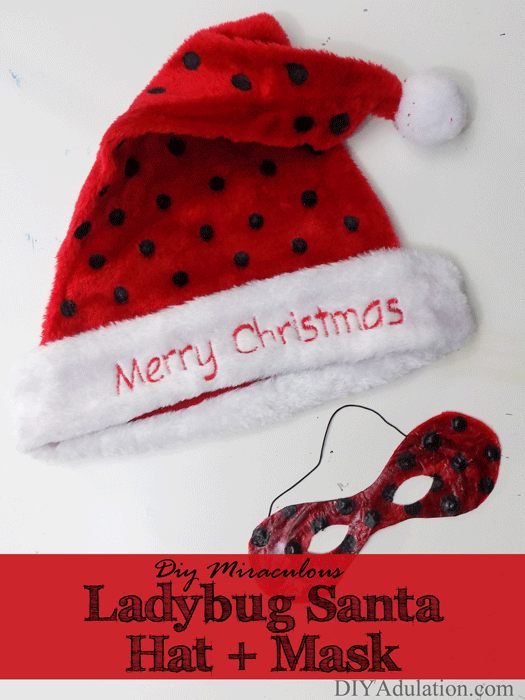
[bctt tweet=”Your kid can be a Christmas crime fighter with this #DIY Miraculous Ladybug Santa hat and mask.” username=”diyadulation”]
Materials

Step 1
First, remove any tags or stickers on your Santa hat.
Step 2
Next, pour some of your black fabric paint into a small tray or container and dip the wooden end of your brush into it.

Step 3
Cover one side of your Santa hat with black polka dots.
Step 4
Allow your fabric paint to dry completely before moving on.

Step 5
Next, flip your hat over and paint polka dots on the remaining blank side.

Step 6
Set you hat to the side to dry and pull out your mask.

Step 7
Cut the nose part off of your mask.

Step 8
Then, slightly trim the sharp edges where your nose was so that they don’t stab you.
Note:
- Seriously, trim them. I’m super clumsy and can vouch that they hurt.
Step 9
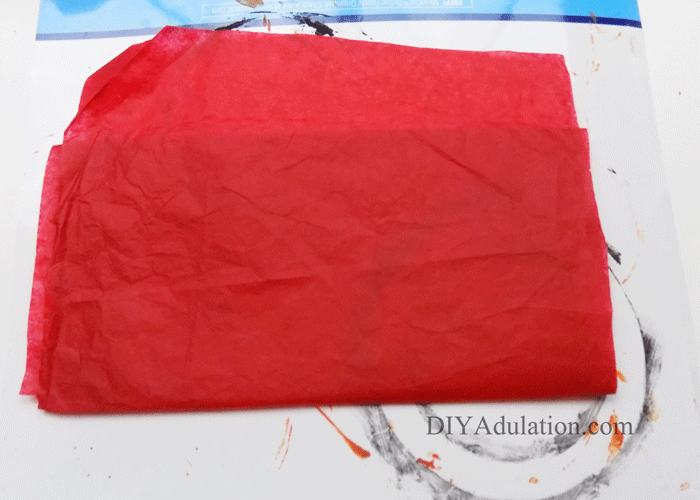
Next, fold a sheet of red tissue paper so that it is roughly a ½ inch to 1 inch bigger than your mask on all sides.
Tip:
- You’ll need about 8 layers of paper for the mask.

Step 10
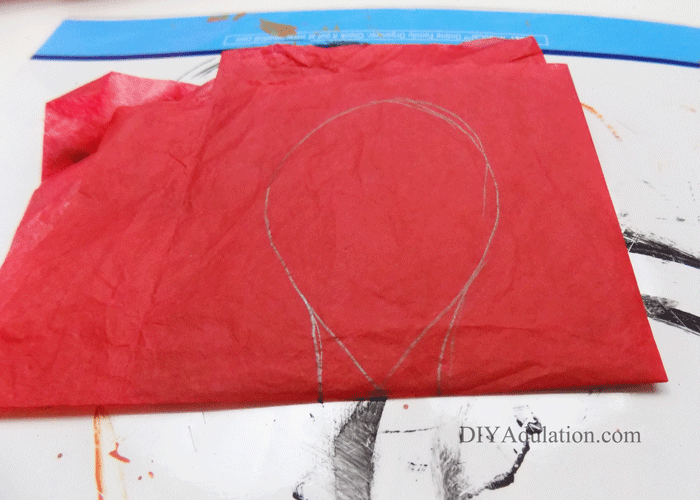
Now draw an infinity symbol on your folded tissue paper.

Step 11
Add pencil lines to the center as pictured so that the center is wider.
Step 12
Then fold your tissue paper in half, long ways, at the center of your infinity symbol.
Step 13
Cut out your symbol through all of the layers of tissue paper.

Step 14
Next, add a thin coat of Mod Podge to your mask with your foam brush.
Tip:
- It is best to do this on a non-stick surface.

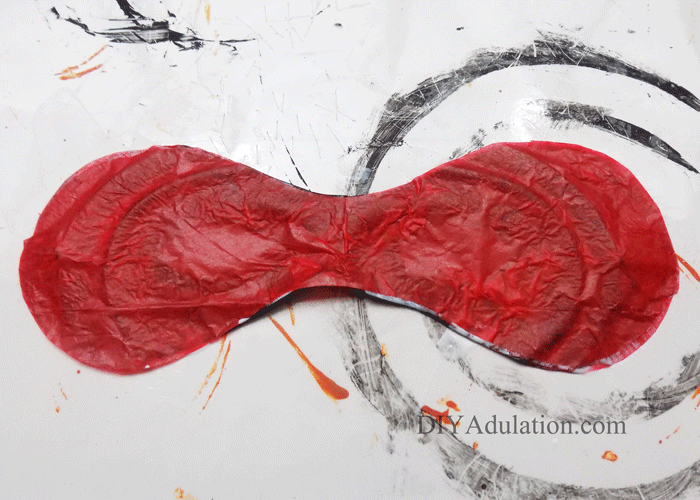
Step 15
Add one of your tissue paper cut-outs to the mask. Then trim the excess mask around the paper. See the picture for reference.
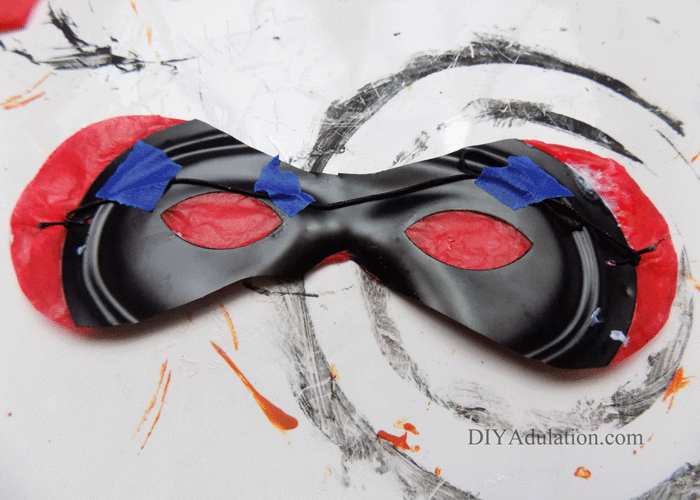
Step 16
Now flip your mask over and tape the attached stretch band of the mask to it so that it doesn’t get in your way.
Tip:
- Make sure that you weave it around the eye holes in the mask.
Step 17
Flip your mask back over and continue adding alternating layers of Mod Podge and paper cut-outs.

Step 18
Add a final coat of Mod Podge and let it dry for 20 minutes.

Step 19
Next, carefully add black polka dots to your mask as you did with your Santa hat.
Tip:
- You can use acrylic paint for the mask. I simply chose to use the same fabric paint because I already had it out. Either works find for this part of the project.
Step 20
Let everything dry completely before moving on.
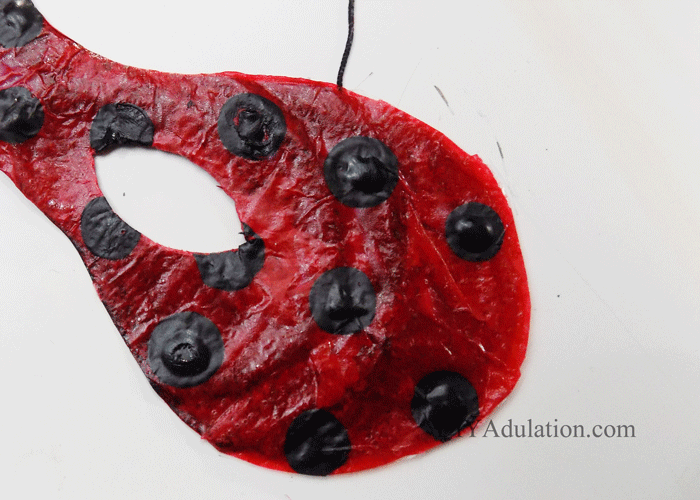
Step 21
After your paint and Mod Podge has dried, carefully cut the paper from the eye holes in the mask.
Step 22 (Optional)
Lastly, toss your hat in the dryer on high for 10 minutes to help set the paint.

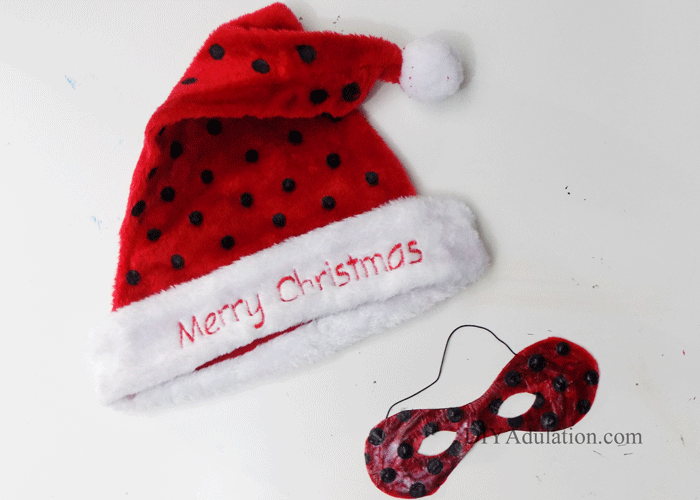
Watch your kid transform into a Christmas crime fighter with this DIY Miraculous Ladybug Santa hat and mask. Again, if you haven’t checked out the show, look it up. Both the show and the Christmas movie are great. It’s not long, either, so it’s perfect for fitting in on Christmas Eve before bed time. Now it’s time to see what awesome Christmas movie projects and recipes my friends shared. See all of the DIY fun below.
See where I’m linking up!
Be sure to visit our fellow 12 Days of Christmas Bloggers below for even more creative ideas this holiday season!

Don’t Forget to Pin It!
