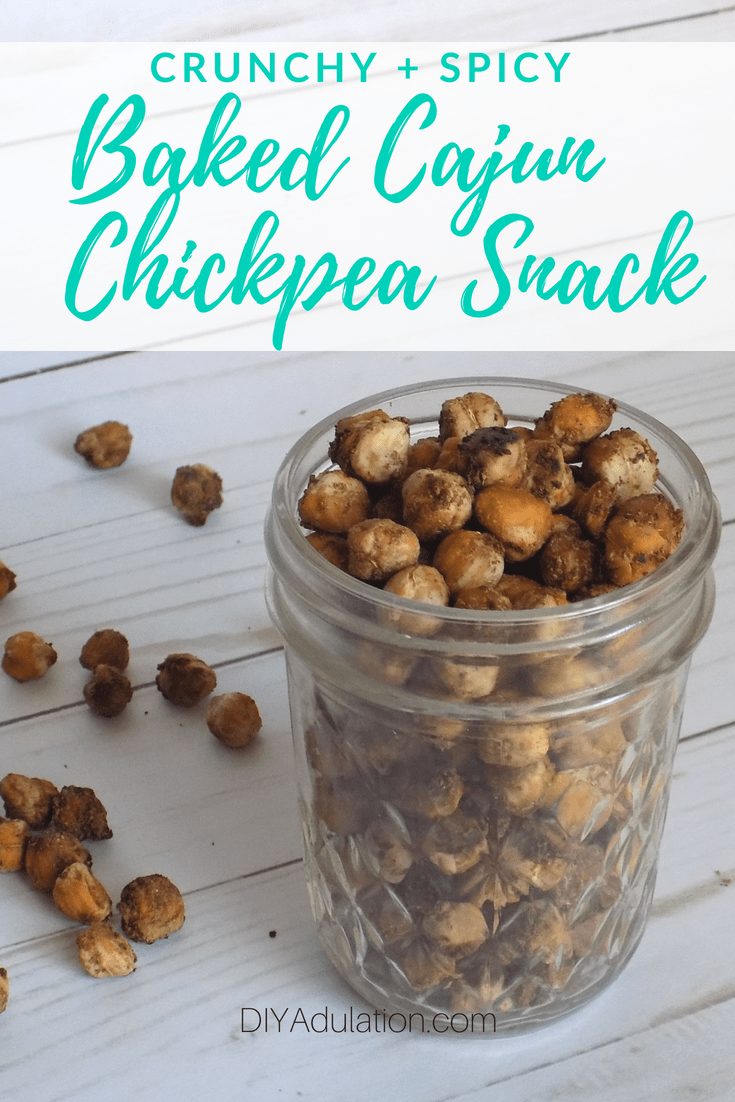
Sometimes eating healthy sucks. There. I said it. It is so much easier to rip open a bag of Doritos than it is to cook or slice up vegetables. That’s why it’s so important to make healthy snacking as easy as possible. This crunchy and spicy baked Cajun chickpea snack does just that.
Affiliate links may be used in this post. Ordering a product through these links may result in a commission. Read the full disclosure here.

[bctt tweet=”Don’t limit your snacking options to pre-packaged junk on busy days. This crunchy and spicy baked Cajun chickpea snack is your easy solution!” username=”diyadulation”]
Admittedly, I don’t have all day to work in the kitchen. What mom does (unless she is a professional chef)? That’s why I love easy and hands-off recipes.
You’re a busy mom and you have stuff to do. That shouldn’t limit your food options to pre-packaged junk all of the time. Besides, wouldn’t you rather waste empty calories on a glass of wine than cheese puffs? Heck yeah, you would!

Baked Cajun Chickpea Snack Ingredients
- Two 15.5 oz. Cans of Chickpeas (Garbanzo Beans)
- 2 tbsp. Cajun Seasoning
- Pinch of Salt
Step 1
First, preheat your oven to 400° F.
Step 2
Then, strain and rinse your chickpeas in a small colander.

Step 3
Next, dump your strained chickpeas onto some paper towels and gently pat excess moisture away.
Tip:
- Don’t completely dry them. You want a little moisture left to help the seasoning stick.
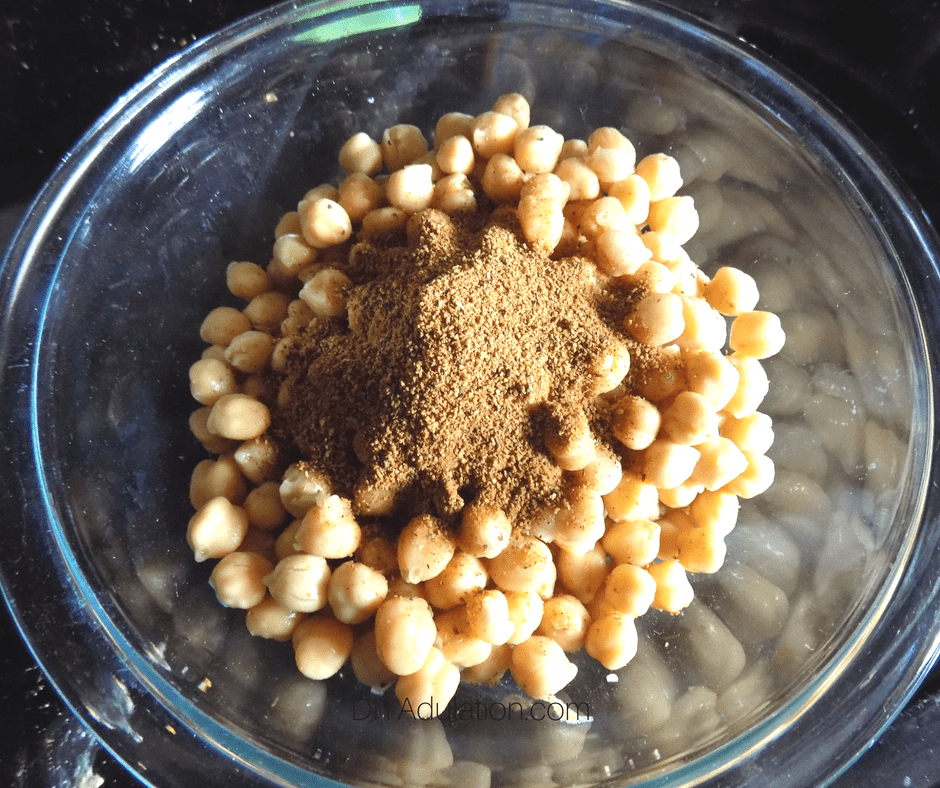

Step 4
Add your chickpeas and Cajun seasoning to a small mixing bowl and mix until the chickpeas are coated.

Step 5
Then place your coated chickpeas to parchment-lined baking sheet in a single layer.
Step 6
Bake in the oven at 400° F for 30 minutes.
Step 7
Next, open your oven and stir the chickpeas on the baking sheet.
Step 8
Then bake your chickpeas for another 30 minutes.
Step 9
Again, open your oven and stir the chickpeas on the baking sheet. Also sprinkle them with salt at this time.
Step 10
Return to the oven for another 15-20 minutes.

Step 11
Lastly, remove from the oven and allow to cool on the baking sheet completely before storing.


This baked Cajun chickpea snack is so easy to make. Aside from occasionally stirring it requires little participation on your part. Once it has cooled, separate it out into snack bags for healthy and convenient snacking anywhere. Even better, the spicy kick gives you that extra little oomph to wake you up and keep you energized. I think every mom could use more of that in her life, don’t you?
Prep Time
5 minutes
Cook Time
1 hour 15 minutes
Total Time
1 hour 20 minutes
Ingredients
-
Two 15.5 oz. Cans of Chickpeas (Garbanzo Beans)
-
2 tbsp. Cajun Seasoning
-
Pinch of Salt
Instructions
- First, preheat your oven to 400° F.
- Then, strain and rinse your chickpeas in a small colander.
- Next, dump your strained chickpeas onto some paper towels and gently pat excess moisture away.
- Add your chickpeas and Cajun seasoning to a small mixing bowl and mix until the chickpeas are coated.
- Then place your coated chickpeas to parchment-lined baking sheet in a single layer.
- Bake in the oven at 400° F for 30 minutes.
- Next, open your oven and stir the chickpeas on the baking sheet.
- Then bake your chickpeas for another 30 minutes.
- Again, open your oven and stir the chickpeas on the baking sheet. Also sprinkle them with salt at this time.
- Return to the oven for another 15-20 minutes.
- Lastly, remove from the oven and allow to cool on the baking sheet completely before storing.
See where I’m linking up!
Don’t Forget to Pin It!
More Ideas You’ll Love: