We are back again with the Movie Monday Challenge and I have to admit, this one was trickier for me. In honor of St. Patrick’s Day coming up we decided to go with the theme “Luck” and I really struggled to think of movies. Even Google searches didn’t pull up a lot of results. Finally, I landed on Freaky Friday (the newer one) and from there that led to this awesome Freaky Friday date night lantern.
Affiliate links may be used in this post. Ordering a product through these links may result in a commission at no extra cost to you. Read the full disclosure here.

[bctt tweet=”Shake up date nights at home with this Freaky Friday #datenight lantern! #MovieMonday” username=”diyadulation”]
In case you haven’t seen it, Freaky Friday is about a mother and daughter who switch bodies. They cannot switch back until they are selfless for the other person. Of course, hijinks ensue which are hilarious but the concept got me thinking. When is the last time you did something with your husband simply because he liked it (even though you don’t) and vice-versa?
Think about how much your relationship would grow if you both did things for each other on a regular basis that the other person knew was exclusively for them. That would be pretty powerful.
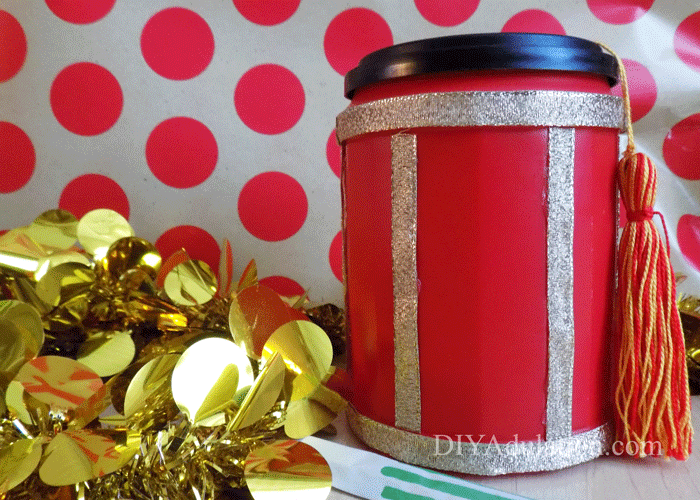
That is where this Freaky Friday date night lantern comes in. After you’ve made it, fill it with date night ideas that you each love even if the other person doesn’t. Not only will this bring the two of you closer, it will also make weekly date nights at home easier.

Materials

Step 1
Start by removing the label from your coffee can and cleaning the can thoroughly.
Tip:
- The label will come off easier if you fill the can with hot water first and shake it with the lid on. This loosens the glue that holds the label on.

Step 2
Next, begin gluing strips of gold ribbon to the sides of the can with hot glue.

Step 3
Continue until the can has a strip of ribbon every 1 inch or so.

Step 4
Then add another strip of ribbon around the base of the can with hot glue. Make sure to overlap the ends to make it more secure.

Step 5
Repeat step four at the top of your coffee can. Be sure to do this on the bumped out part and not on the very top. You still need to be able to attach the lid.
Step 6
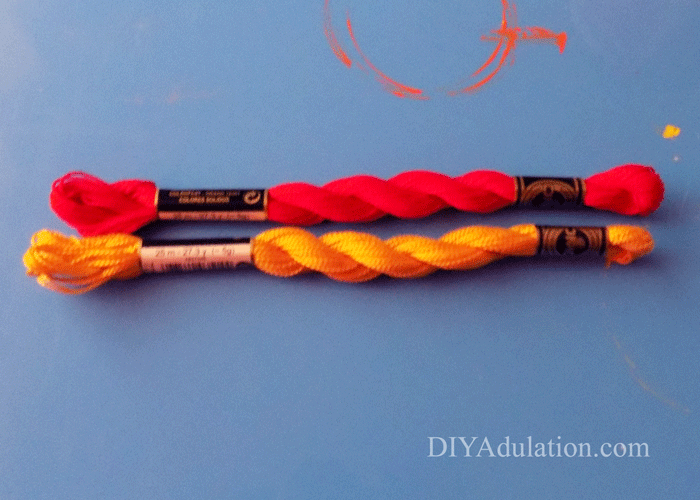
Now, unwrap your DMC floss and lay it out so that you can pull from it easily.
Step 7
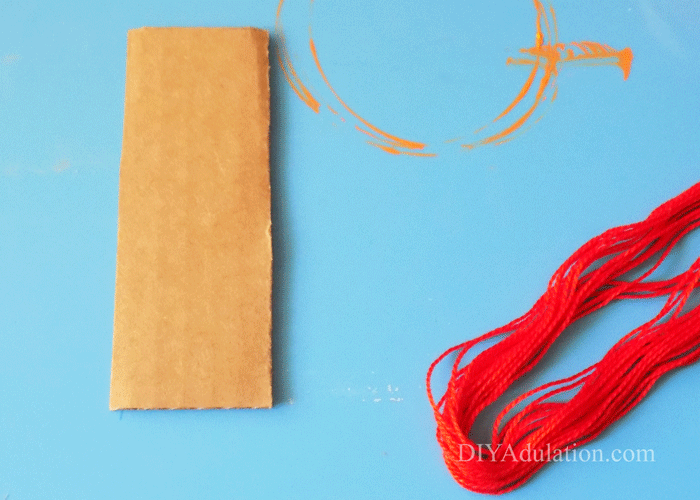
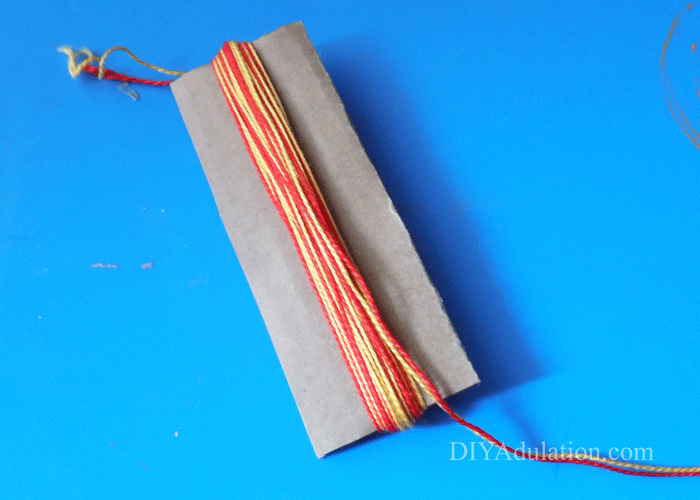
Begin wrapping your floss around the piece of cardboard as pictured. Continue until you think you have enough for your tassel. I lost count of how many times I wrapped it. That is how many layers I made.

Step 8
After you have finished wrapping your floss, wrap the excess around the top to secure it temporarily.
Tip:
- You can bend the cardboard if needed to get the floss through the center.

Step 9
Next, cut the bottom end of your wrapped floss.
Step 10
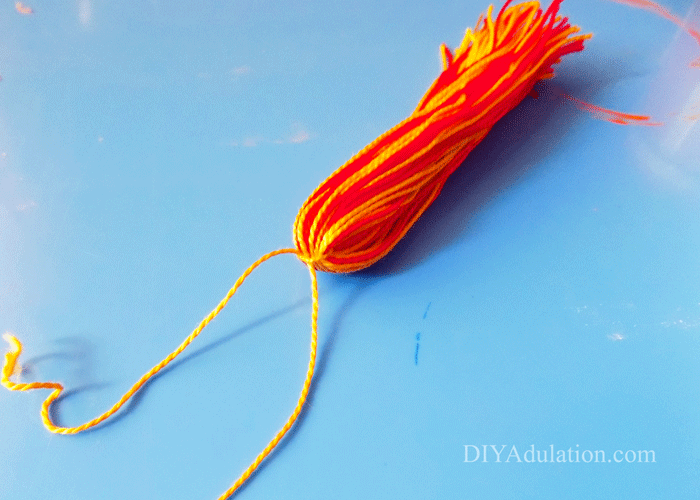
Carefully pull the floss off of the cardboard and permanently secure the folded end with a long piece of yellow floss. Knot it multiple times for best results.
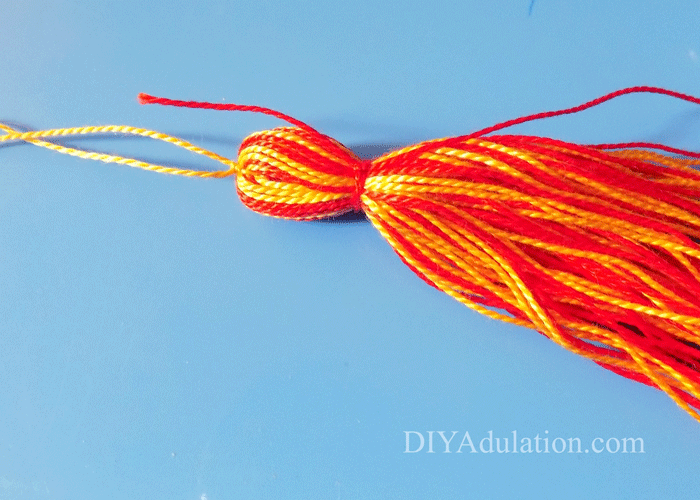
Step 11
Next, wrap a piece of red floss around the top as pictured and secured with a double knot.

Step 12
Trim any excess red floss from the knots.
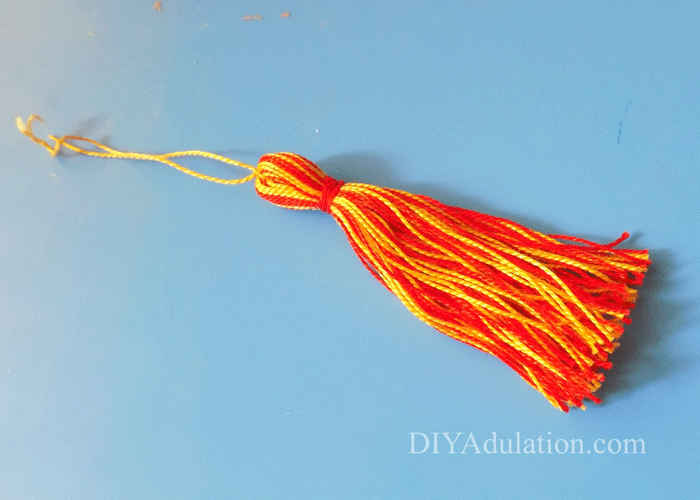
Step 13
Now trim the loose ends of the tassel to make them even.
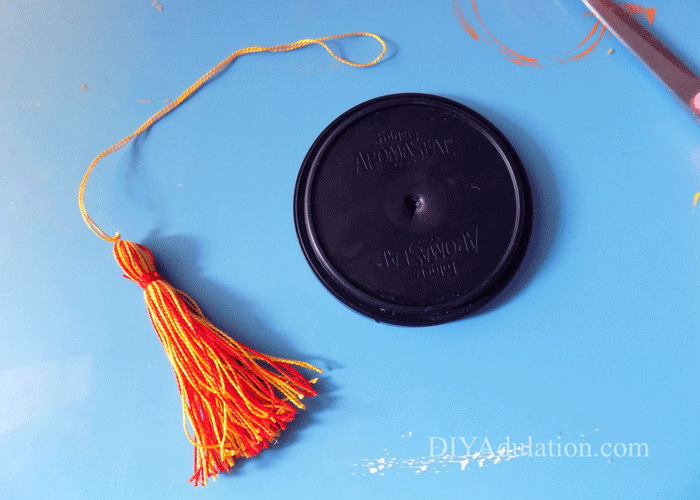
Step 14
Then cut a hole in the center of your coffee can lid with scissors. I simply poked mine through. I didn’t try to get a perfect hole.
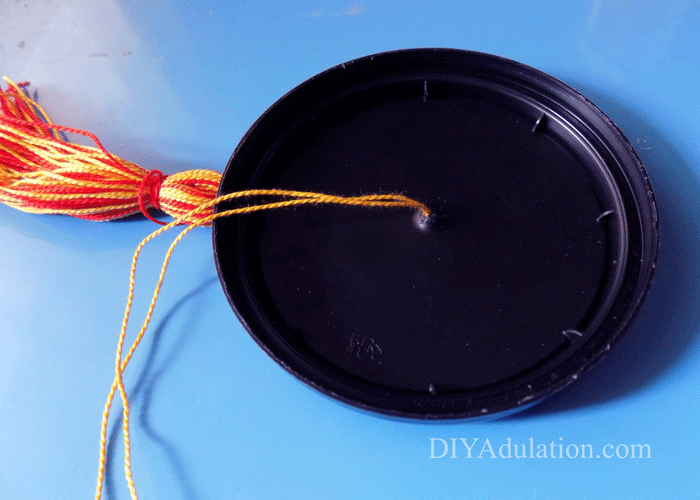
Step 15
Next, thread the long yellow floss through the hole in the lid from the top down.

Step 16
Tie a small piece of floss to the end of your threaded yellow floss. It doesn’t matter what color it is. Mine is red because I used the excess I trimmed from the knot around the tassel.
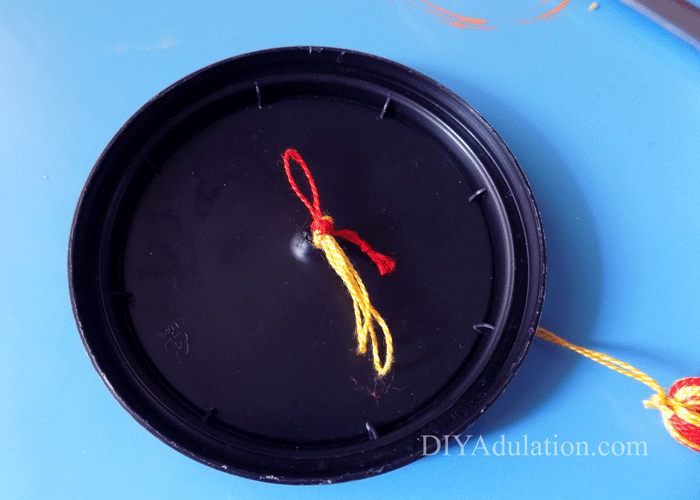
Step 17
Finally, tie the new piece of floss in a bow with the yellow floss and double knot. This will keep it from pulling out. Be sure to check the length at which you want your tassel to hang before committing to the knots. The knot placement will determine this.
Date Nights
Now that your Freaky Friday date night lantern is finished, it is time to fill it with date nights. We are currently trying to have one date night a week so we need a lot of ideas. Each of you should try to come up with at least 10-15 date night ideas. The catch is that you should pick things that you love that your spouse has maybe never tried or doesn’t enjoy quite as much. For example, I love Scattergories but my husband doesn’t really enjoy playing it. On the flip side of that, he loves playing video games and I have never really been a big gamer. These would both make perfect date night ideas for the lantern.
Fill It Up
Cut a piece of white printer paper into small strips (like fortunes from the movie) and fill them out with date ideas. Then toss them into the lantern and take turns blindly drawing one on date nights each week. Keep in mind that these should be dates that can be completed at home and in 1-2 hours ideally. You want to be able to whip them out after the kids go to bed and enjoy a fun date without being up until the wee hours of the morning.

If you want to add even more suspense to your Freaky Friday date night lantern don’t share your date ideas with each other. Let it be a complete surprise when you pull them out each week. If your husband isn’t a big chick flick or family movie guy, then you could totally put Freaky Friday movie night on one of the dates. Now it’s time to see what other lucky ideas the girls came up with for this month’s Movie Monday Challenge. I expect to feel lucky and inspired in no time!
See where I’m linking up!
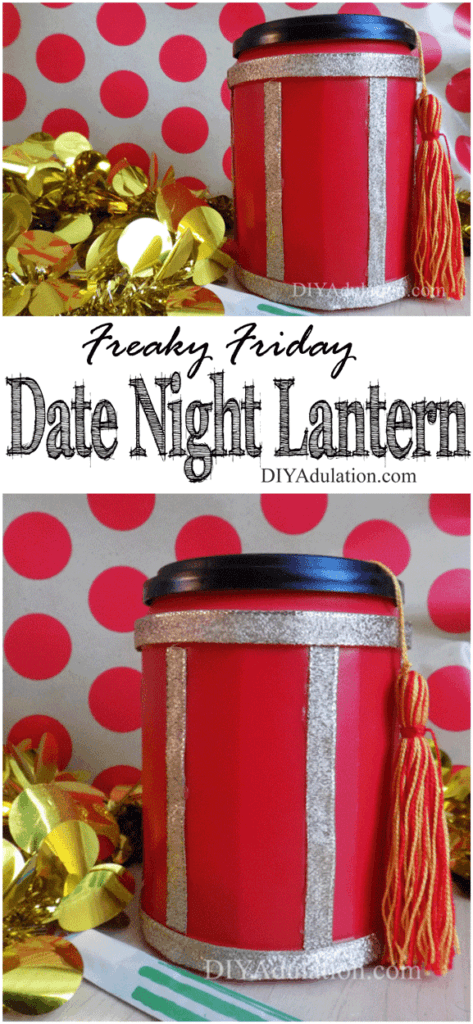
Don’t Forget to Pin It!
On the last (or fourth) Monday of each month, a group of bloggers participate in a #MovieMondayChallenge, hosted by C’mon Get Crafty! We decide on a topic, genre, or specific movie to use for inspiration and everyone gets free reign to create something wonderful!
This month’s challenge was. . . . “LUCK! Everyone was allowed to choose their own favorite film so long as it was inspired by the challenge word.
Now let’s see what everyone else was inspired to create for this month’s #MovieMondayChallenge!! If you’d like to join our Facebook group, you can request an invite here.