
If you are looking to set your Halloween party apart from the others this year then these wickedly easy DIY Halloween invitations are perfect for you. Most of the components come from the same set of Halloween paper from <arel=”nofollow” href=”http://www.orientaltrading.com/holidays/halloween-a1-550760.fltr” target=”_blank”>Oriental Trading making it easy to achieve perfectly coordinated invites. Don’t limit yourself to a prefab party this year and instead make a unique fest that will keep your guests talking for years. These invites are the first tutorial in our Rocking DIY Halloween Party Series!

[bctt tweet=”Set your party apart this year with these wickedly easy DIY Halloween invitations. #ad #diy” username=”diyadulation”]
Materials
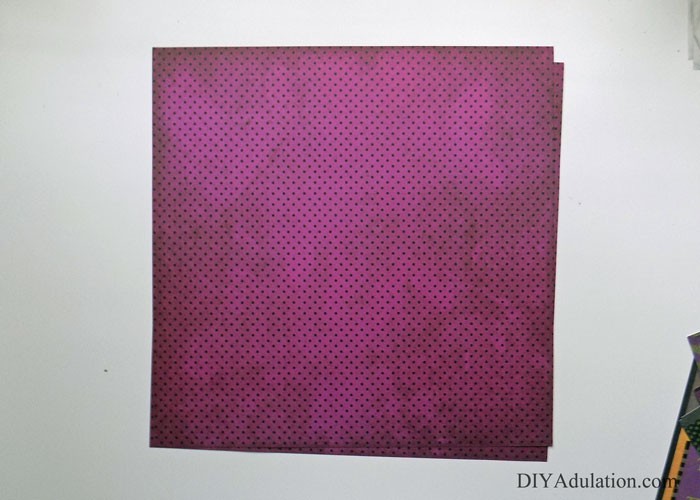
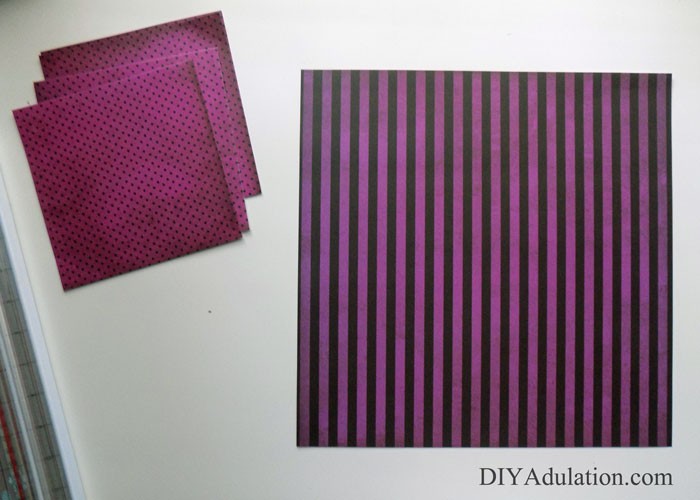
Step 1
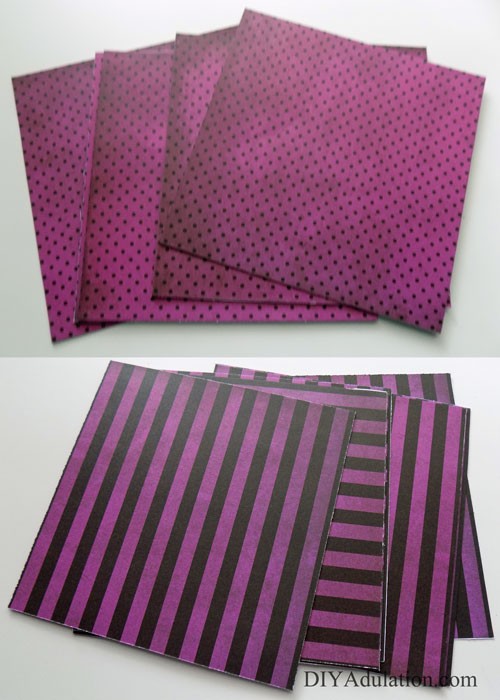
Pull the purple and black polka dot sheets and the purple and black striped sheets out of your paper pack. (4 sheets total, 2 of each style)
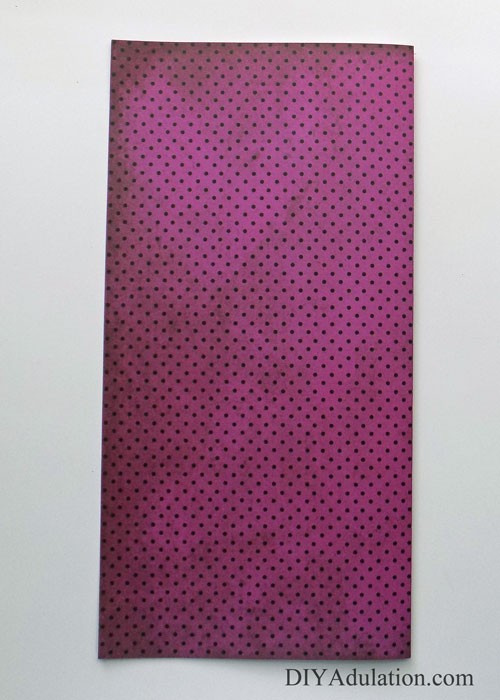
Step 2
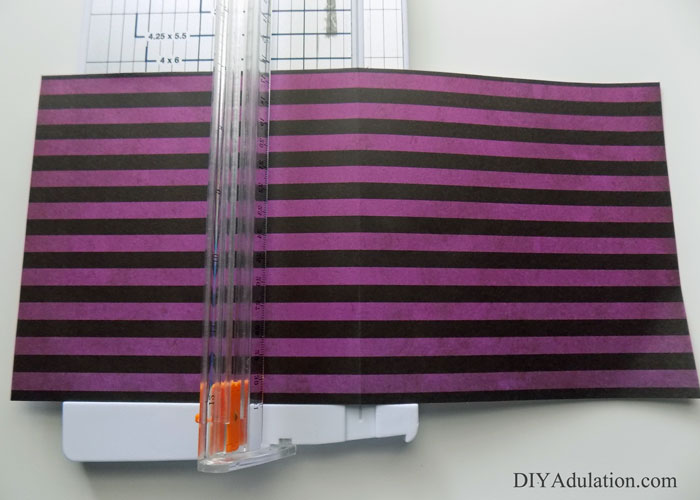
Take one sheet of paper and fold it in half.
Step 3
Open folded sheet of paper and cut along the fold line with your paper cutter.
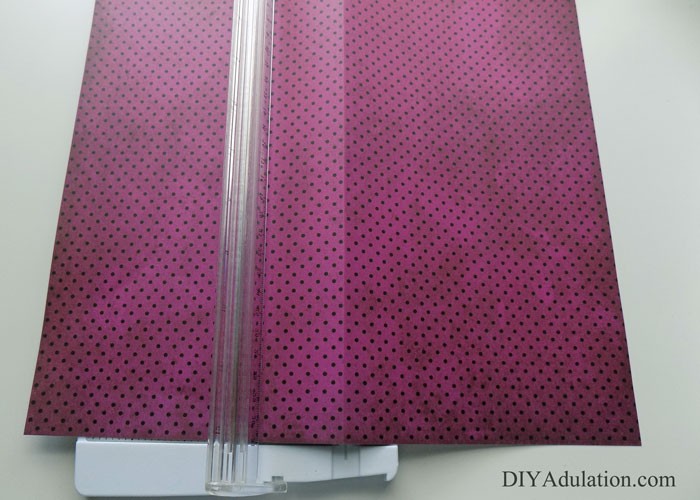
Step 4
Next fold each newly created half in half again.
Step 5
Again, open your folded sheets and cut along the fold lines.

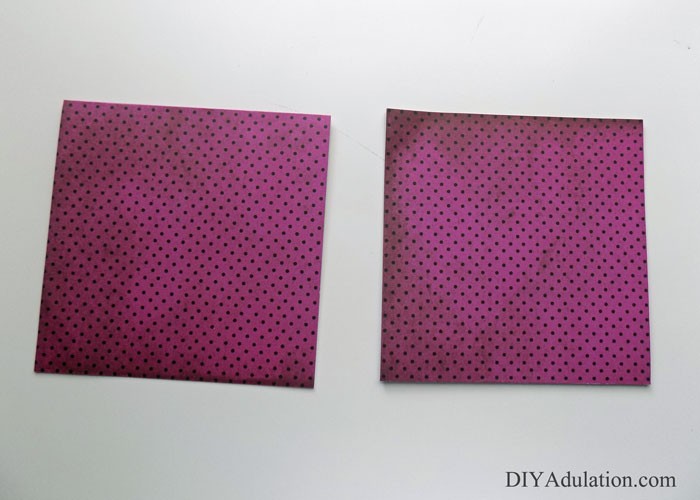
Step 6
Repeat steps 2-5 with your remaining 3 sheets of paper.
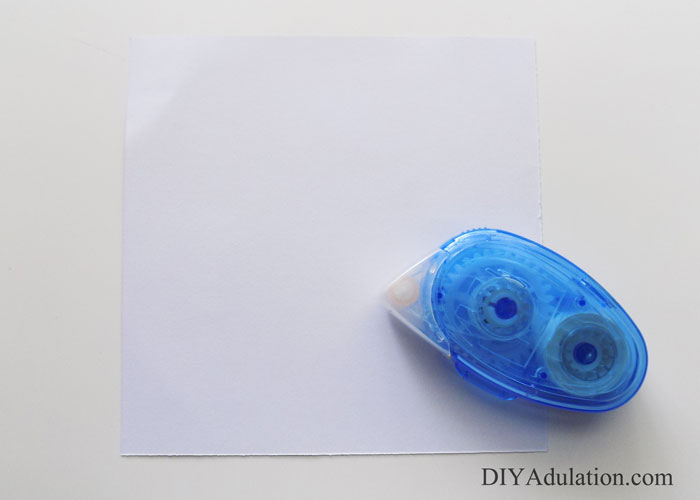
Step 7
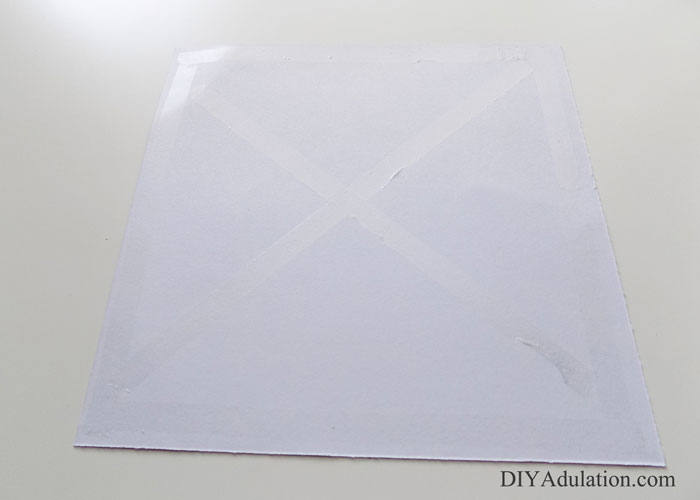
Next attach opposite designs of paper. Start by placing glue along the edges of one square and then running an “x” in the center.
Note:
- This ensures that your square sheets of paper stick firmly together.


Step 8
Carefully align the edges of paper together and press firmly to attach.
Tip:
- If the sheets don’t align perfectly trim excess around the edges with your paper cutter.
Step 9
Continue repeating steps 7 and 8 until all of your squares are attached. Set finished squares off to the side.

Step 10
Next find the sheets in your Halloween paper stack that have tags on them. (See picture for references.) Pull out one sheet.

Step 11
Cut out all of the tags.


Step 12
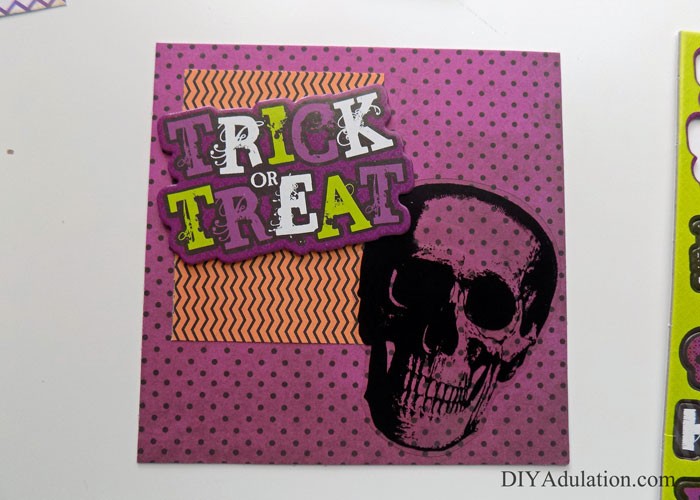
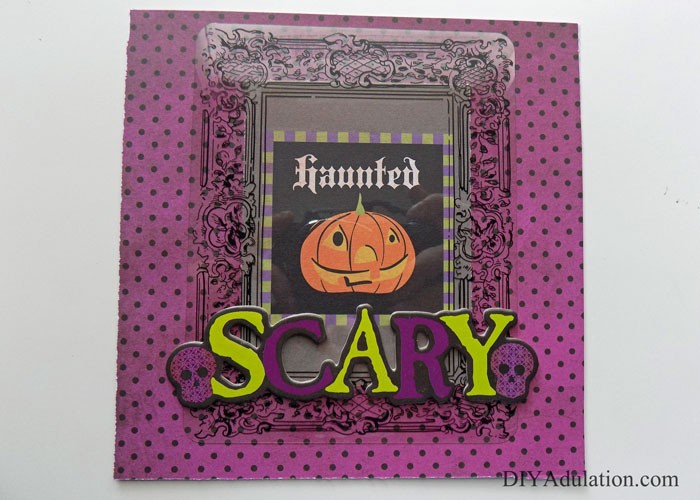
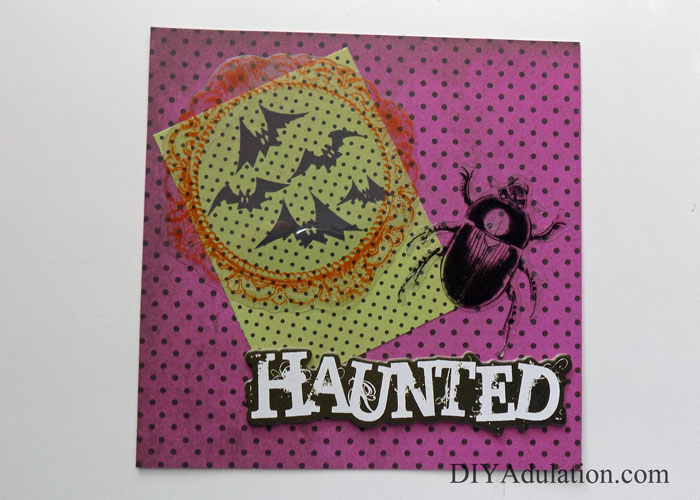
Start assembling the fronts of your invitations following the formula listed below for each:
1 square + 1 tag + 1 vellum embellishment + 1 chipboard saying = Complete Invitation


Step 13
Next get your sheet of orange cardstock and cut into 9 equal(-ish) pieces.
Tip:
- You can measure these if you want but I chose to just eyeball it. Uneven sizes kind of fit with the Halloween vibe.

Step 14
Mount your stamp on an acrylic block.

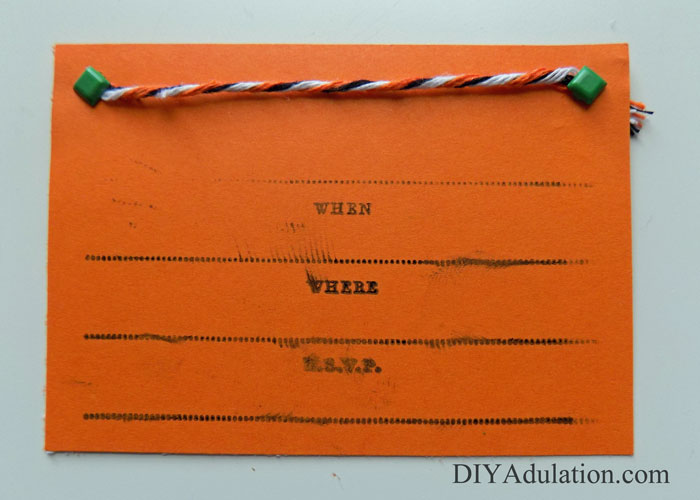
Note:
- You will notice that my stamp is for a shower invitation however it still contains all of the pertinent information for an R.S.V.P. invite. By inking only the parts I want I am able to use this stamp for any invitation.

Step 15
Ink your stamp and press firmly onto the bottom two-thirds of your orange cardstock piece. Do this for each one.

Step 16
Next use your hole punch to put holes in the top corners of each piece of stamped cardstock.

Step 17
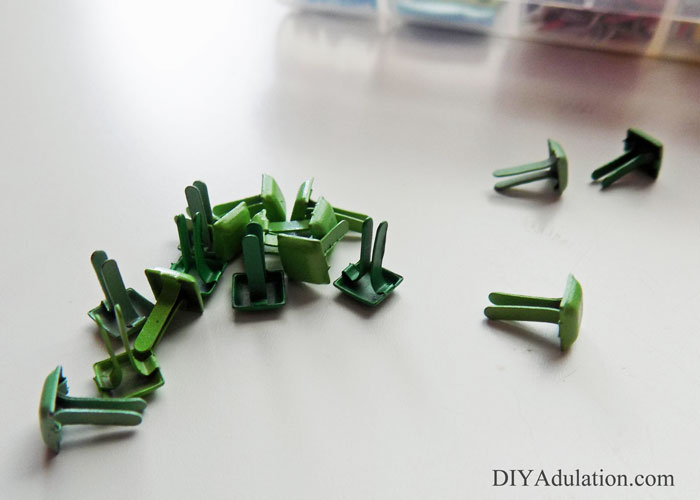
Now pull out your brads and your baker’s twine.

Step 18
Put the end of your baker’s twine through the top left hole of your orange cardstock and secure with a brad.
Step 19
Next cut your baker’s twine so that it is slightly longer than the end of your card. Then thread the loose end through the top right hole of the orange cardstock and secure it with a second brad.


Step 20
Flip the orange cardstock over and trim the excess baker’s twine.
Step 21
Repeat steps 18 through 20 for the remaining pieces of cardstock.

Step 22
Attach your pieces of cardstock to the back of your invitations by placing a glue dot on each back corner of the cardstock and pressing firmly to the center of your invitations.

Step 23
Lastly, add your little Halloween stickers to the bottom left corner of your orange cardstock. (See the picture above for reference.)


Looking for a deal at Oriental Trading? Visit their coupon page for the latest in sales.
I am so excited with how these turned out! They are perfect for an adult costume party or a family-friendly soiree. Handmade invitations are always the best (like these awesome luau ones for summer). During the busy Halloween party season handmade invites can be the difference between your guests responding “Yes,” to your party over another. Now that your invites are done it is time to get to work on the party décor with these Easy Painted Pumpkin Coasters. Then come back on Friday to find out how to make a super sweet Halloween pumpkin bunting! **UPDATE** The kiddos came down with something gross and absolutely horrible this week which has resulted in no sleep for this momma due to constantly cleaning up things, that no one should have to clean up, hourly. I promise to get the banner tutorial up a.s.a.p. Mom stuff simply has to come first. Thanks everyone!
See where I’m linking up!