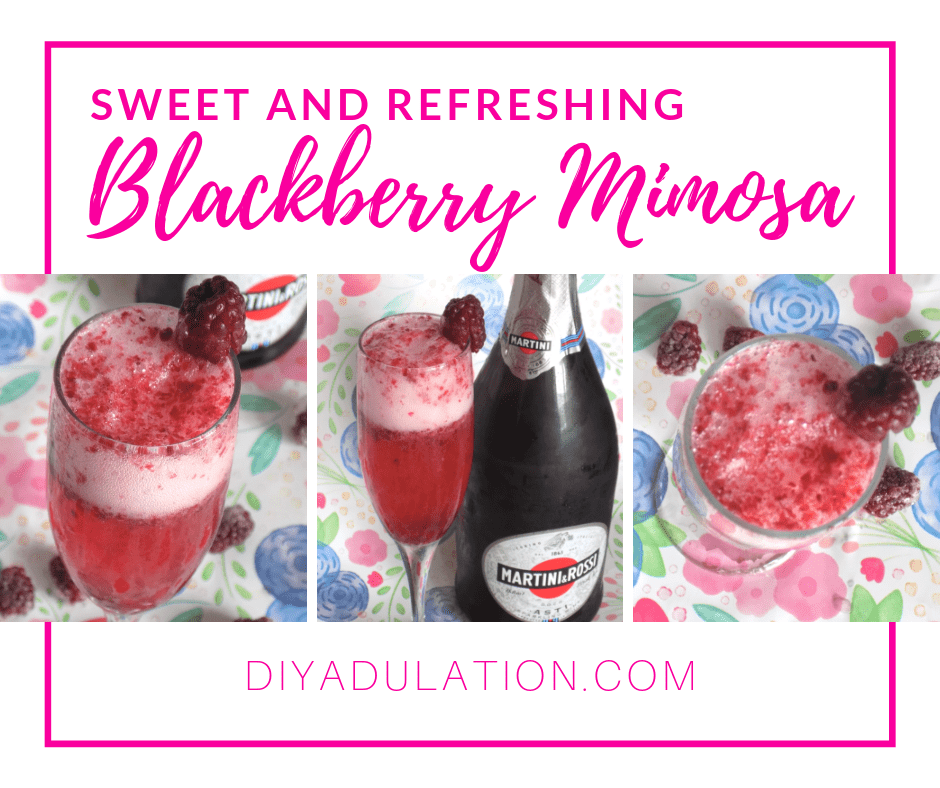
Summer means taking some time for that well-deserved break you earned during the craziness of the school year. Of course, sometimes summer break feels like trading one chaos for another. That’s why vacation are definitely a necessity. It’s time to get into the vacation vibe with this refreshing blackberry mimosa recipe!
Affiliate links may be used in this post. Ordering a product through these links may result in a commission. Read the full disclosure here.
[bctt tweet=”It’s time to get into the vacation vibe with this refreshing blackberry mimosa recipe! It’s the perfect drink for mom’s summer sipping.” username=”diyadulation”]
Even when you can’t take a vacation, that doesn’t mean you can’t live like you’re on vacation for a day. A brunch on the deck while you sip on a fresh berry mimosa is an easy way to achieve that. It’s even better with fresh berries.
I haven’t had the time or energy in a few years to invest in growing my own garden. Luckily for me, my momma is there in a clench. She is an amazing gardener and every season her blackberry bush explodes with fruit. So much so that I always end up with tons of blackberries to freeze for the rest of the year. Score!

If you grow your own blackberries, you know that it’s a high-producing bush. That means you don’t have to feel bad about using some of the extra produce in a drink for yourself. The recipe calls for your blackberries to be frozen but it’s just as delicious with fresh berries right off the plant. The frozen ones just keep your drink cooler, longer.
No matter what you choose, it’s a perfect sip for summer!
Blackberry Mimosa Ingredients
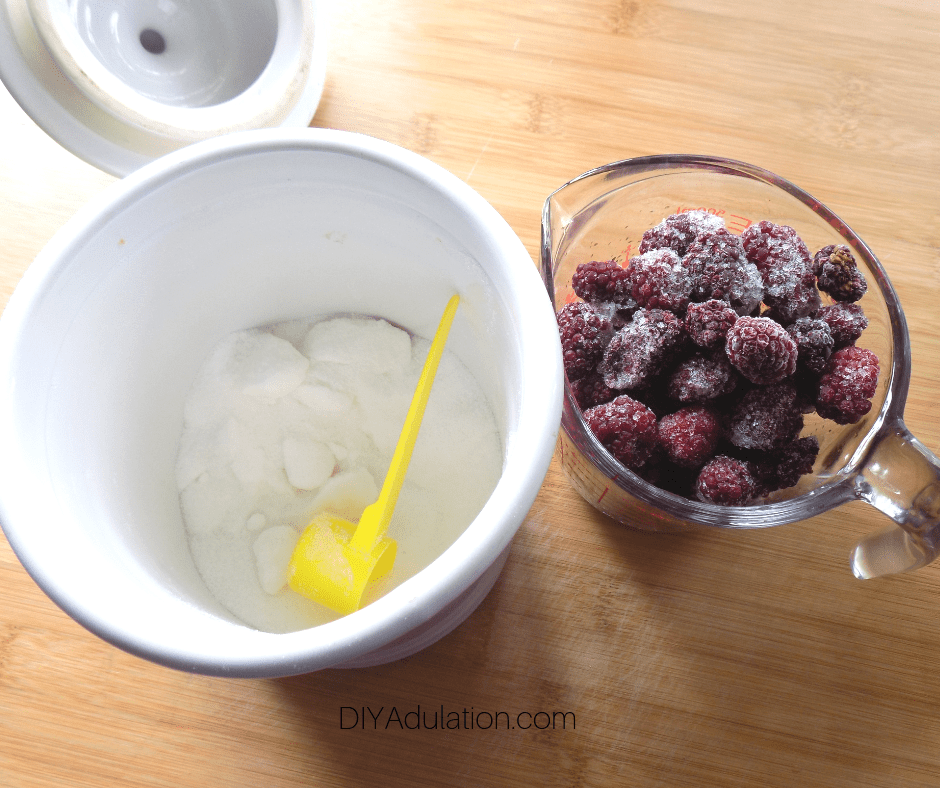
- 1 Cup Frozen Blackberries
- 1-2 tbsp Granulated Sugar (Depending on Sweetness Preference)
- Champagne of Choice
Step 1
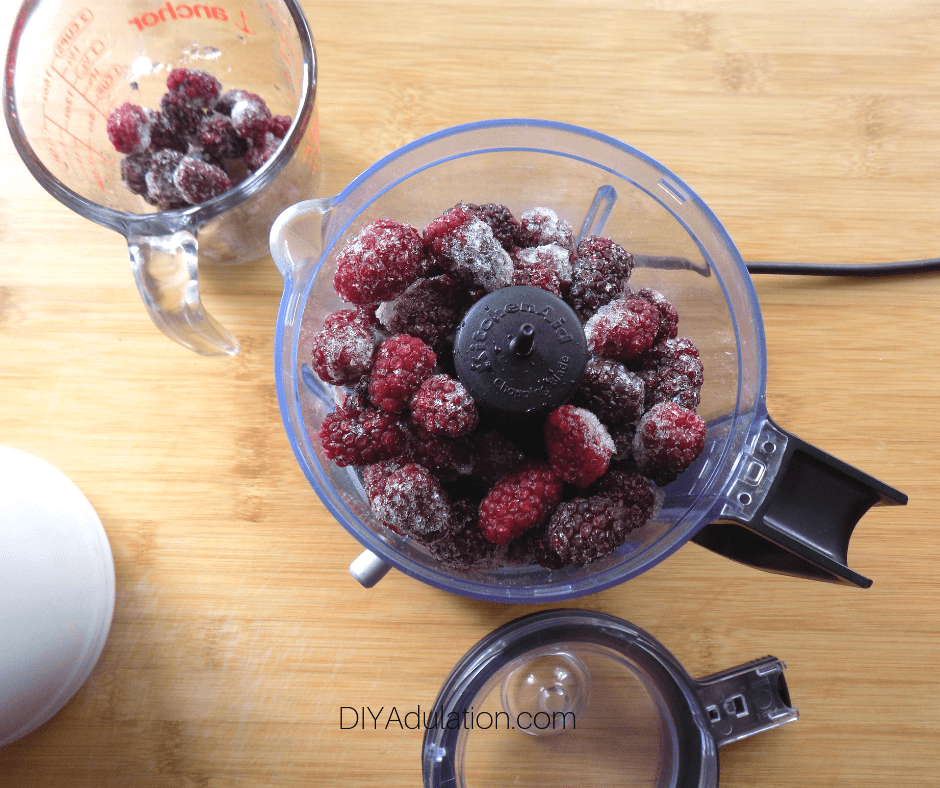
First, add your blackberries to a food processor. (I love my small KitchenAid one for this.)
Step 2
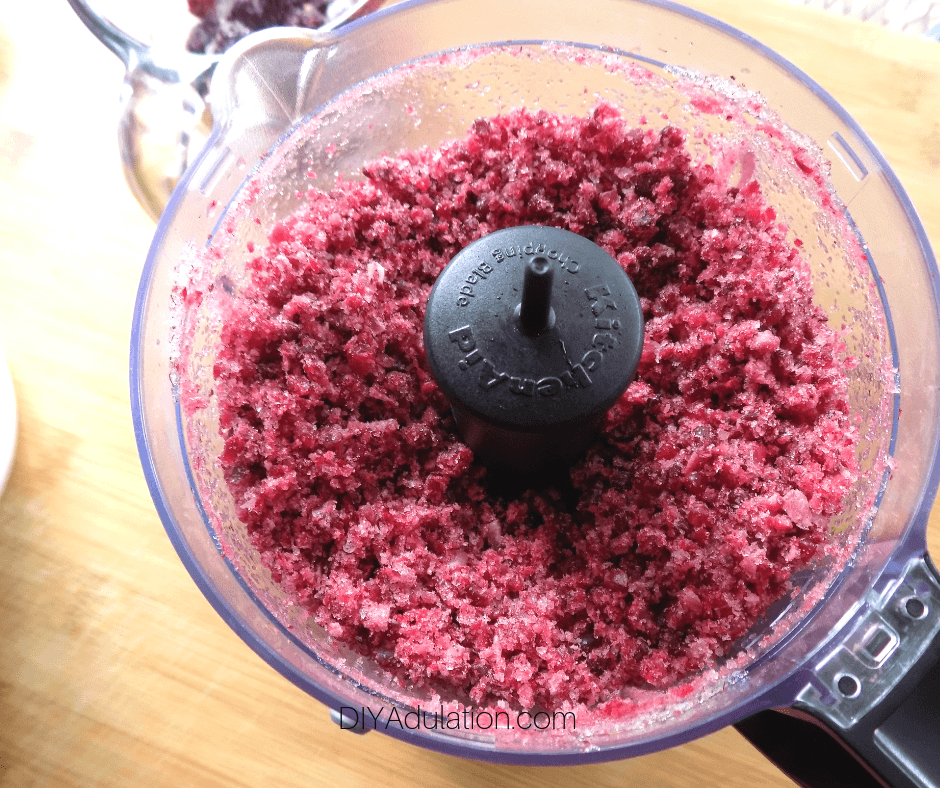
Puree blackberries until smooth.

Step 3
Then add sugar to pureed blackberries.

Step 4
Again, pulse in food processor until well combined.

Step 5
After the blackberries and sugar are mixed, add a few teaspoons of the blackberry mixture to a champagne flute.

Step 6
Top the blackberry mixture with champagne and enjoy!.
How to Remove a Champagne Cork
Have you ever popped a champagne cork only to send it flying and loose half of your champagne? It will never happen again when you use this super simple trick to open your bottle of champagne.
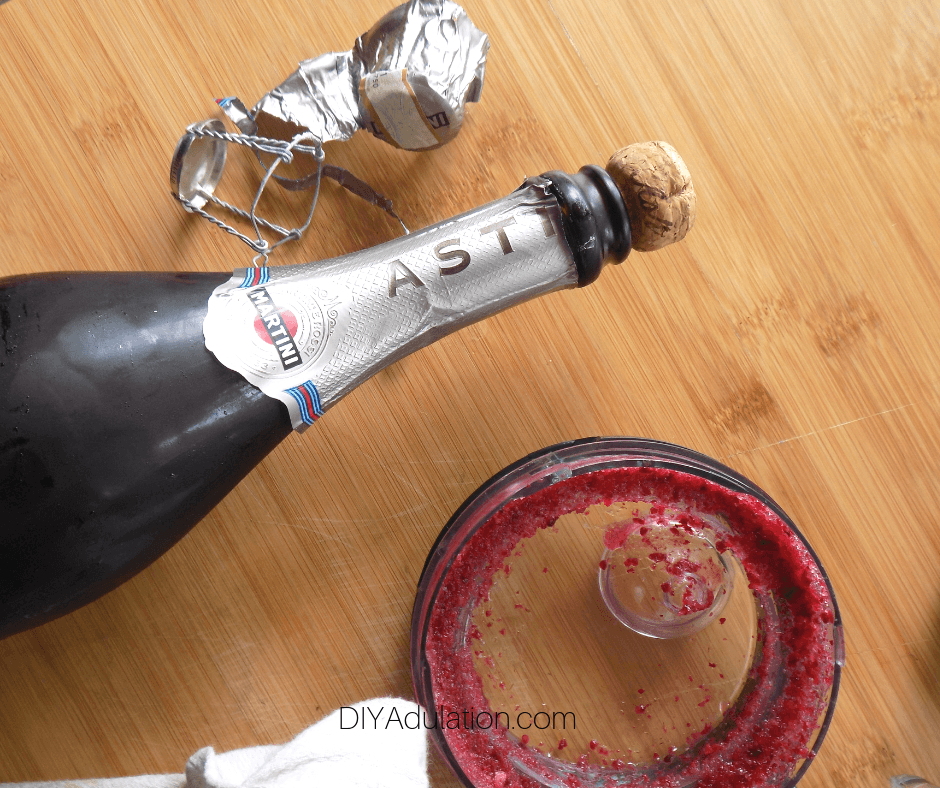
Step 1
First, remove any seals on your bottle.

Step 2
Then cover the end of the champagne bottle with a towel.

Step 3
Lastly, hold the towel to the bottle while pulling out the cork. The towel catches the cork and no crazy overflow or spilling!
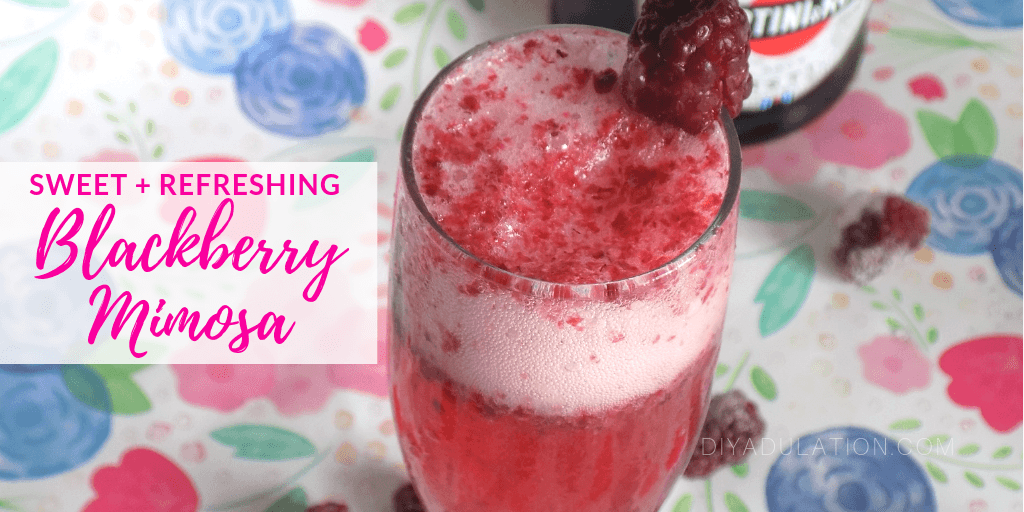
The seeds in this delicious and refreshing blackberry mimosa recipe add a fun new texture to your mimosa. It’s definitely a perfect treat for stressed out mommas this summer. Don’t forget to choose the perfect sweetness for your tastes by changing the amount of sugar you use and the champagne type. Try a Brut for a less sweet mimosa. Feel free to play around with it until you find your perfect mix, just maybe not in the same day.
Prep Time
10 minutes
Total Time
10 minutes
Ingredients
-
1 Cup Frozen Blackberries
-
1-2 tbsp Granulated Sugar (Depending on Sweetness Preference)
-
Champagne of Choice
Instructions
- First, add your blackberries to a food processor.
- Puree blackberries until smooth.
- Then add sugar to pureed blackberries.
- Again, pulse in food processor until well combined.
- After the blackberries and sugar are mixed, add a few teaspoons of the blackberry mixture to a champagne flute.
- Top the blackberry mixture with champagne and enjoy!.
See where I’m linking up!
Don’t Forget to Pin It!

More Ideas You’ll Love: