These freezer-friendly chicken nuggets are extra crispy and way healthier than what you’ll get in a drive-thru. Find out how easy they are to make below!
Affiliate links may be used in this post. Ordering a product through these links may result in a commission. Read the full disclosure here.

[bctt tweet=”Freezer-friendly chicken nuggets are way healthier than what you get in a drive-thru. #freezercooking”]
Chicken nuggets are like the ultimate kids food. It’s as though they are born with this innate love for them. Can you blame them? Chicken nuggets are delicious! Unfortunately, most of the ones you get at a restaurant or buy in the frozen section of the grocery store aren’t very healthy for you.
Instead of cutting them out of your meals altogether, keep the delicious convenience food in your arsenal of quick meals by making your own.

Freezer-Friendly Chicken Nuggets Ingredients
Step 1
Preheat your oven to 350 degrees. Line baking pans with foil and spray with a non-stick cooking spray.
Step 2
Cut up chicken breasts into roughly 1 inch pieces. (Don’t worry if they aren’t exact.)
Step 3
In a separate bowl from your beaten eggs, combine panko bread crumbs and seasonings.
Step 4
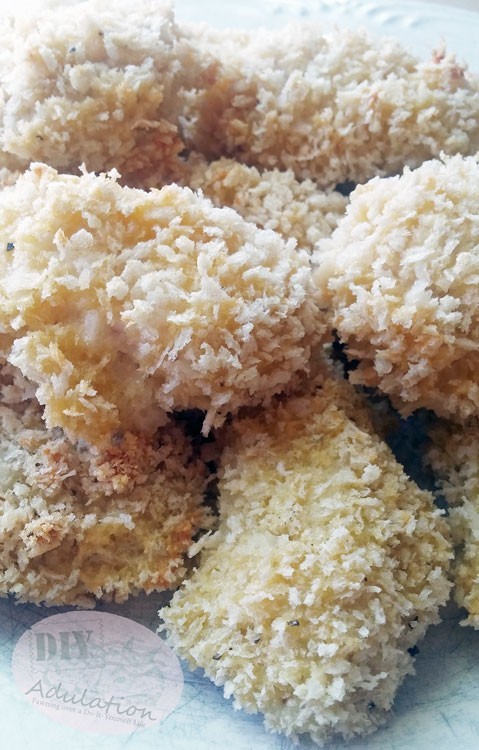
Dip each piece of chicken in your eggs (allowing excess to run off) and then roll in bread crumb mixture. Repeat a second time and place on prepared baking sheet.
**The extra coat is what makes them extra crispy!

Step 5
Once one pan is full of nuggets, bake for 20 minutes.
Step 6
Continue steps 4 and 5 until all of your nuggets are cooked.
This recipe makes roughly 75 nuggets depending on how evenly your pieces are cut.

How to Freeze Chicken Nuggets
To freeze, place in a large Ziploc freezer bag and store in your freezer. You can pull out only the amount you need later and continue storing the rest in the freezer until needed. Don’t forget to label them!
How to Reheat Freezer-Friendly Chicken Nuggets
They can be reheated in the microwave or (to retain their crispness) reheat in the oven at 300 degrees for 10 minutes or until warmed throughout.

Prep Time
10 minutes
Cook Time
20 minutes
Total Time
30 minutes
Ingredients
-
Bag of Frozen Chicken Breasts (defrosted)
-
6 Beaten Eggs
-
4 Cups Panko Bread Crumbs
-
2 Tbsp. Garlic Pepper
-
Dash of Salt
Instructions
- Preheat your oven to 350 degrees. Line baking pans with foil and spray with a non-stick cooking spray.
- Cut up chicken breasts into roughly 1 inch pieces. (Don’t worry if they aren’t exact.)
- In a separate bowl from your beaten eggs, combine panko bread crumbs and seasonings.
- Dip each piece of chicken in your eggs (allowing excess to run off) and then roll in bread crumb mixture. Repeat a second time and place on prepared baking sheet.
- Once one pan is full of nuggets, bake for 20 minutes.
- Continue steps 4 and 5 until all of your nuggets are cooked.

When you make these freezer-friendly chicken nuggets you don’t have to sacrifice convenience for healthy food. You can have both! They will last at least a month properly stored in the freezer and get lunch on the table in minutes. Once you are comfortable making these you can start playing around with the flavors. Add a dry barbeque rub to the breading mix or create some heat by adding Cajun spices. Get creative and find your family’s favorite flavors!
See where I’m linking up!
Don’t Forget to Pin It!
