DIY Easter Bunny Egg Hunt Bags | Easy Easter Craft

This DIY spooky spider web lantern is so easy to make and budget-friendly you will want to make several different size ones to create a spooky vignette. #ad

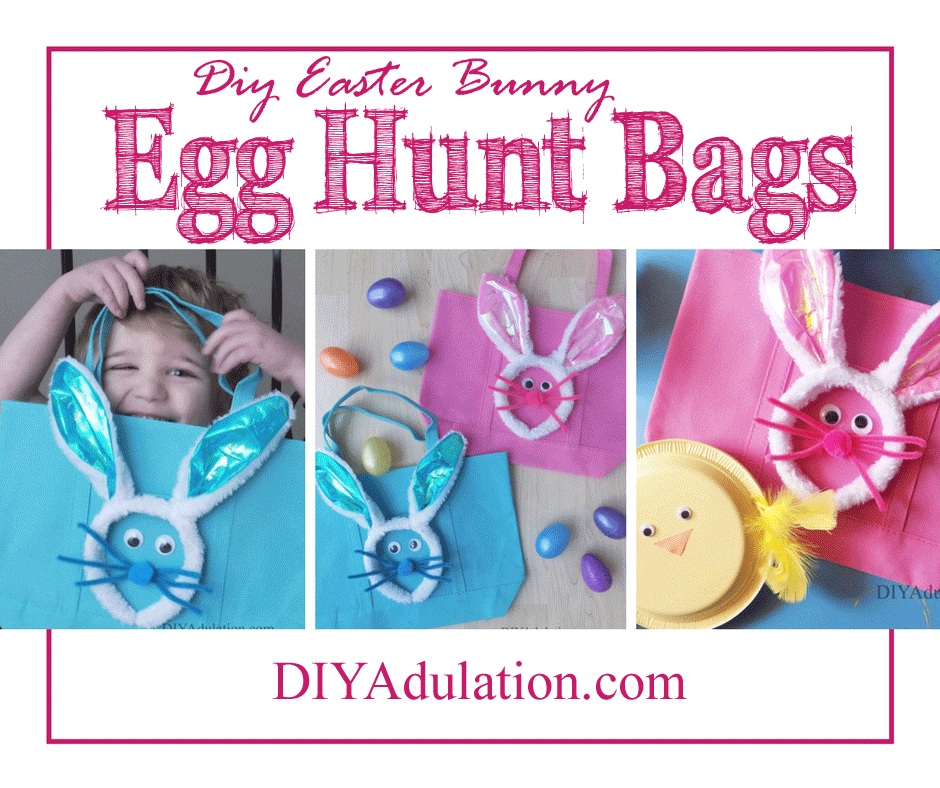
These DIY Easter bunny egg hunt bags are an easy, frugal, and reusable solution for your next Easter egg hunt. Kiddos love them and you can color-code them for each kid so there is no confusion on what bag belongs to whom.

We let our kids pick out their bags and ears but feel free to skip that step. Full disclosure: it has been difficult explaining to the youngest that the bunny ears are not for wearing. If I had it to do again, I’d probably pick up an extra pair for them to play with.

Affiliate links may be used in this post. Ordering a product through these links may result in a commission at no extra cost to you. Read the full disclosure here.

Blue and Pink Easter Egg Hunt Bags Collage with text overlay: DIY Easter Bunny Egg Hunt Bags


[bctt tweet=”Ditch the plastic grocery bags for these #DIY #Easter bunny egg hunt bags; a fun, easy, and frugal alternative. ” username=”diyadulation”]

How many egg hunts do your kids participate in every Easter? Ours get to do a minimum of 3 and some years it’s more like 5 or 6. Usually all of the kids simply get a plastic grocery bag to run around collecting eggs but this year I wanted to do something different and reusable.

When you’re on a tight budget it is easy to believe that you can’t have any fun, especially around the holidays. That’s why I love Dollar Tree so much. It allows us to still make the holidays special for our family without totally blowing our budget.

If you’re looking for budget-friendly fillers for this year’s Easter baskets they are definitely your best friend. Bonus tip: when you have multiple kiddos, their multi-packs (which are still totally $1) let you fill each child’s basket for pennies!


DIY Easter Bunny Egg Hunt Bags Materials
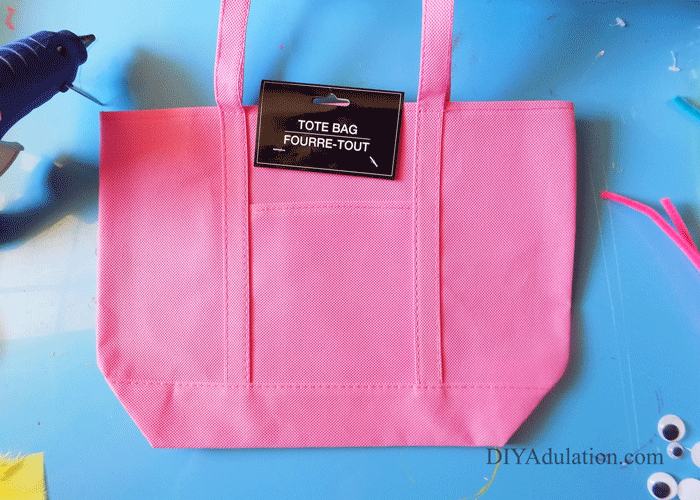
 

Pink Tote Bag with Tags

Pink Tote Bag with Pink Fuzzy Bunny Ears Headband

Pink Tote Bag with Pink Fuzzy Bunny Ears Headband

Step 1

First, remove the tags from your tote bag and from your bunny ears.


Pink Tote Bag with Pink Fuzzy Bunny Ears Headband

Step 2

Next, add glue to the back of your bunny ears headband and attach it to the front of your tote bag. Make sure the bottom of the headband ends are touching. This creates your bunny head.
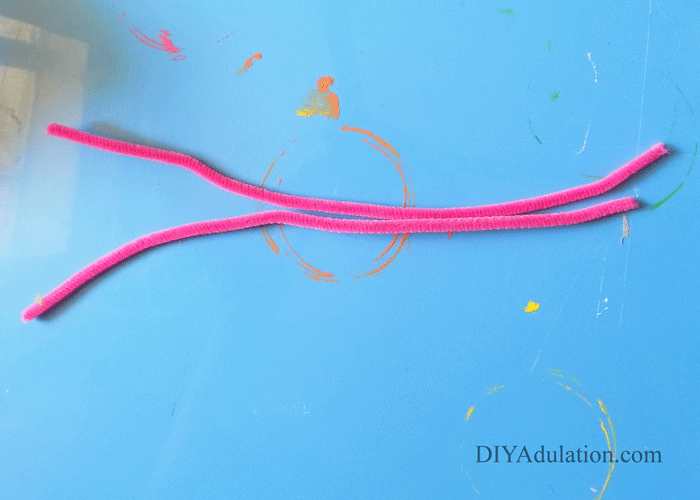
 

2 Pink Pipe Cleaners

Step 3

Now pull out 2 pipe cleaners in the color of your choice.


Pink Pipe Cleaners Cut in Half with Pink Scissors

Step 4

Cut the pipe cleaners in half and place one to the side. You only need 3 pipe cleaner halves for each bag.


Twisted together pipe cleaner stems and pink scissors

Step 5

Then twist the pipe cleaners together in the center. You should have 3 “whiskers” on either side of the twist.


Close up of glue on pink pipe cleaner whiskers

Step 6

Add a dab of glue to the back of the twisted center and press firmly to the center of your bunny head.

Tip:

  • After the glue has cooled slightly, you may need to spread your whiskers slightly.
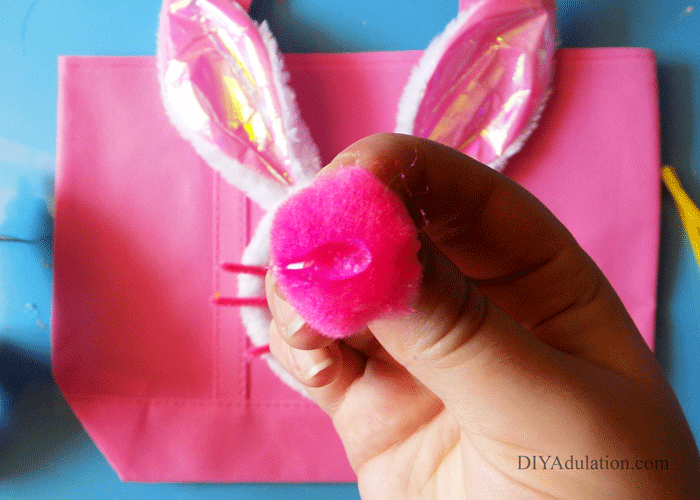
 

Close up of glue on pink pompom

Pink Tote Bag with Pink Fuzzy Bunny Ears Headband, pipe cleaner whiskers, and a pompom nose

Step 7

Next, attach a pompom to the center of your whiskers with hot glue.


Close up of Pink Easter Bunny Face

Step 8

Lastly, glue on your googly eyes as pictured above and you’re done.


Blue Easter Bunny Egg Hunt Bag

Blue Easter Bunny Egg Hunt Bag with Yellow Chick

Pink Easter Bunny Egg Hunt Bag with Yellow Chick

Blue and Pink Easter Egg Hunt Bags with Plastic Eggs

Blue and Pink Easter Egg Hunt Bags with Plastic Eggs

Pink Easter Egg Hunt Bag with Yellow Chick and text overlay: DIY Easter Bunny Egg Hunt Bags

How stinking cute are these DIY Easter bunny egg hunt bags? They seriously come together in minutes and, of course, don’t break the bank. Those are the best kinds of crafts! I’ll be sharing more budget-friendly Easter tips and crafts throughout March to help you rock your holiday while saving money.

Until then, check out Dollar Tree to get the materials for this project and to save money on basket fillers! What are your best tips for saving money on Easter? Let me know in the comments!

See where I’m linking up!

Don’t Forget to Pin It!

Blue and Pink Easter Egg Hunt Bags Collage with text overlay: DIY Easter Bunny Egg Hunt Bags


More Ideas You’ll Love:

Easy Shamrock Crafts for Saint Patrick’s Day

I can’t believe February is almost over. The days seem to be flying by this year (or maybe they’re getting swept away by all of this rain we’re having). Saint Patrick’s Day will be here before we know it and you don’t want to get caught with your shamrocks down. That’s why this week’s round up is easy shamrock crafts for Saint Patrick’s Day. Below you’ll find ideas to add that touch of green to your outfit, your home, or need a fun themed craft to do with the kiddos. Then stick around and check out this week’s Merry Monday link party for even more awesome ideas.

Collage of Shamrock Projects with text overlay: Easy Shamrock Crafts for St. Patrick's Day


[bctt tweet=”Love Saint Patrick’s Day? Then you will flip for these easy shamrock crafts! #StPatricksDay #diy” username=”diyadulation”]

White and green striped canvas with buttons shamrock

Button Shamrock (A Sprinkle of Joy)

I love button décor and this one is super easy and adorable. This baby will have your home ready for the holiday in no time.


Burlap wreath with shamrocks and a rainbow banner

Lucky Shamrocks St. Patrick’s Day Wreath (Flamingo Toes)

This beautiful wreath adds some rainbow flair to your St. Patrick’s Day décor. It will brighten up your door for sure.


White socks with green outlined shamrocks and text overlay: DIY Shamrock Socks

DIY Shamrock Socks (The Scrap Shoppe Blog)

How fun are these socks? Kids will love rocking this easy DIY at school!


Striped ribbon bow with green shamrocks

Lucky Charm Hair Bow (Bombshell Bling)

While she technically made this for her baby, I would totally wear this awesome bow. You could make matching ones for you and your daughter!


Vignette featuring a multicolored wooden shamrock

DIY Wood Shim Shamrock (A Wonderful Thought)

If your décor style is more traditional then this DIY is for you. It is the perfect way to add some festive to your mantle without changing your entire décor.


Green and white striped canvas with a shamrock made of pennies

Lucky Penny Shamrock Wall Art (Inside the Fox Den)

Turn those unused pennies into festive art with this shamrock craft. I love how she left the shamrock background white while painting. That’s a handy little trick.


Shamrock Wreath with flowers, gold coins, and a sequined bow

Dollar Store St. Patrick’s Wreath (DIY Adulation)

Of course, if you’re totally obsessed with shiny things and glitter like me, this is definitely the wreath for you. When it catches the light it is so pretty plus it is super cheap to make.


Black pots with gold glitter trim and green shamrocks filled with candy

St. Patrick’s Day Pot of Gold Craft (She Saved)

This is the perfect craft for those school parties. Fill them with treats and you’re ready to go.


Collage of Shamrock Projects with text overlay: Easy Shamrock Crafts for St. Patrick's Day

Which one of these easy shamrock crafts is your favorite? Personally, I’m loving that bow the best followed closely by the glittery pots of gold. They are all inspiring the St. Patrick’s Day spirit. Now it is time for a different party: the Merry Monday link party. Share your latest and greatest with us and then check out what everyone else is sharing.

Don’t Forget to Pin It!

Collage of Shamrock Projects with text overlay: Easy Shamrock Crafts for St. Patrick's Day

DIY Pink and Ivory Rose Bracelet with Heart Toggle

You can update your spring look and keep it in the budget with crafts like this DIY pink and ivory rose bracelet. It is a beautiful piece to show off on your arm just as the weather is warm enough to do so.

Affiliate links may be used in this post. Ordering a product through these links may result in a commission at no extra cost to you. Read the full disclosure here.

Pink floral beaded bracelet on wooden table with text overlay: DIY Pink and Ivory Rose Bracelet


[bctt tweet=”This #DIY pink and ivory #rose #bracelet is the perfect budget-friendly solution to update your spring look!” username=”diyadulation”]

Pink floral beaded bracelet on wooden table

When is the last time you gave your accessories an update for spring? Spring has always held a special place in my heart fashion-wise. When you’re on a budget and trying to get out of debt, though, it is not a luxury you’re taking.

Of course, it’s hard to justify purchasing even a new Easter dress when the old one still fits fine. I’ve been wearing mine for 5+ years now, except when I was 7 months pregnant with my youngest that is.

Growing up, spring was the one time a year I knew I was getting a new dress. Every year we got new Easter clothes, not hand-me-downs from yard sales.

Even if we couldn’t afford to buy the clothes, my mom would somehow find some gorgeous fabric and make me a new dress. The dresses were always bright pastels and so pretty. I couldn’t wait to walk into church with my new frills each season.

That is probably why I still get that itch to freshen up my wardrobe every spring. Instead of foregoing the tradition altogether, I am simply finding budget-friendly ways to do it.

DIY Pink and Ivory Rose Bracelet Materials


light green piece of cording

Step 1

First, cut a length of light green thread that is 3”-4” longer than the length it takes to wrap around your wrist.

Note:

  • Use your wire cutters to do this and make it a clean cut. If you don’t it will fray and make it extremely difficult to thread through the beads.


Close up of knot on bar of toggle clasp

Step 2

Next, attach the straight bar from your toggle set to one end of your thread with a double knot.

Step 3

Then trim any excess thread at the end of the knot. Do not cut the long length of thread that will be your bracelet.


Beads of bracelet laid out

Step 4

Begin threading on your beads using the toggle bar end to prevent them from falling off. Start with a ceramic pink floral bead followed by a glass pink twist bead. Then add a rose bead followed by another glass pink twist bead and a ceramic pink floral bead.


Pattern of beads on a bracelet

Step 5

Continue threading on your beads until you reach the length needed for your wrist. If you are not ending on a ceramic pink floral bead, continue the pattern until you can. It is better for your bracelet to be a little loose than too small.


Close up of knot attaching heart toggle with excess thread

Step 6

Lastly, attach your heart toggle by wrapping your thread through the eye 3 times. Be sure the eye is pulled taut to your last bead and finish it with a knot.


Close up of knot attaching heart toggle

Step 7

Trim any excess thread with your wire cutters. This time, if it frays, simply trim the fray off with a pair of scissors.


Pink floral beaded bracelet on wooden table

Pink floral beaded bracelet on wooden table

Pink floral beaded bracelet on wooden table with text overlay: DIY Pink and Ivory Rose Bracelet

This DIY pink and ivory rose bracelet absolutely screams spring. It is the perfect budget-friendly solution to update your Easter look without buying a whole new dress. It is also definitely a step up from those little socks with the frills we used to wear as kids. (Anyone else remember those?) How else do you plan to update your style this spring? Check out this easy DIY Gold Monogram Bangle to add a little extra glam to your wardrobe for pennies.

See where I’m linking up!

Don’t Forget to Pin It!

Pink floral beaded bracelet on wooden table with text overlay: DIY Pink and Ivory Rose Bracelet


More Ideas You’ll Love: