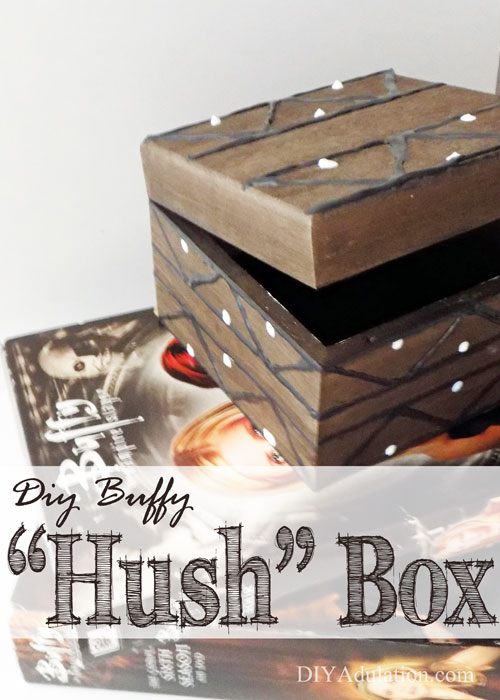
In case you have somehow missed it, I am a huge nerd. I love Doctor Who, rock Hello Kitty everything, and “I want to Believe”. The epitome of my fangirl soul is Buffy the Vampire Slayer (BTVS). Unfortunately, DIY tutorials for awesome Buffy crafts are hard to come by. For that reason I’ve decided to create my own. If you are looking for a great DIY to flaunt your BTVS nerdiness then this DIY Buffy Hush Box is the perfect start!
Affiliate links may be used in this post. Ordering a product through these links may result in a commission at no extra cost to you. Read the full disclosure here
About the Episode
Even if you aren’t a BTVS fan, I totally recommend watching this episode (don’t worry, you can watch it for free on Netflix or Amazon Prime). Hush is the tenth episode of Season 4 and it is phenomenal from a cinematic standpoint. The entire town is rendered speechless due to the latest villain, The Gentlemen, and the actors nail silent-film style! The Gentlemen are easily one of the scariest monsters you’ll ever encounter and the mimes that play them did incredible. When they steal all of the townspeople’s voices, they contain them in a creepy little box. Find out how to make your own replica box below.
*DISCLAIMER* This one probably won’t steal and/or store people’s voices for you.
[bctt tweet=”Flaunt your BTVS nerdiness with this DIY Buffy Hush Box is the perfect start! #diy #btvs #buffy” username=”diyadulation”]
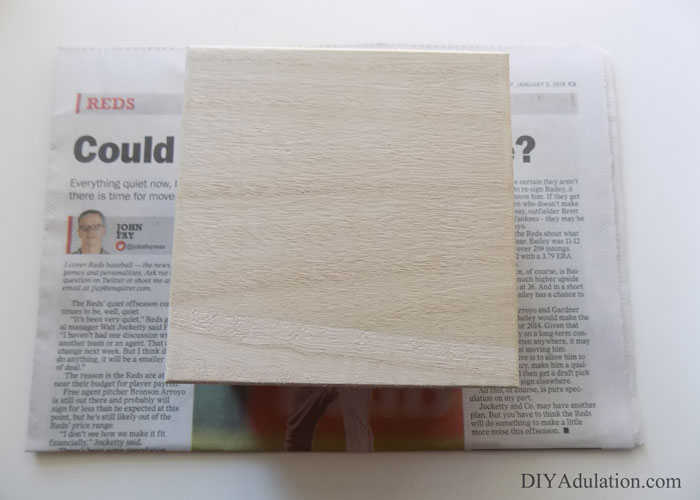
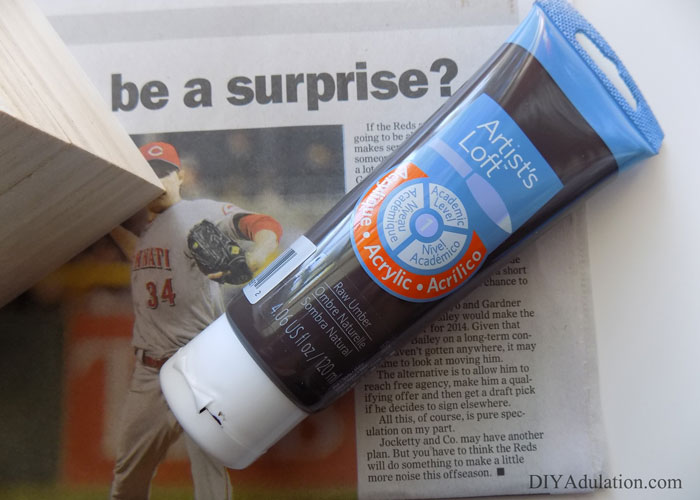
Materials
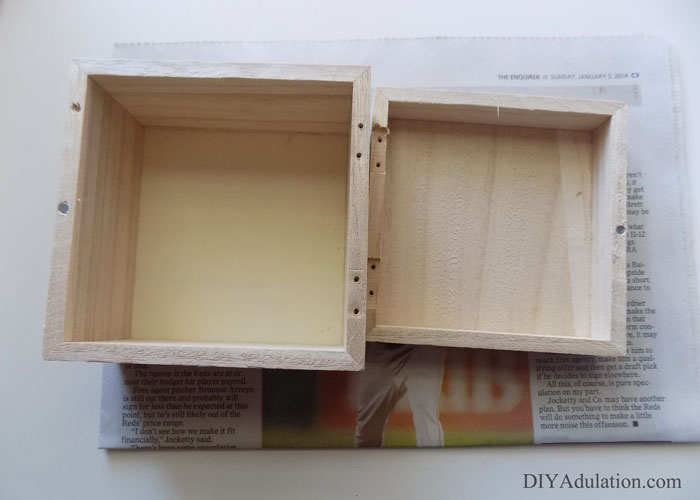
Step 1
Remove all stickers from your box.
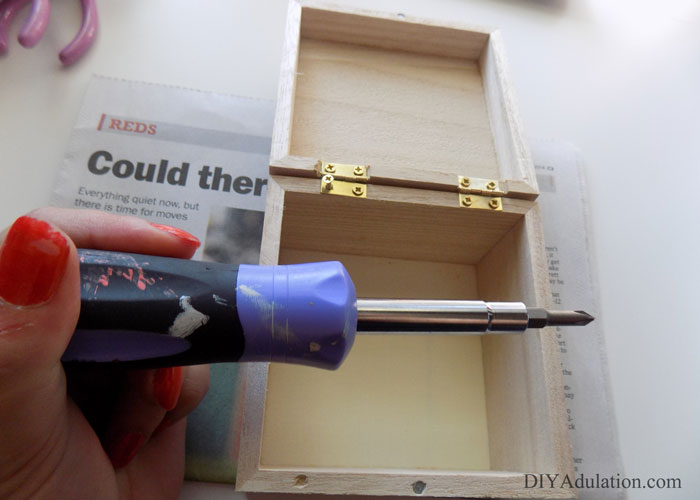
Step 2
Next, use your screwdriver to remove the hinges from the box and lid.
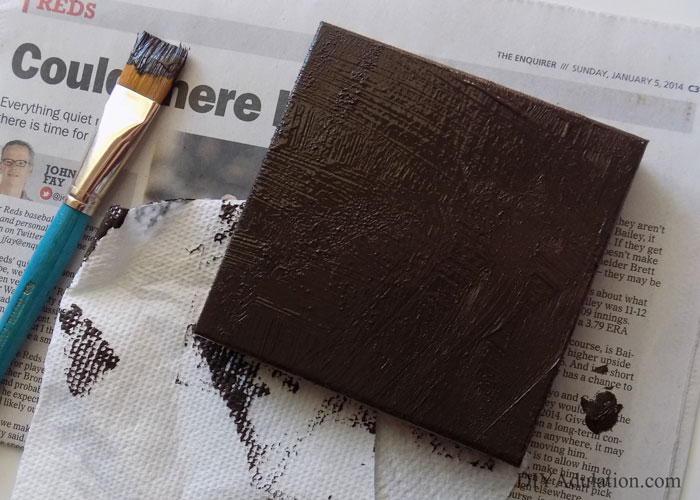
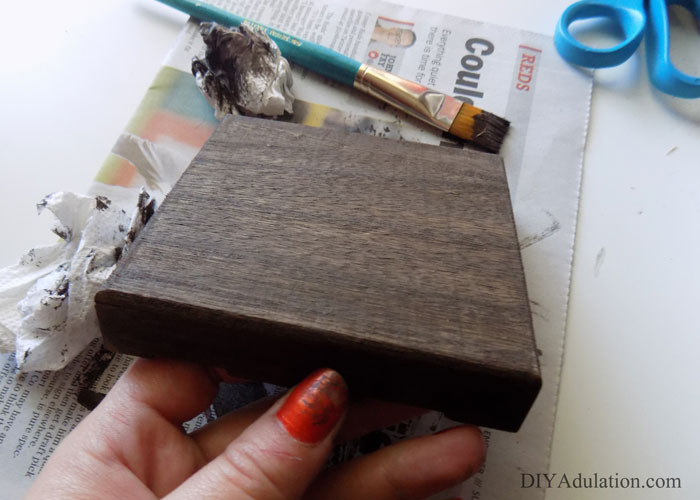
Step 3
Apply a thick coat of paint to the top of your lid.
Step 4
Immediately wipe off excess paint with a paper towel. This is what stains your wood while still letting the grain show through.
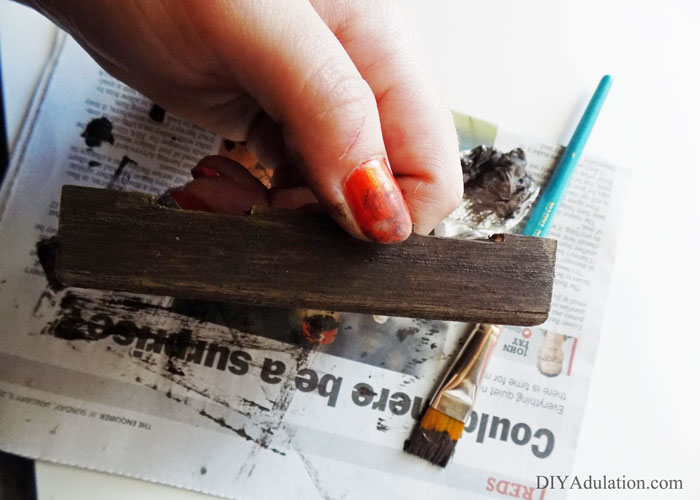
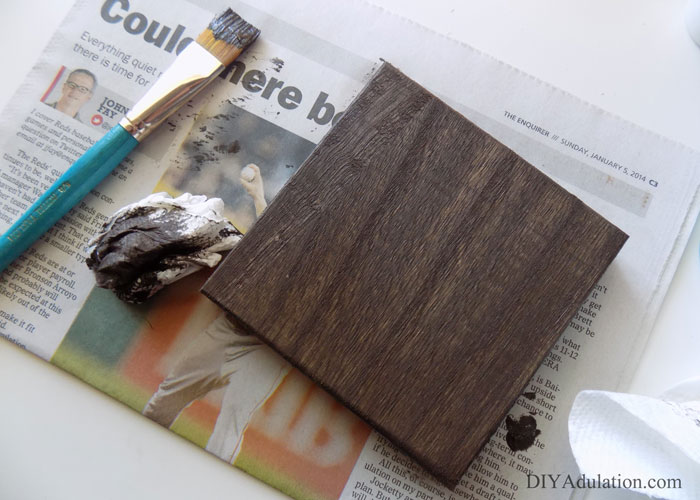
Step 5
Repeat steps 3 and 4 with the rest of your box until the entire outside is stained.
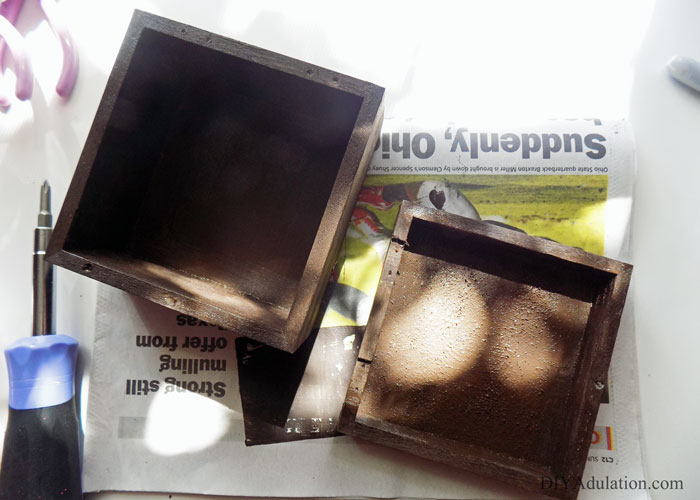
Step 6
Paint the inside of your box and lid but this time do not wipe the paint off.
Step 7
Allow your paint to dry completely.
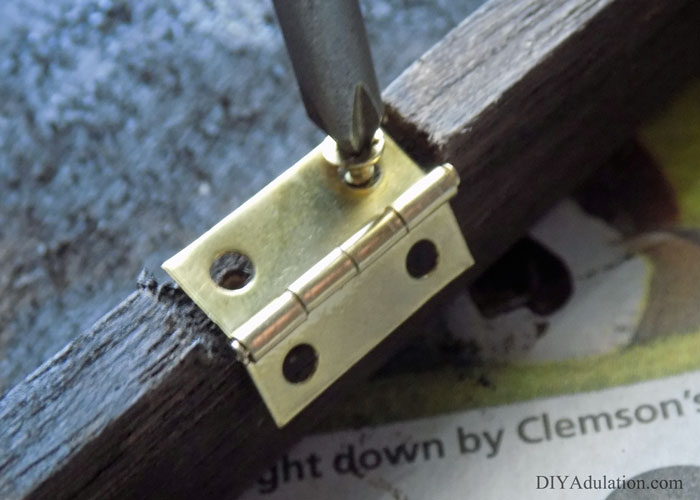
Step 8
Next, reattach your hinges.
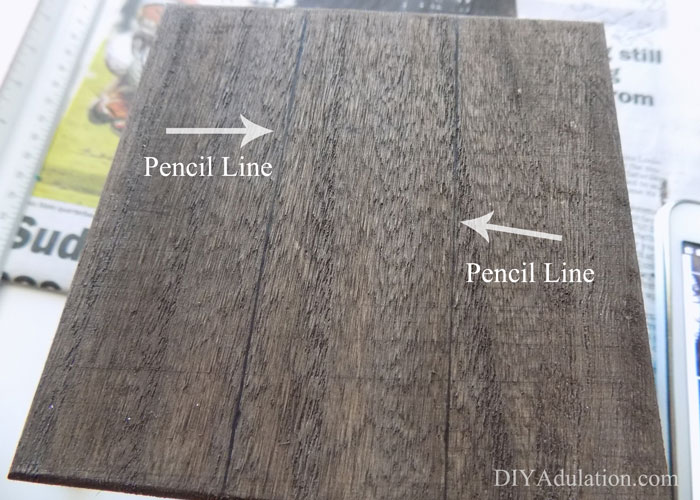
Step 9
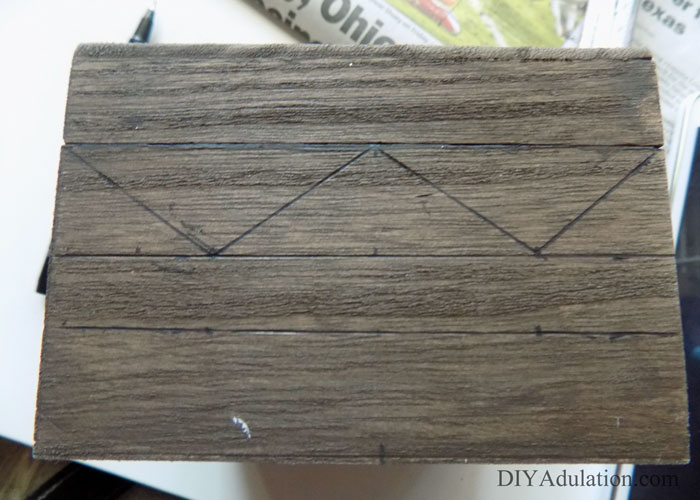
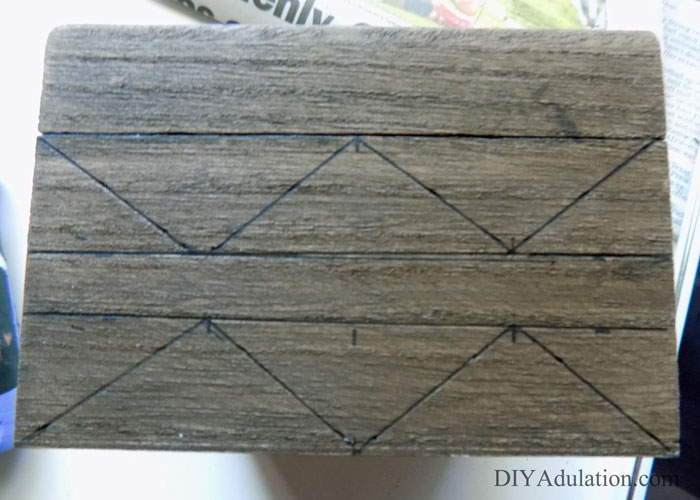
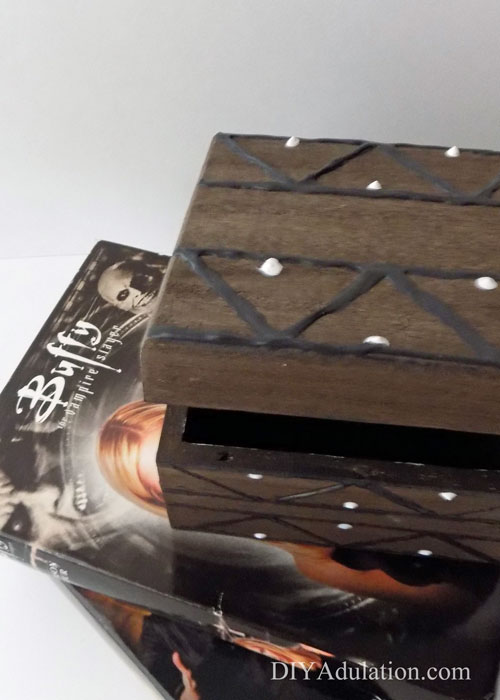
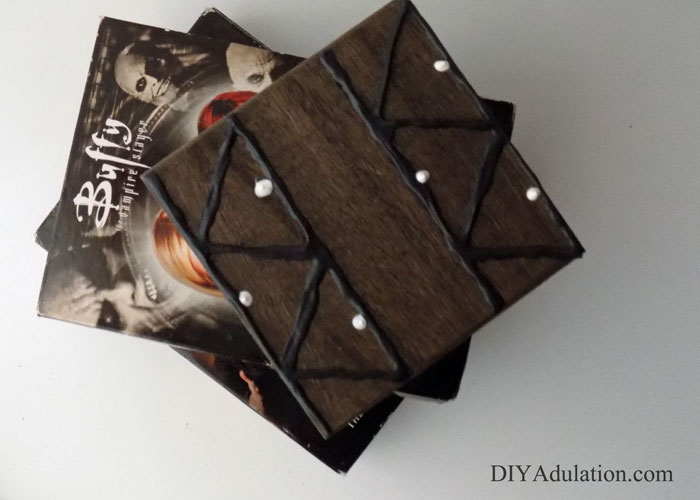
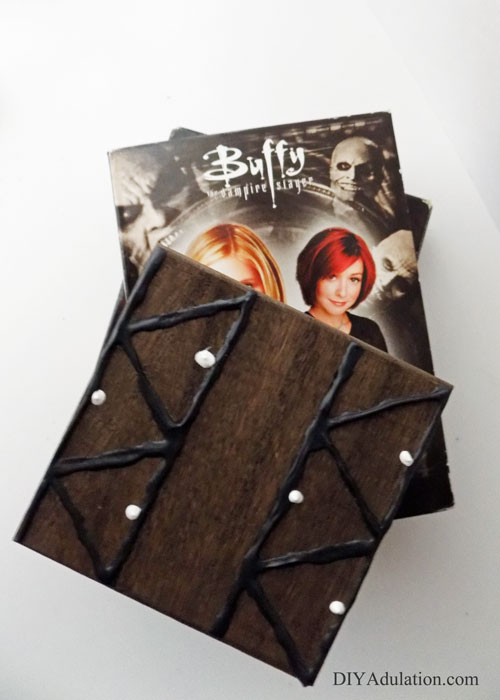
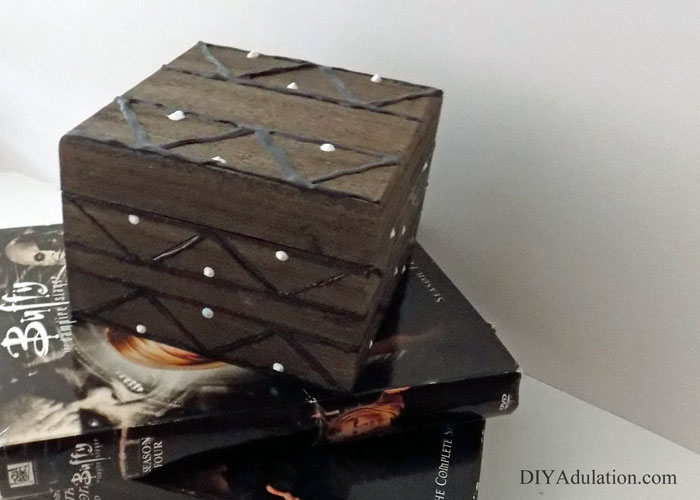
Close your box and draw lines on the lid 1.4 inches from the top and from the bottom.
Step 10
Next, make small notch marks on each edge and each line to mark every inch.
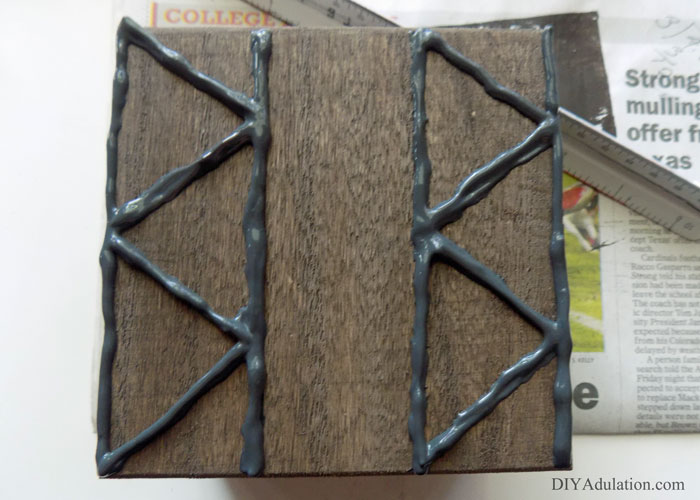
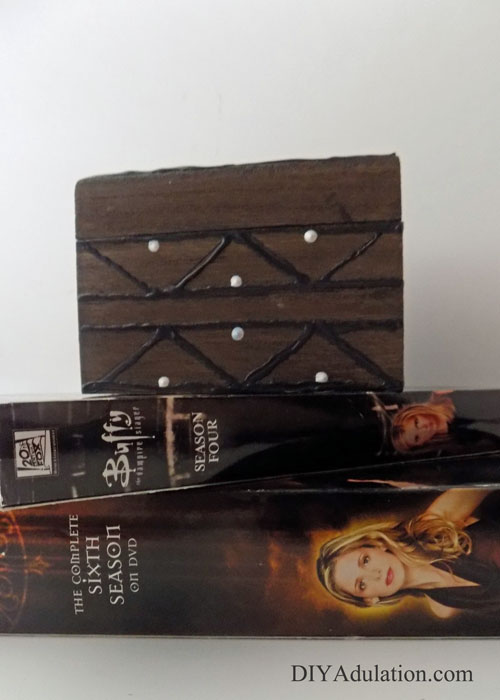
Step 11
Connect the marks to form triangles as pictured above. (Start at the corner and connect to the first notch mark on the line below. Continue in this pattern.)
Step 12
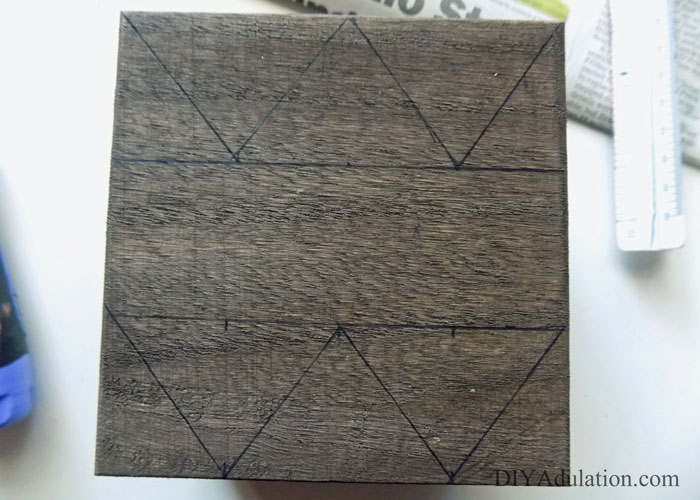
Now, draw your lines on the sides of your box. These lines should be measured .8 inches from the top (under the lid) and .8 in from the bottom of your box.
Step 13
Again, make small notch marks on each edge and line to mark each inch.
Step 14
Connect the notches to create triangles as you did in step 11 above.
Step 15
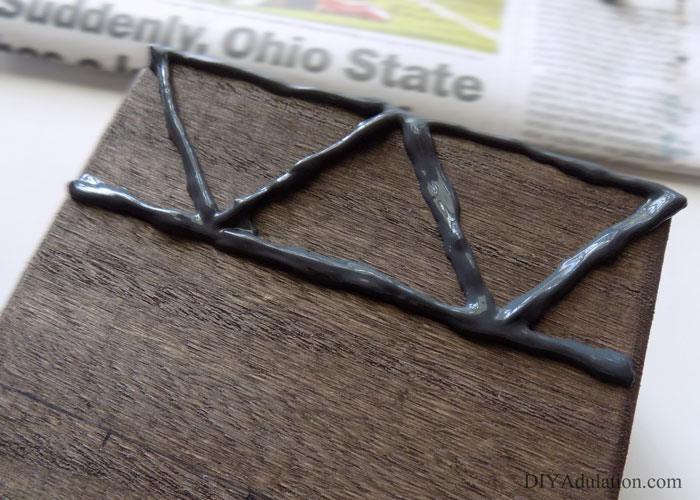
Cover the lines on the top of your lid with gallery glass and allow to dry completely.
Note:
- If you don’t have gallery glass you can use black fabric paint. The end result will not be as aged-looking, though.
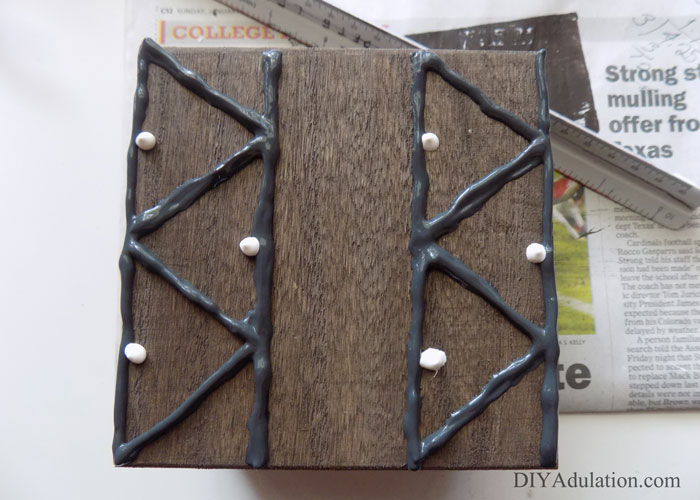
Step 16
Next, put a dot of white fabric paint in the bottom center of each triangle. See the picture above for reference.
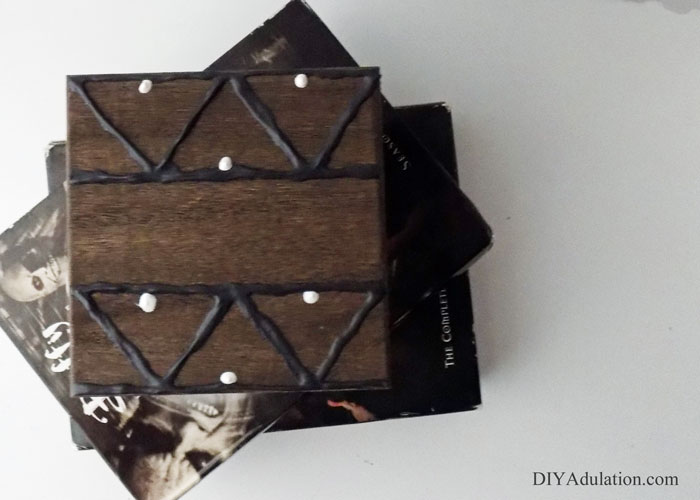
Step 17
Repeat steps 15 and 16 with the rest of your box. Allow the entire box to dry completely before use.

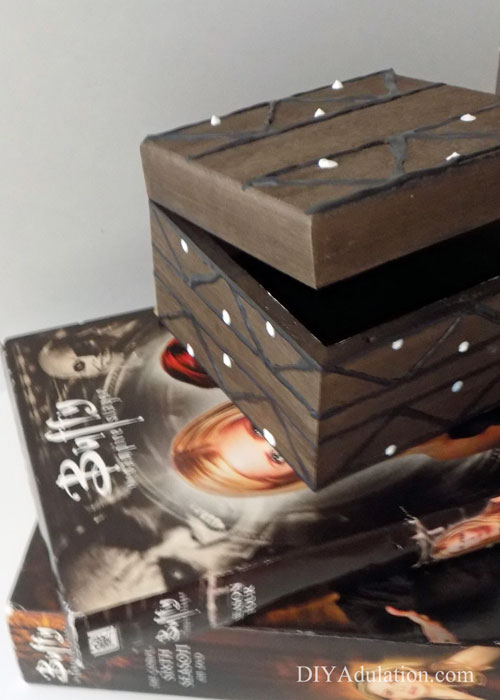
Now that you have your awesome replica it’s time to put it to use. You can use it on your night stand to store your everyday jewelry in the evening. It can hold your loose change displayed on a shelf. Another option that keeps in the theme of the box is to store a mini notepad and pen set inside of it. Any time that you are feeling a particularly strong emotion that you can’t shake, write it down. Then fold the slip of paper up and toss it in the box. Let the box hold onto your frustrations for you so that you can get on productively with your day!
Looking for more nerdy crafts? You will love these DIY Sonic Screwdriver earrings!
See where I’m linking up!