Watching a new season of The Walking Dead on Netflix is seriously perfect to get you in the Halloween spirit.(If you’re a fan, don’t miss these awesome free trivia printables for Season 1, Season 2, and Season 3 from Erlene @ MyPinterventures) Soon the weather will be turning and then it is time to start pulling out the spooky décor, screening Hocus Pocus, and making costumes. Start planning your October style now by making this pretty spooky DIY jack-o-lantern bracelet. It is an easy seasonal piece to rock with an everyday fall outfit or an entire Halloween ensemble.
Affiliate links may be used in this post. Ordering a product through these links may result in a commission. Read the full disclosure here.
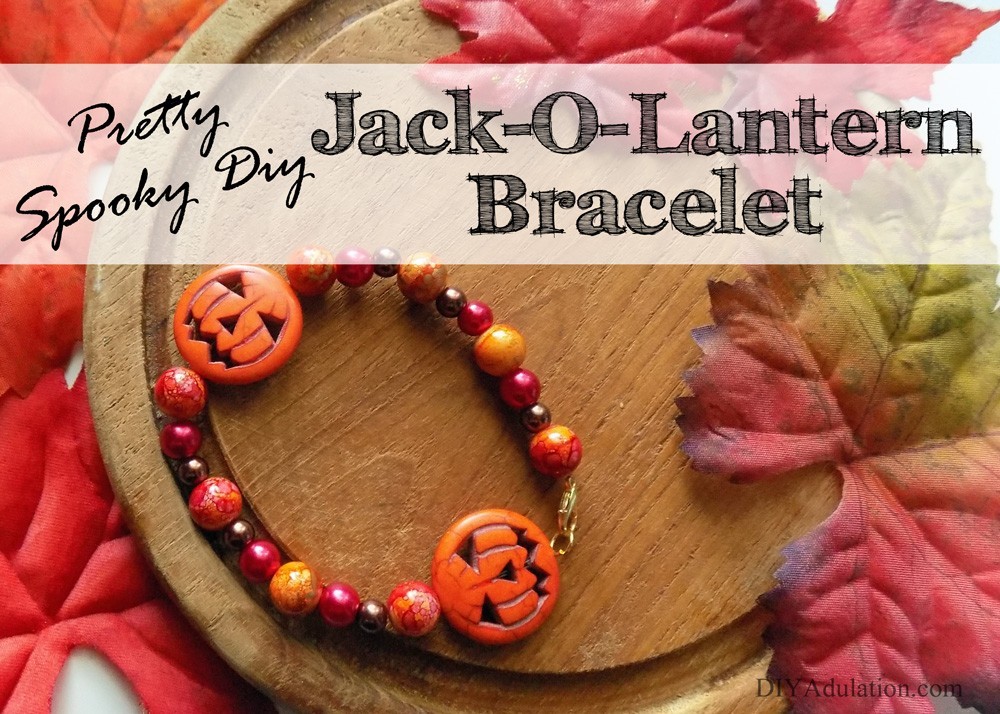
[bctt tweet=”Start planning your October style now by making this pretty spooky DIY jack-o-lantern bracelet!” username=”diyadulation”]
Materials
- Clear Thread
- 1” Jack-O-Lantern Beads (x2) I got all of my beads from Michaels
- 10 mm Ceramic Orange Swirl Beads (x8) I got all of my beads from Michaels
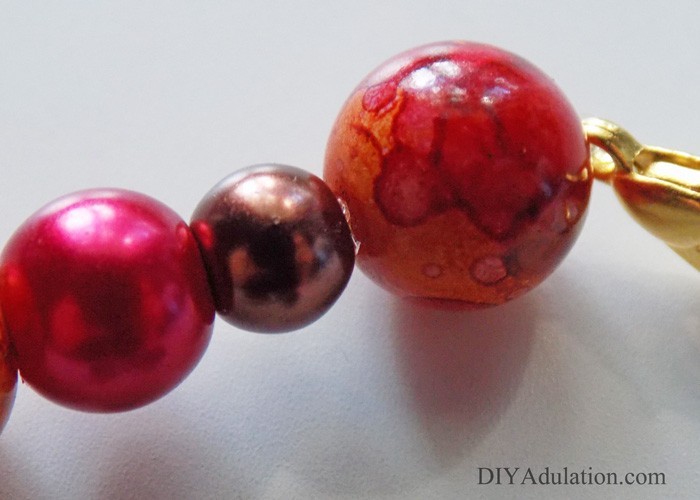
- 8 mm Cranberry Glass Beads (x6) I got all of my beads from Michaels
- 7 mm Chocolate Glass Beads (x6) I got all of my beads from Michaels
- Gold Lobster Clasp
- Gold Jump Ring
- Scissors or Small Wire Cutters (from your jewelry tool set)
Step 1
Cut a piece of thread 24” long.
Step 2
Slide your jump ring onto the thread and center.
Step 3
Match the ends of your thread together and thread through one of your jack-o-lantern beads.
Step 4
Next, thread on one of your ceramic orange swirl beads followed by a chocolate bead.
Step 5
Thread on a cranberry bead next.

Step 6
Thread on another ceramic orange swirl bead.
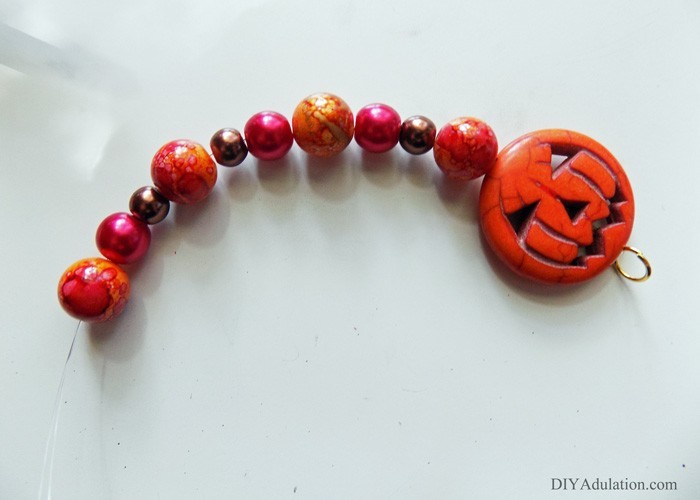
Step 7
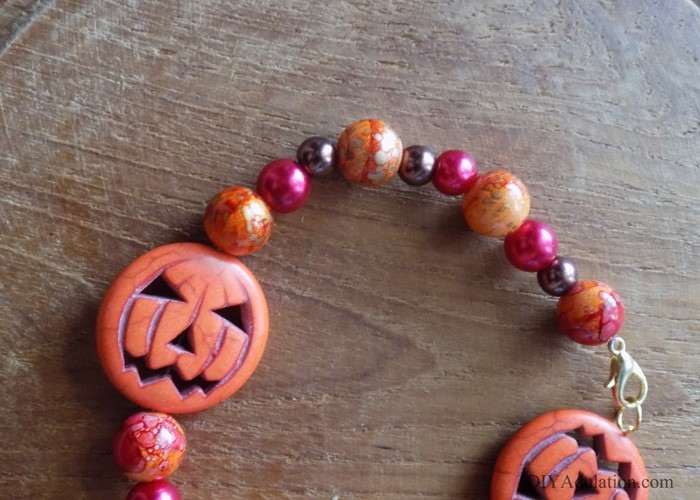
Thread your next beads on in the following order:
- Cranberry
- Chocolate
- Orange Swirl
- Chocolate
- Cranberry
- Orange Swirl
See the photo above for reference.

Step 8
Add your second jack-o-lantern bead followed by an orange swirl bead, a cranberry bead, and a chocolate bead.

Step 9
Thread the last beads on in the following order:
- Orange Swirl
- Chocolate
- Cranberry
- Orange Swirl
- Cranberry
- Chocolate
- Orange Swirl
Again, see the photo for reference.
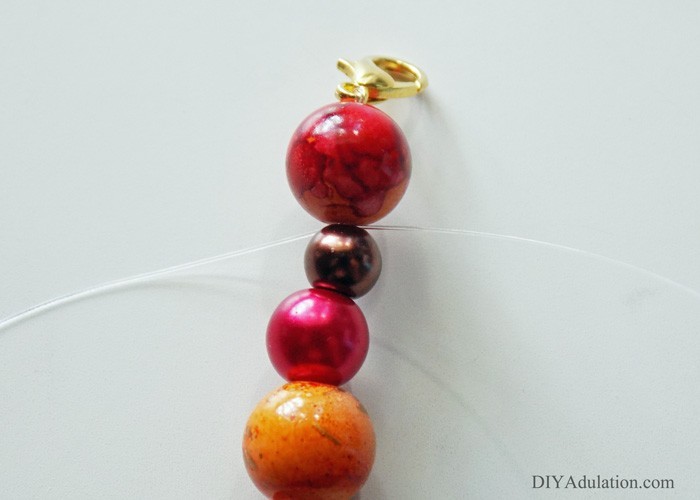
Step 10
Pull your beads taut and attach your lobster clasp. Do this by running your thread through the eye of the clasp and then through the orange swirl bead next to it. Again, pull the thread taut.
Step 11
Next, pull the loose ends of the thread off to the sides as pictured and tie them in a double knot between the orange swirl bead and the chocolate bead.
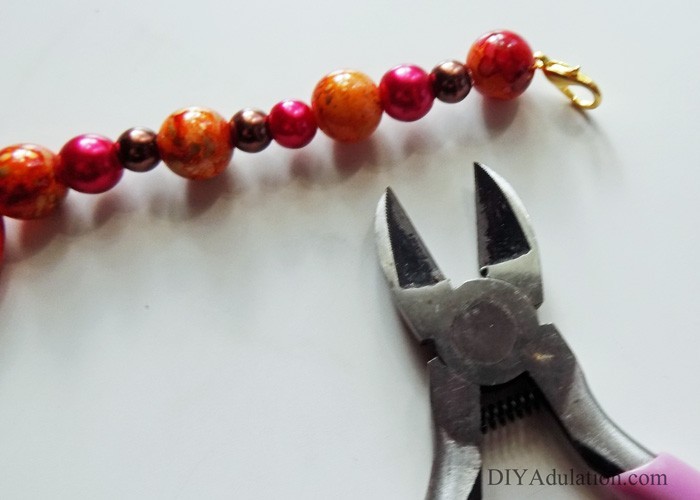
Step 12
Carefully trim the excess thread.
Tip:
- Wire cutters from your jewelry tool set work best for this. Scissors will do the job but it can be difficult to get between the beads.
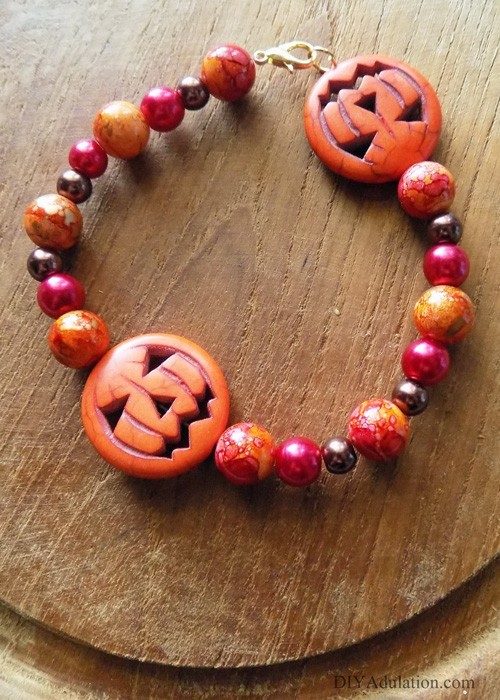

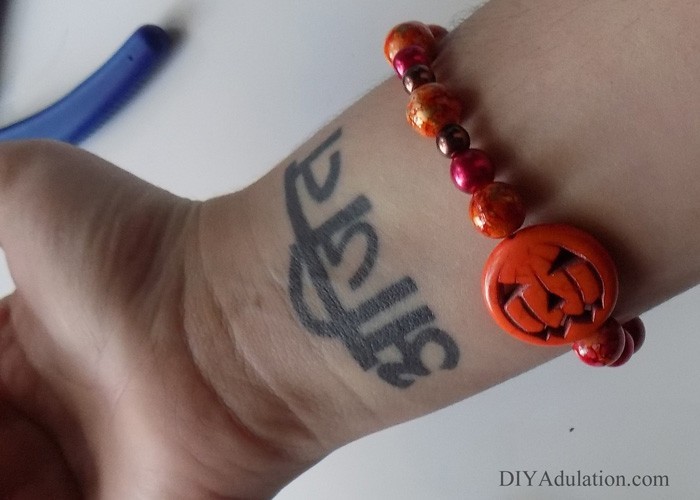
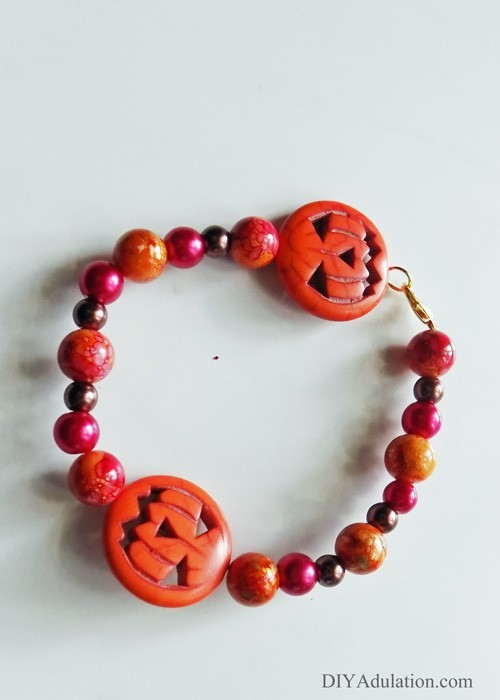
Now you have a beautiful and fun piece of wrist candy! This is so easy to make and a perfect way to celebrate the Halloween season. Bonus points if you pair it with a kitschy Halloween sweater. Don’t forget that if the jack-o-lantern beads are a little too spooky for your tastes change them out for large witch hats or cute spiders. Keep in mind that the size of the beads adjusts the length of the bracelet. If the new beads you choose are significantly smaller than the jack-o-lanterns simply add additional round beads to keep the length.
Want the Halloween crafts to keep going? Check out how to make this recycled jack-o-lantern treat jar or this gorgeous skull treat stand!
See where I’m linking up!