
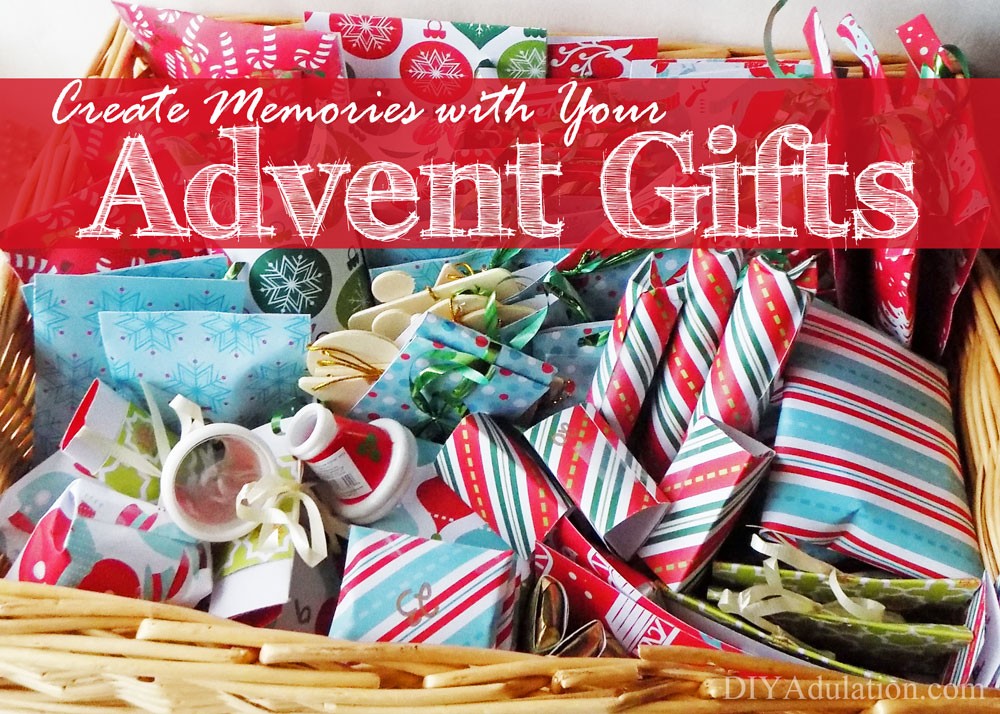
As you read in Unique DIY Advent Mailboxes, I love to weave activities into our Advent gifts. I also love to create beautiful packages to delight the kiddos no matter what’s inside. This is easier than you might think. Get awesome ideas to create memories with your Advent gifts or feel free to steal our exacting gifting schedule this season!

[bctt tweet=”Find out how to make memories with your Advent gifts this year! #ad @OrientalTrading #advent” username=”diyadulation”]

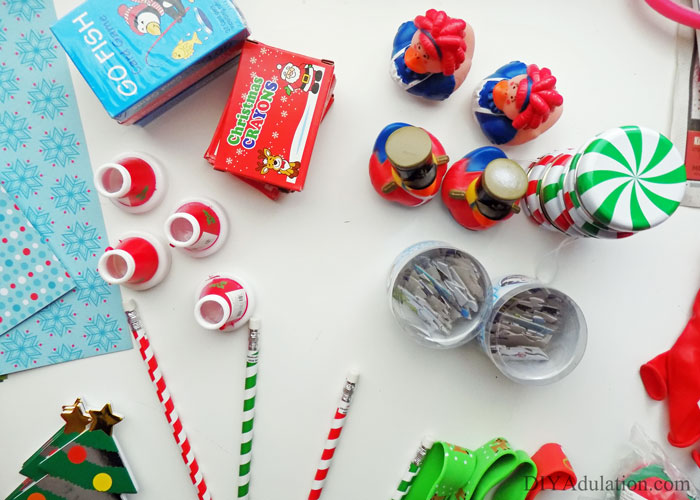
Advent Packages Materials
Step 1
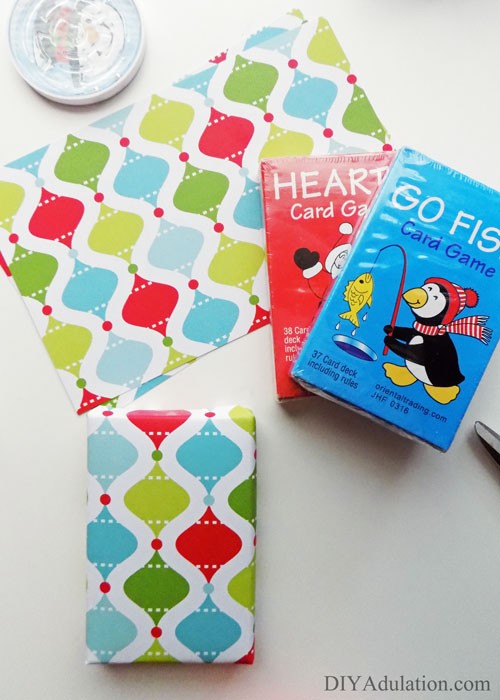
Organize your gifts from the stocking stuffer pack by type. This will allow you to determine how many of each item you have and decide which ones you want to use as gifts.
Step 2
Write it down. Number a sheet of paper from 1-24 and determine what gifts and activities will be given on specific dates.
Tip:
- Be sure when choosing gifts to check that they fit in your Advent mailboxes.
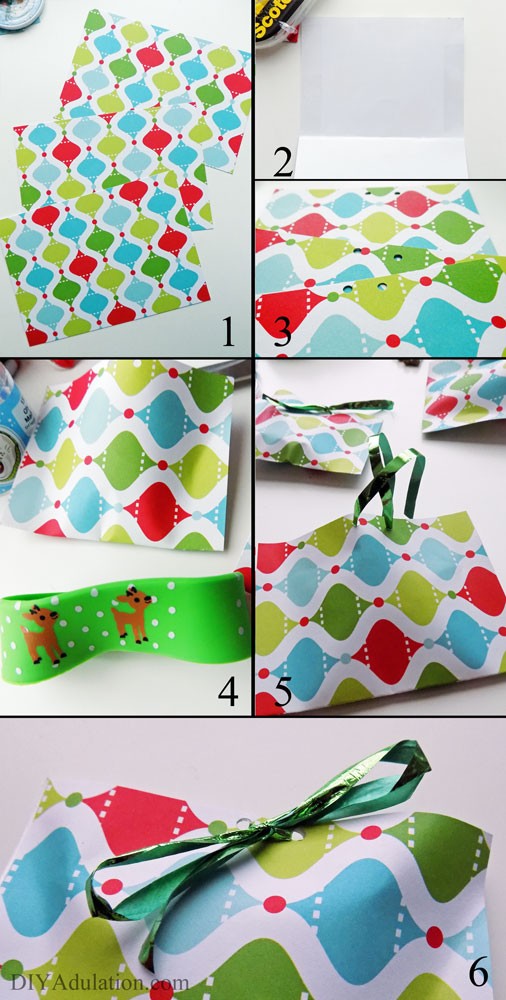
Step 3
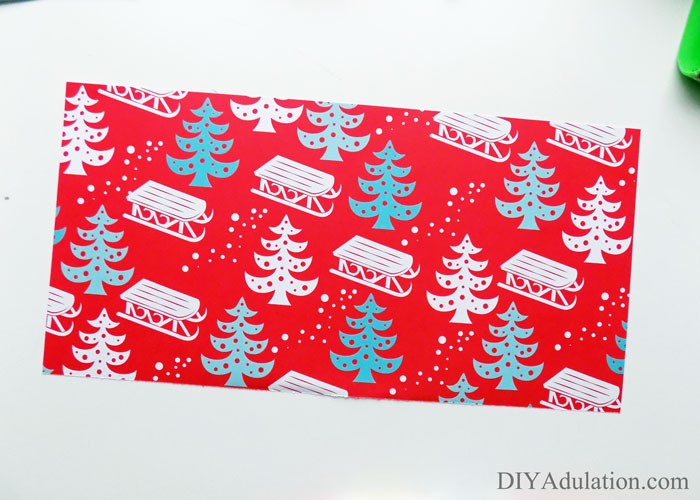
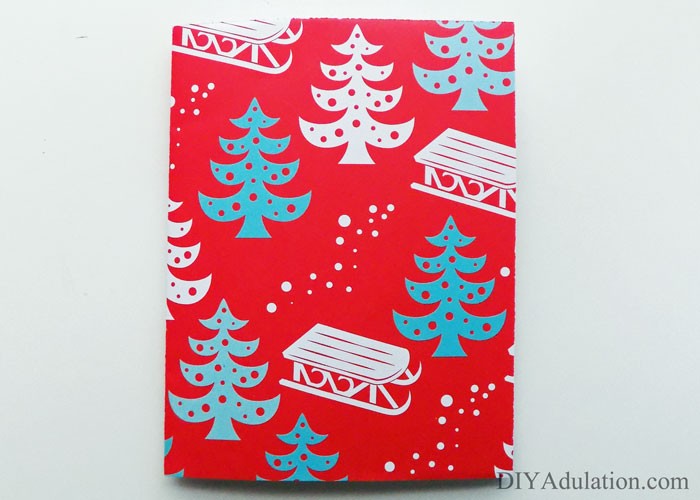
Create pouches for the gifts using your scrapbook paper. To do this, measure the gifts on the paper. Cut a strip that is an inch wider than the gift.
Step 4
Next, fold the strip of paper in half.
Step 5
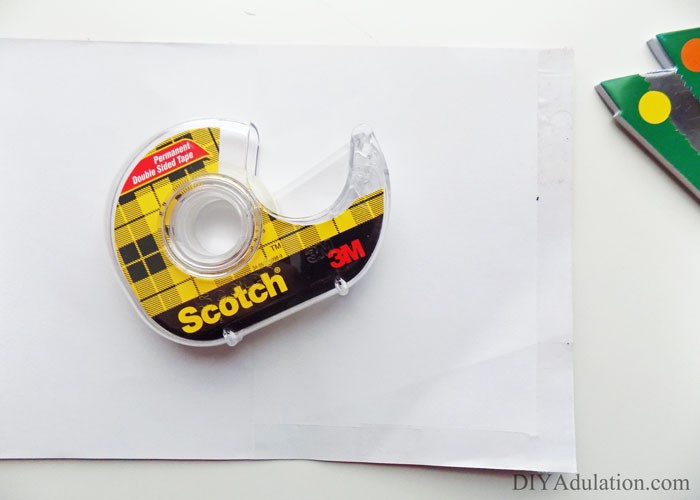
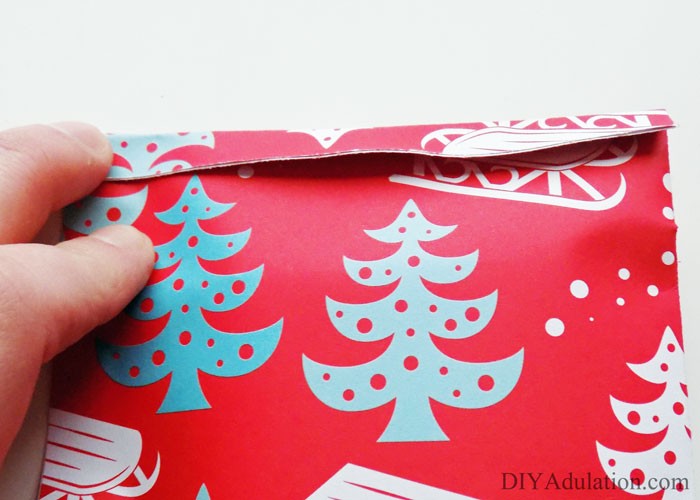
Unfold the paper and add double-sided tape to the edges of your pouch.
Step 6
Fold your paper back up and press on the taped edges to seal.
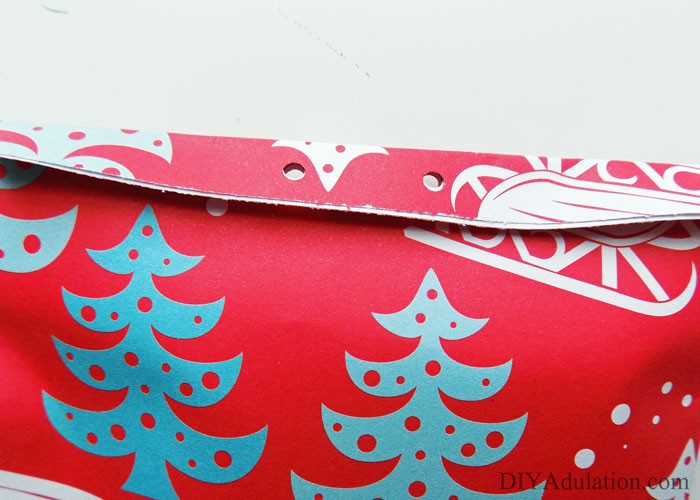
Step 7
Once your pouch is sealed, fold your top down and punch 2 holes in the top center of your pouch. See picture for reference.
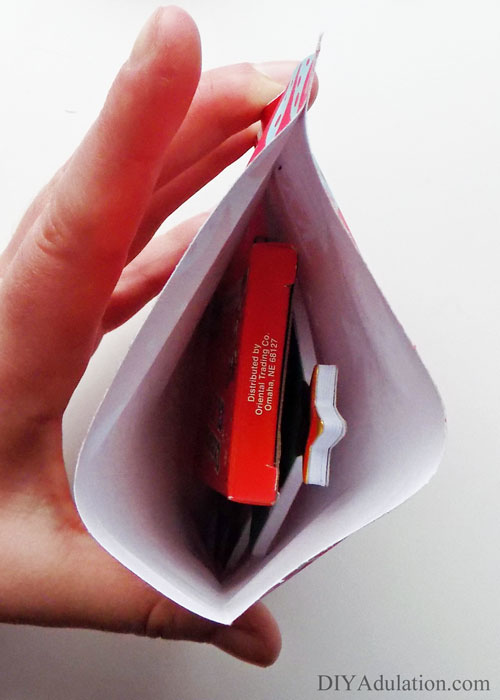
Step 8
Next add your gift to the pouch and fold the flap back down.
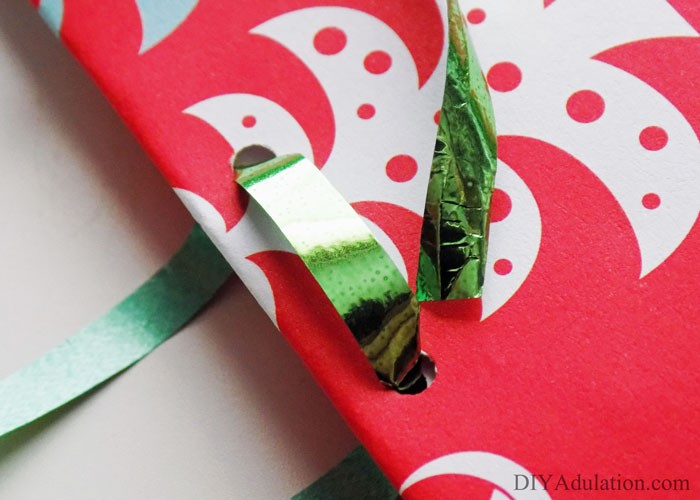
Step 9
Cut a length of curling ribbon and thread it through the punched holes.
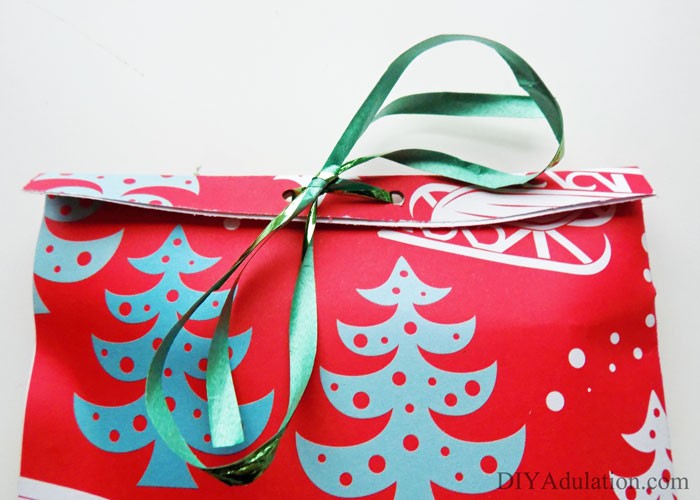
Step 10
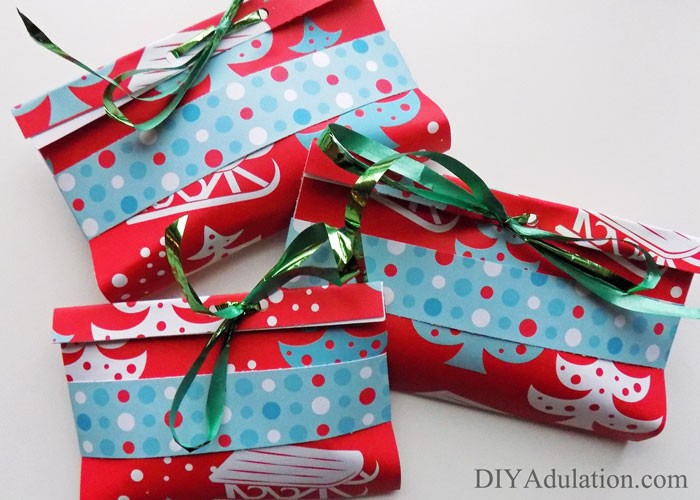
Lastly, tie the ribbon in a bow to secure.
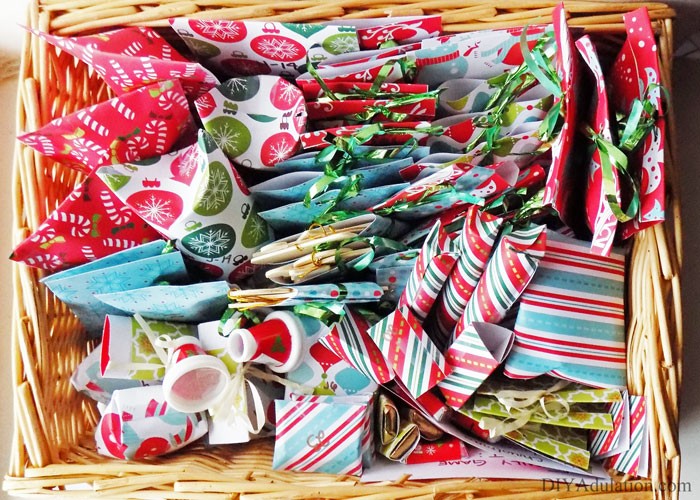
Step 11
Before putting your gift in a basket to store, number it with the appropriate date with your bronze Sharpie.
Step 12
Continue steps 3-11 until all of your gifts are wrapped and labeled.
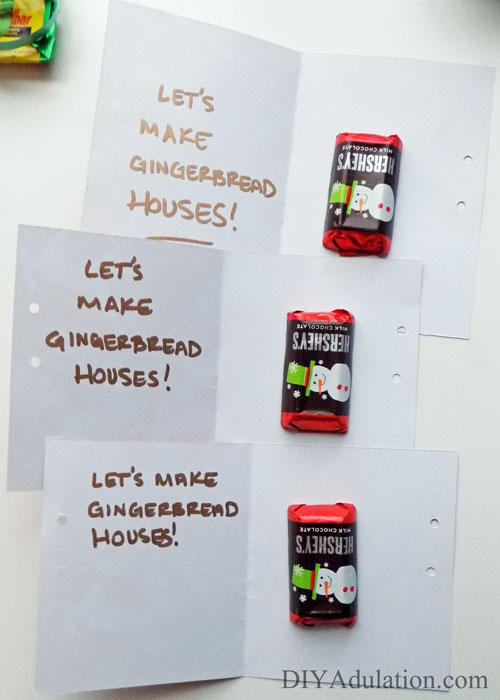
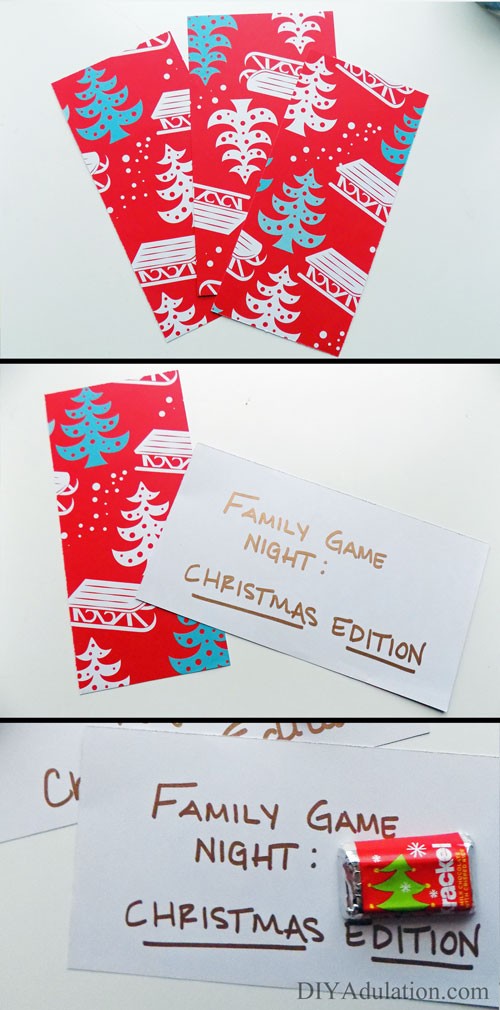
Advent Activities
For these gifts I simply write the activity on a strip of paper and attach a piece of candy with a piece of double-sided tape. The exception to this is the “Minivan Express” which is our family’s favorite Christmas tradition. You can read more about it at the link above and also get free printable tickets there. She provides you with multiple ideas for your Minivan express night. Our family goes to look at Christmas lights in our area each year. I also choose to make our tickets because it is something I enjoy. You do not have to take the time to do this. However, if you would like to make your own this year I’ve made it super easy:
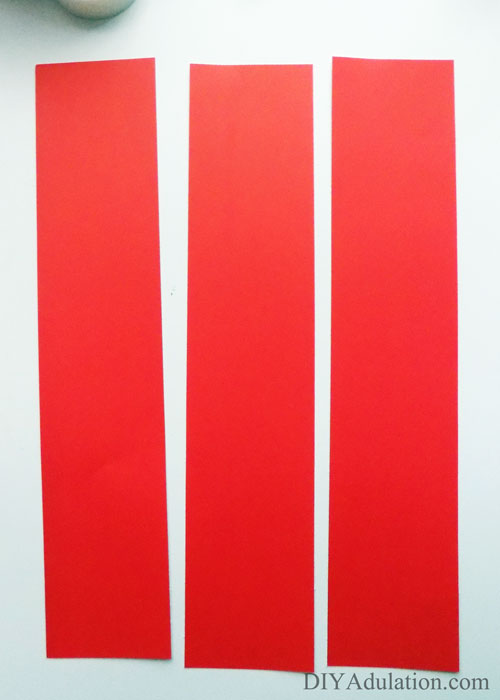
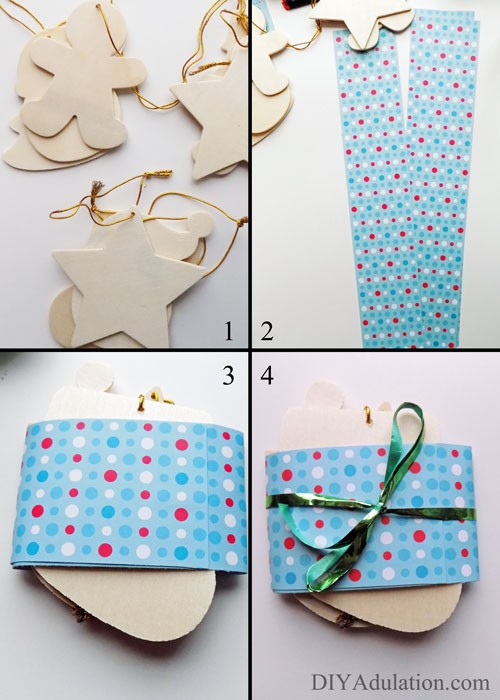
Step 1
Cut a red piece of 12×12 paper from your Christmas pack into 3 even strips.
Note:
- This will make 3 tickets. If you have more children, you will need to cut an additional sheet.
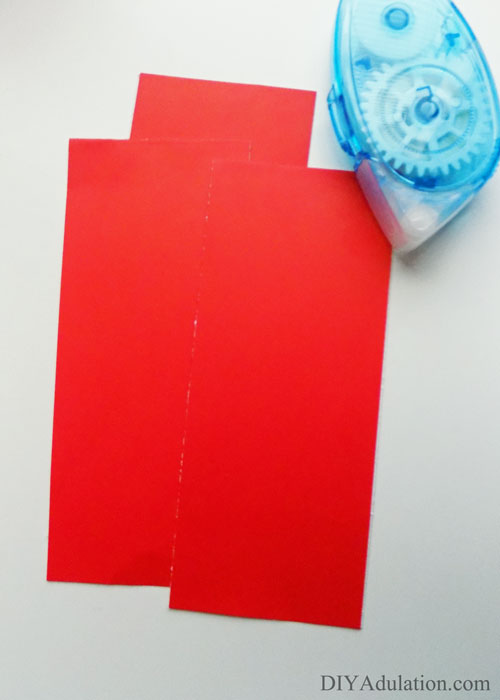
Step 2
Fold each strip of paper in half and place double-sided tape on the white sides (or use a glue runner). Press firmly to secure.
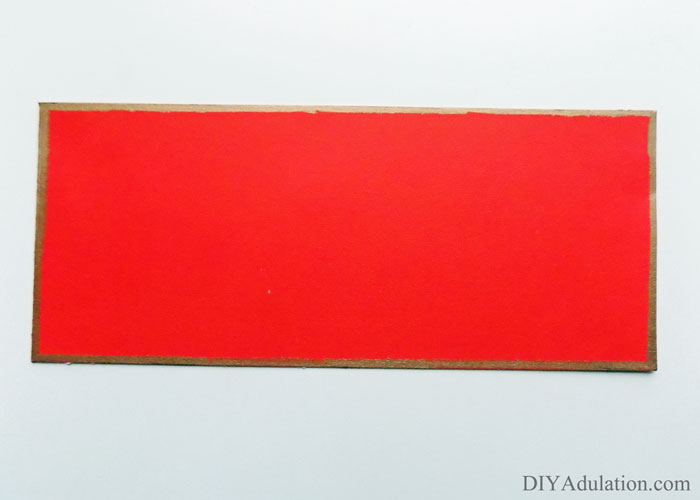
Step 3
Color the edges of your tickets with your bronze Sharpie.
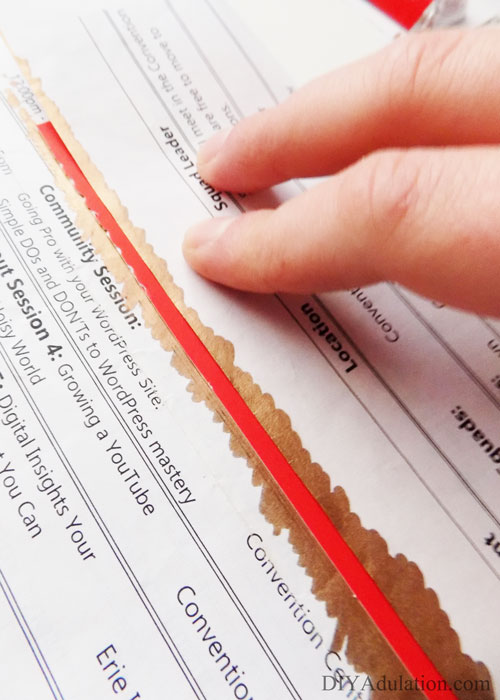
Tip:
- Get crisp, even lines by folding a scrap piece of paper over the ticket leaving only the edge you want to color exposed.
Step 4
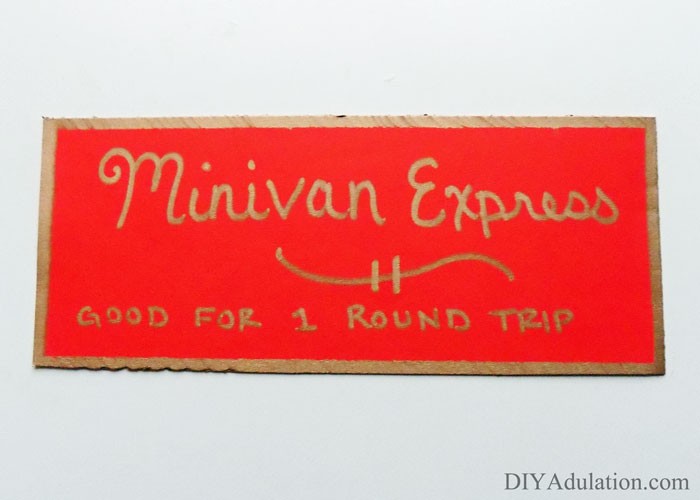
Next, write, “Minivan Express: Good for 1 Round-Trip” in the center of each ticket also with your bronze Sharpie.


Step 5 (Optional)
Because of the surprise element of the Minivan Express (we hide the tickets under the pillows for them to find at bedtime on the pre-determined night), the Advent gift for this day is the kaleidoscopes. Christmas lights look really cool when you look at them through the kaleidoscopes so this gift will be fun when your kids open it and then extra fun on the Minivan Express.
As promised, before you go, here is our exact Advent schedule this year. Feel free to steal ideas from it for your own family.
- Coloring Set
- Christmas Family Game Night
- Bracelets
- Candy
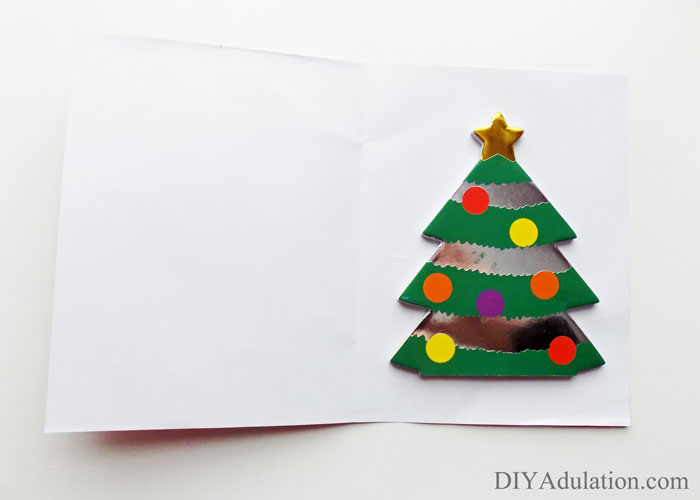
- Make Ornaments
- Card Games
- Punch Balloon
- Festival of Lights
- Kick Sack
- Candy
- Mazes
- Make Gingerbread Houses
- Rubber Ducks
- Puzzles
- Christmas Movie Night
- Candy
- Kaleidoscopes (Minivan Express)
- Candy
- Yo-yo’s
- Christmas Campout
- Coloring Books
- Christmas Photo Booth Night
- Candy
- Read The Night Before Christmas
Now that you are ready to create memories with your Advent gifts I want to hear from you. What is your favorite Advent activity? Let me hear about your traditions in the comments and don’t forget to check out Oriental Trading for all of your Christmas needs this year!
Looking for a deal at Oriental Trading? Visit their coupon page for the latest in sales.
See where I’m linking up!