DIY Giant Outdoor Lollipop Window Decorations

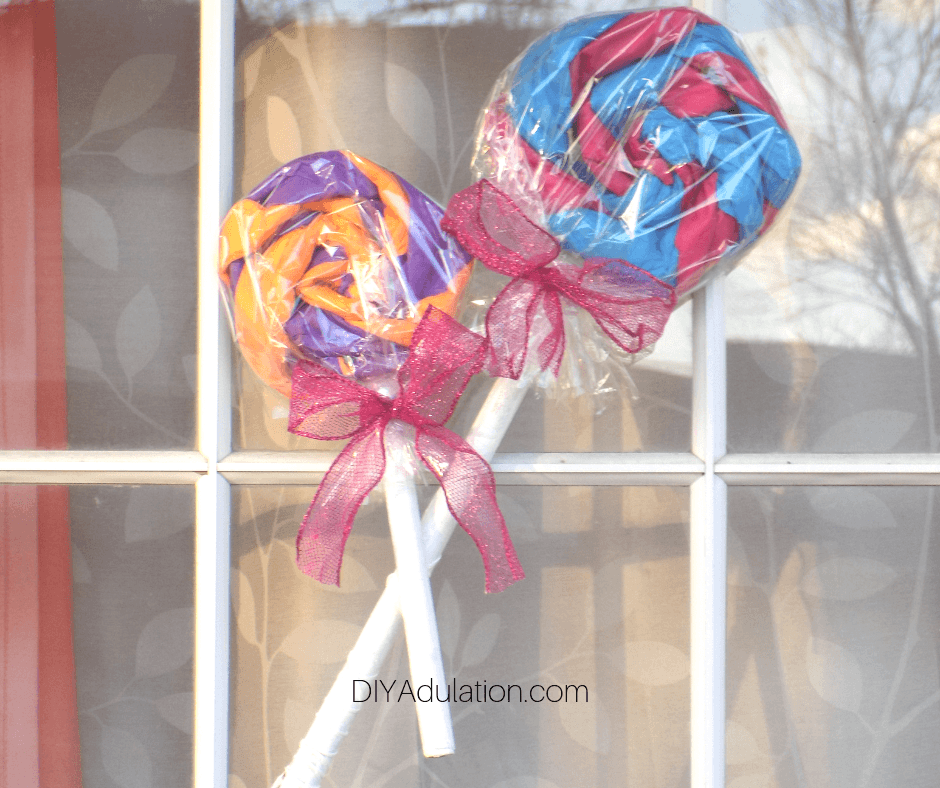
Do you decorate your windows for the holidays every year? A lot of houses display beautiful wreaths in each window all season long. Let your house stand out and rock your candyland theme with these DIY giant outdoor lollipop window decorations!

Affiliate links may be used in this post. Ordering a product through these links may result in a commission. Read the full disclosure here.

Giant Lollipops on Window with text overlay - Giant Outdoor Lollipop Window Decorations


[bctt tweet=”Skip the wreaths in the windows this season. Rock your candyland themed Christmas decor with these DIY giant outdoor lollipop window decorations!” username=”diyadulation”]


Welcome to Day 7 of the Fourth Annual 12 Days of Christmas Series!

DIY Christmas Ideas and Recipes you can use this year! DIY Christmas Decor and Games Ideas #12daysofChristmas

We have teamed up with 50 plus bloggers to bring you a oodles of DIY Ideas and Recipes to make your holiday season merrier. There are 12 different posts in the series and we have spread them out over a four week period with three posts per week. Now is the time to subscribe!

GO HERE for the complete list of Dates and Topics plus a collection of most popular holiday ideas including ornaments, games, recipes and more from all 50 plus talented bloggers!

It’s Day 7 and we are sharing Holiday Decor Ideas!


I swear with every awesome piece of candy decor I make, another 10 ideas pop in my head. By this time next year, I’ll have a full-on gingerbread house going on! These awesome lollipops are proof that candy seriously belongs everywhere.

If you haven’t jumped on the train yet, be sure to start at the beginning of this year’s 12 Days of Christmas blog hop for more awesome candy Christmas decor and crafts to enjoy this season. You’ll definitely come around to my way of thinking soon.


Giant Lollipops on Window

Giant Outdoor Lollipop Window Decorations Materials


Stack of Newspapers

Step 1

First, pull out 1 double sheet of newspaper (as in, 2 attached pages instead of a single insert).


Rolled Up Piece of Newspaper

Step 2

Next, roll up your sheet of newspaper into a tube starting at one corner and continuing to the opposite corner.
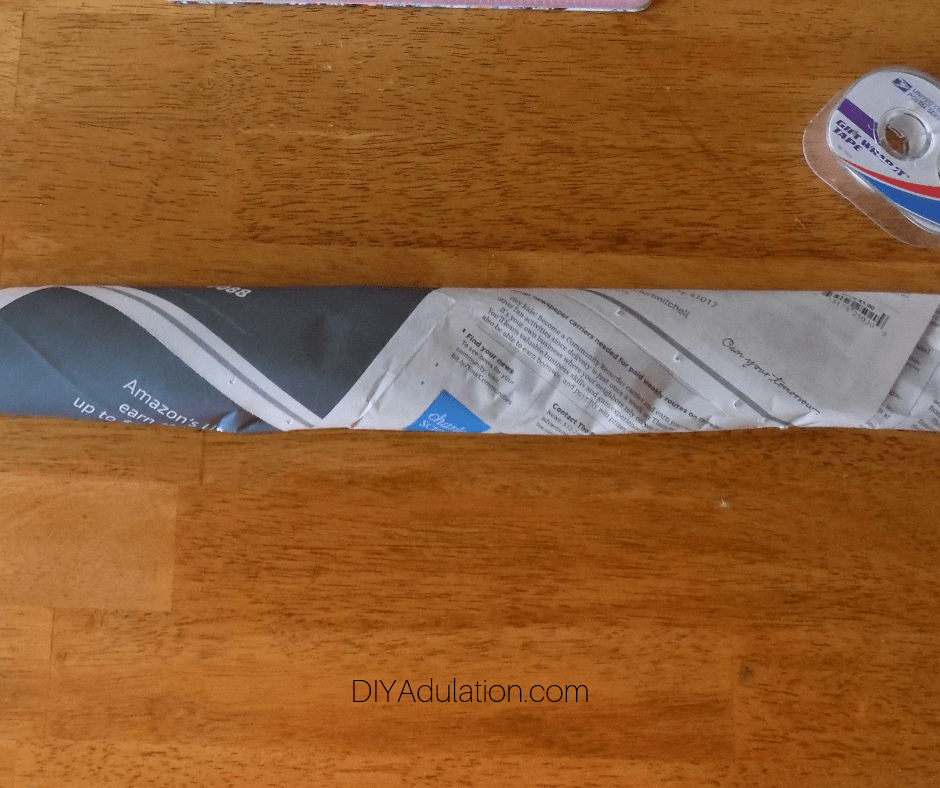
 

Rolled Up Piece of Newspaper next to Tape

Step 3

Then secure the outside wrapped corner with a piece of tape.
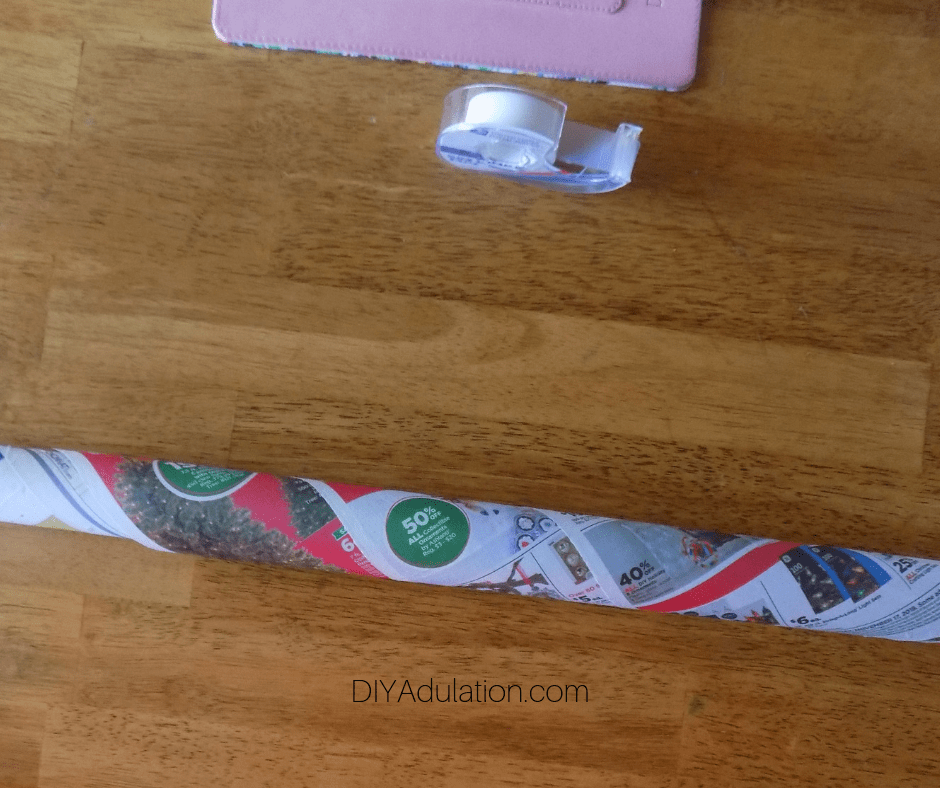
Step 4

Pull out another sheet of newspaper and again wrap it starting at one corner overlapping the first newspaper tube you made.

Step 5

Continue adding length to your newspaper tube until it is at least 3 feet long.
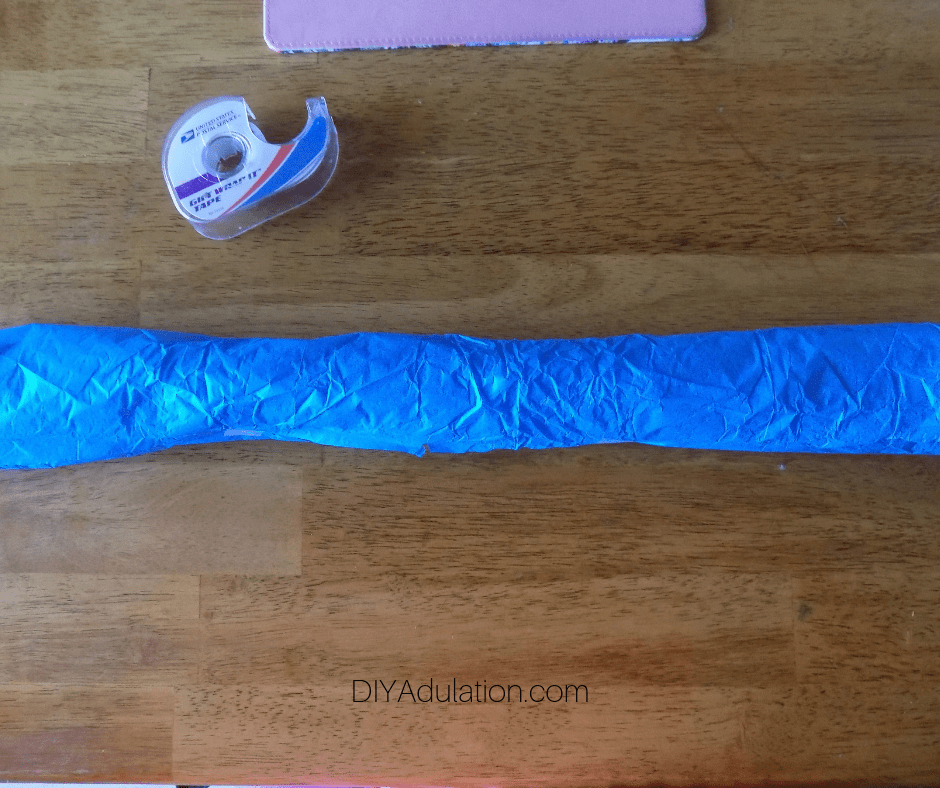
 

Rolled Up Blue Tissue Paper

Step 6

Once you have finished making your newspaper tube, wrap it with blue tissue paper. Secure the edge of the tissue paper with tape along the edge.


Rolled Up Newspaper Ads Next to Tape

Step 7

Set your blue tube to the side and repeat steps 1-5 to create a second newspaper tube.

Step 8

Again, wrap your newspaper tube in tissue paper only using pink tissue paper this time.

Step 9

Now, pair the ends of both tubes together and secure them with a rubber band.


Blue and Pink Paper Wrapped Together

Step 10

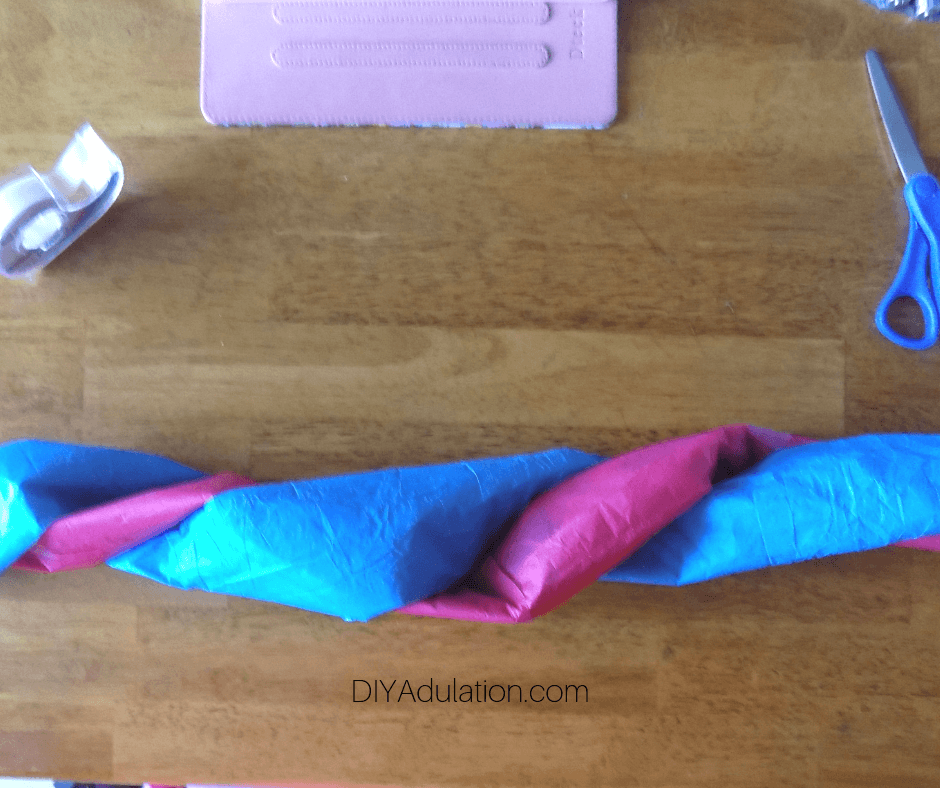
Once the ends are secured, twist the tubes together as pictured.

Note:


Twisted Blue and Pink Tissue Paper

Step 11

If necessary, make your twist tighter. See the picture above for reference.


Twisted Blue and Pink Tissue Paper in a Swirl

Step 12

Next, carefully wrap your twist into a swirl like a lollipop starting at the end secured with a rubber band.


Tape on Back of Blue and Pink Tissue Paper Swirl

Step 13

After you have wrapped your twist, secure the loose end with tape. You also want to secure other areas of the back with tape so that they do not come apart later. Set your swirl aside for now.


Split Cardboard Tube Next to Blue and Pink Tissue Paper Swirl

Step 14

Now, pull out your cardboard tube and cut it open longways.


Rubber Band Wrapped Cardboard Tube Next to Blue and Pink Tissue Paper Swirl

Step 15

Start at one edge of the cut and roll it up tightly and secure it with tape.

Note:

Step 16

Next, paint your cardboard roll with a white spray paint that is a primer and color in one. Allow it to dry completely before moving on.
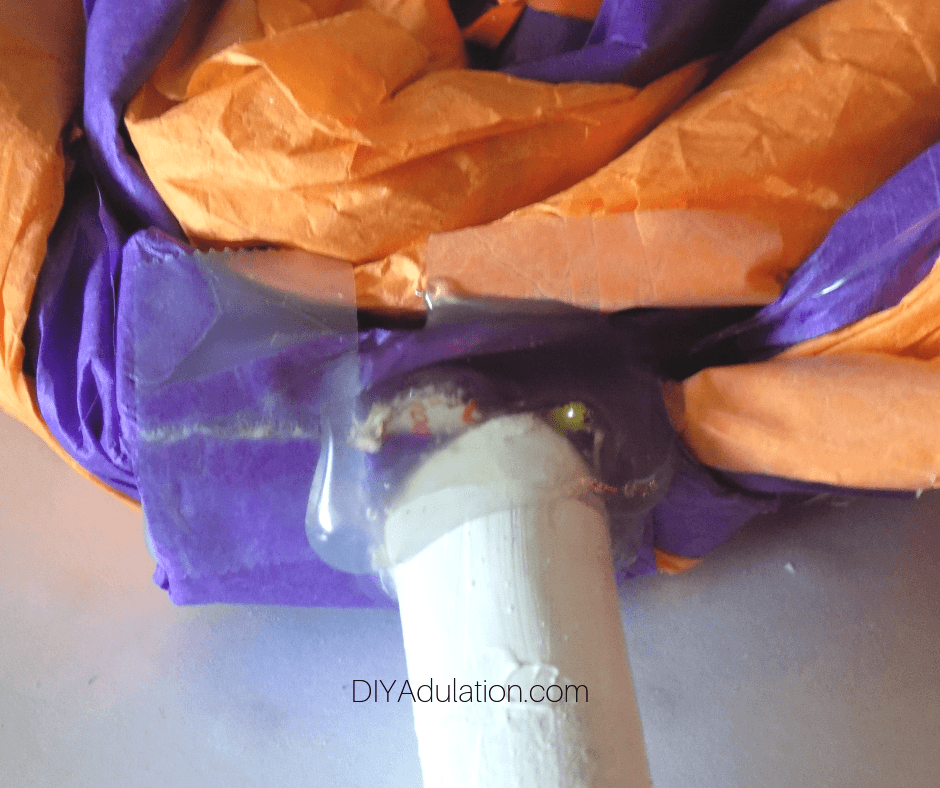
 

White Cardboard Tube Glued to Orange and Purple Tissue Paper Swirl

Step 17

After your paint is dry, use hot glue to attach your cardboard tube to your tissue paper swirl. Be sure to hold it in place until the glue has cooled or it will separate.

Step 18 (Optional)

If you want to strengthen the bond between the stick and the “lollipop” add additional hot glue around the glued seam where they are attached.

Step 19

Then cut off a piece of clear cellophane big enough to cover your lollipop head and pull out a twist tie.


Cellophane Wrapped Tissue Paper Lollipop

Step 20

Next, wrap your cellophane over the top of your lollipop and secure it around your stick with a twist tie.
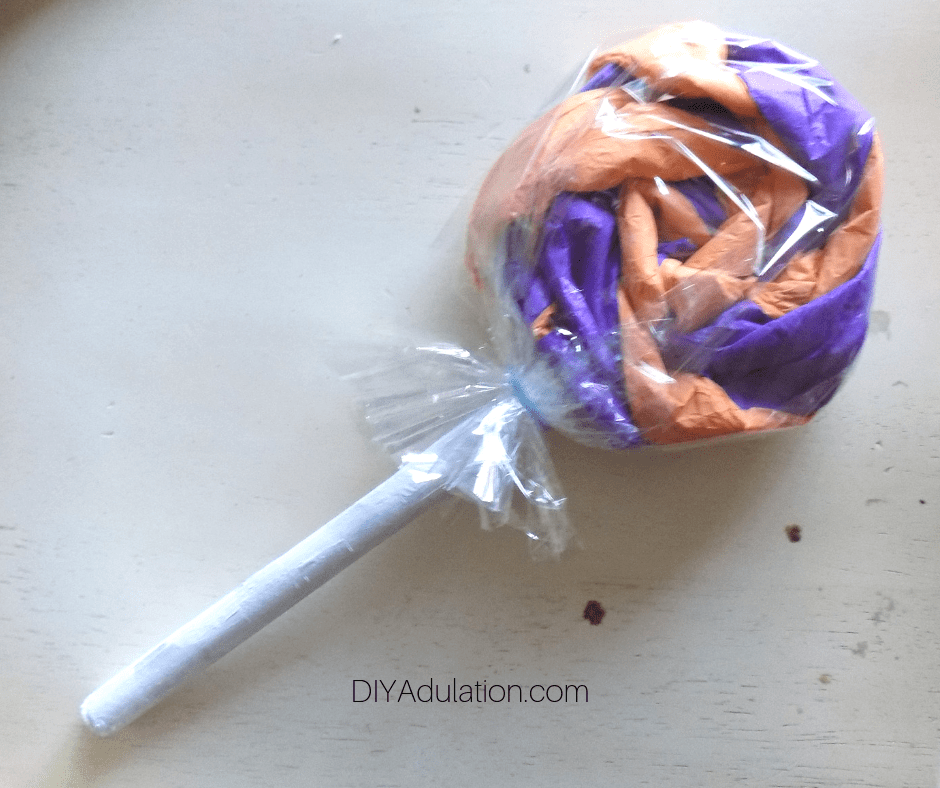
 

Cellophane Wrapped Tissue Paper Lollipop 2

Cellophane Wrapped Tissue Paper Lollipops

Step 21

Now trim the excess cellophane at the bottom.


Pink Bow on Tissue Paper Lollipop

Step 22

Lastly, tie a bow around the twist tie on the cellophane with your glitter pink mesh ribbon.

Step 23

Repeat all of the above steps to make at least one additional lollipop in different colors.


Giant Lollipops on Window

How to Hang Your DIY Giant Outdoor Lollipop Window Decorations

  1. The best way to hang these on your window is with outdoor Command hooks. Position them so that 2 of your lollipop sticks cross as pictured above.
  2. You can also use packaging tape however it will not be weather proof and it can be difficult to get the tape off of the cellophane later.


Giant Lollipops on Window with text overlay - Giant Outdoor Lollipop Window Decorations

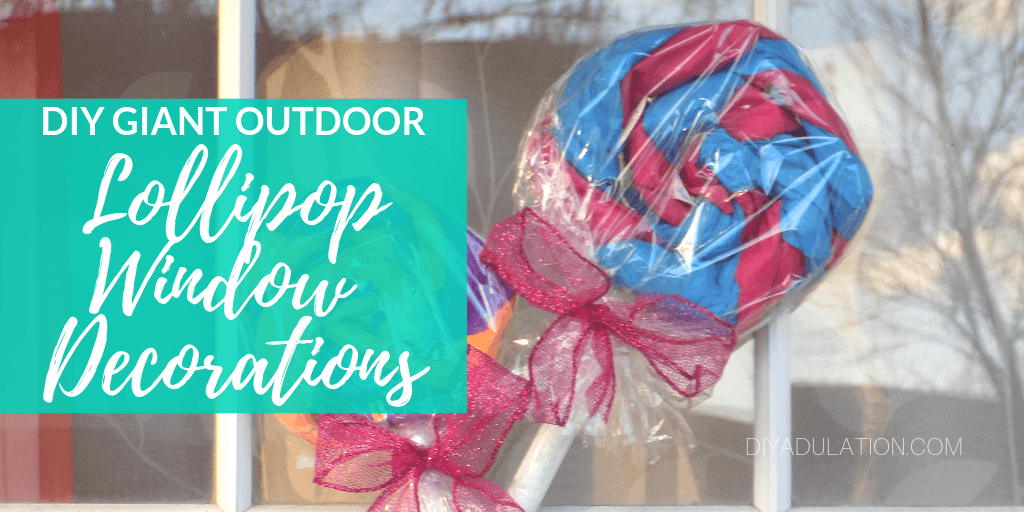
These DIY giant outdoor lollipop window decorations help you rock your candy Christmas style outside too this season! Mix these with this glittery DIY candy wreath and some colored lights and your home is holiday ready in a weekend. While your lollipop sticks are drying, scroll down and check out the other awesome Christmas decor inspiration from my friends below.

See where I’m linking up!

Don’t Forget to Pin It!

Giant Lollipops on Window with text overlay - Giant Outdoor Lollipop Window Decorations

Scroll down for many more Holiday Decor Ideas to creative a festive atmosphere in your home!


Delicious Christmas Cookie Recipes for the Holidays

One of the best holiday traditions ever is baking cookies. The whole house fills with that sweet, warm smell and triggers happy memories of holidays past. Enjoy this awesome tradition with you family when you try out these delicious Christmas cookie recipes for the holidays.

Collage of Cookie Photos with text overlay - Delicious Christmas Cookie Recipes for the Holidays


[bctt tweet=”Whether you need ideas for a cookie swap, inexpensive hostess gifts, or enjoy family baking these delicious #Christmascookie recipes for the holidays have you covered!” username=”diyadulation”]

Ask anyone and they can tell you of the wonderful, sweet, or hilarious memories they have when it comes to cookies. My kids love cookie painting and request it as an activity every year.

One of my in-law’s favorite stories is about Great Grandma’s “famous homemade” chocolate chip cookies. Every grandchild and great grandchild believes they are truly homemade until reaching a right of passage when they learn they are actually made from store bought dough.

When I was little, my own grandma used to make huge batches of cookies and store them in a 5-gallon bucket. She would set them out to cool on her dining room table in perfect rows. After school, my brother and I would sneak one off of the table and could never figure out how we got caught. (Clearly not understanding that it’s quite obvious when there’s suddenly a gap in her perfect rows… kid logic).

No matter what you own best memories are, whipping up a batch of these delicious Christmas cookie recipes for the holidays with the family will get you in the Christmas spirit in no time!


Plate of Sugar Cookies with Sprinkles

Perfect Sugar Cookies Every Time (A Wonderful Thought)

There are so many fun creations you can make with sugar cookies. Have the perfect base for all of them when you utilize this delicious recipe this year.


Pile of cookies next to cinnamon sticks

Medieval Nürnberger Lebkuchen Recipe (Sew Historically)

Surprise friends and family with historical flavors during the holidays when you try your hand at this tasty cookie recipe.


Plate of Maple Snickerdoodle Cookies

Maple Snickerdoodle Cookies (Busy Being Jennifer)

You can also try switching up a classic flavor by infusing maple into a traditional snickerdoodle cookie!


Balls of cookie dough on baking sheet

Eggnog Snickerdoodle Cookie Recipe (Wondermom Wannabe)

Maple not your thing? No worries! Try this eggnog snickerdoodle recipe instead.


Icebox Shortbread Cookies with Candy on Top

Easy Icebox Shortbread Cookies Recipe (Hello Creative Family)

This cookie recipe is perfect if you want a versatile cookie base that you can freeze for quick and easy cookies whenever you need them! Check out some of her fun variations now for inspiration.


Hand holding Snickers Stuffed Peanut Butter Cookie with Bite Out of It

Snickers Stuffed Peanut Butter Cookies (Food Fun Family)

Did you know it is possible to make peanut butter cookies even more delicious? Give this Snickers stuffed version a try if you don’t believe me.


Potato Chip Cookies on Plate

Potato Chip Cookies (A Hippie and a Redneck)

I didn’t even know this was a thing until now but it totally makes sense. If your family loves chocolate covered potato chips why not surprise them with potato chip cookies this holiday season!


Stack of Vanilla Crescent Cookies next to Cookie with Bite Out of It

Vanilla Crescent Cookies (Frau Tschi-Tschi)

Looking for the perfect cookie to enjoy with your coffee during the holidays? These vanilla crescent cookies are perfect for dunking and make a great hostess gift too!


close up of pile of fudge cookies

Fudge Cookies (Simply Stacy)

Hello chocolaty goodness! Everyone will love munching on these fudge cookies at Christmas.


Gingerbread cookies and cookie cutters

Gingerbread Recipe (Attachment Mummy)

Have plans for making gingerbread houses with the kiddos? If so you definitely don’t want to miss this gingerbread recipe.


Close up of Peanut Butter Brownie Cookie Halves

Peanut Butter Brownie Cookies (DIY Adulation)

You may have caught on from above that peanut butter and chocolate are petty much the best things ever in my world. That’s why I have to share these amazing cookies made from boxed brownie mix with you! They are super easy and crazy delicious.


Collage of Cookie Photos with text overlay - Delicious Christmas Cookie Recipes for the Holidays

Whether you are taking part in a cookie swap, looking for delicious and inexpensive hostess gifts, or simply want to enjoy some family time baking with the kids these delicious Christmas cookie recipes for the holidays have you covered. What are your favorite cookie-related memories? I’d love to hear about them in the comments!

Now, it’s time to start this week’s Merry Monday link party! Share your latest tips, tutorials, and recipes below. Then check out what your friends and hosts are sharing too!

Don’t Forget to Pin It!

Collage of Cookie Photos with text overlay - Delicious Christmas Cookie Recipes for the Holidays

DIY Snowflake Cookie Ornaments | Easy Christmas Craft

It’s time for more awesome candy-themed Christmas crafts to sweeten up your holiday! Today, you can save money and dress up your tree with these DIY snowflake cookie ornaments. You probably even have everything you need to make them (except the sprinkles) in your craft room already!

Affiliate links may be used in this post. Ordering a product through these links may result in a commission. Read the full disclosure here.

Snowflake Cookie Ornaments Next to Sprinkles with text overlay - DIY Snowflake Cookie Ornaments


[bctt tweet=”Make 40 ornaments for under $10 easily! Find out how to save money and dress up your tree with these DIY snowflake cookie ornaments!” username=”diyadulation”]


Welcome to Day 6 of the Fourth Annual 12 Days of Christmas Series!

DIY Christmas Ideas and Recipes you can use this year! DIY Christmas Decor and Games Ideas #12daysofChristmas

We have teamed up with 50 plus bloggers to bring you a oodles of DIY Ideas and Recipes to make your holiday season merrier. There are 12 different posts in the series and we have spread them out over a four week period with three posts per week. Now is the time to subscribe!

GO HERE for the complete list of Dates and Topics plus a collection of most popular holiday ideas including ornaments, games, recipes and more from all 50 plus talented bloggers!

It’s Day 6 and we are sharing DIY Ornament Ideas!


Pink Snowflake Cookie
Photo Credit: HobbyLobby.com

These ornaments are what sparked the theme for my projects for this year’s 12 Days of Christmas blog hop. I saw the one above on Hobby Lobby’s website and fell in love (they are no longer available online). Unfortunately, I need a lot of them for my tree and couldn’t justify the the price tag.

Enter the idea to make my own. They turned out fantastically and, bonus, come at a fraction of the price! If you’re looking for a budget friendly way to adorn your candy tree this year then these beauties are for you.

Note:


Glittery Snowflake Cookie Ornaments Next to Sprinkles

Glittery Snowflake Cookie Ornaments Materials

Step 1

First, preheat your oven to 250º Fahrenheit.


Close Up of Salt Dough in Bowl

Step 2

If you haven’t already, start by mixing up your salt dough.

Step 3

Once your dough is mixed, separate it into 2 halves.


Close Up of Pink Gel Food Coloring on Salt Dough

Close Up of Pink Salt Dough

Step 4

Set one half aside and then knead rose gel food coloring into the second half until you’ve reached your desired color.


Close Up of Blue Salt Dough

Step 5

Repeat step 3 with your royal blue gel food coloring and the second half of your dough.


Rolled Out Pink Salt Dough

Step 6

Next, roll out 1 color of your dough until it’s about 1/4 inch thick and cut as many snowflakes out as your can.

Tip:

Store your dough in a glass bowl and cover with a damp towel while waiting between baking batches.


Pink Salt Dough Snowflakes

Step 7

Then place your cut out snowflakes on a parchment lined baking sheet and bake for 2 hours.


Hole in Pink Snowflake

Step 8

As soon as your take the snowflakes out of the oven, poke a hole in one spoke of the snowflake with your pointy stick to create a spot for your ornament hanger. Then place them on a cooling rack to cool.

Step 9

Continue making snowflakes until you run out of dough.


Close Up of Purple Salt Dough

Optional:


Glitter on Purple Snowflake Ornament

Step 10

Once all of your snowflakes have cooled, cover them in glue and glitter. Set aside to dry.

Step 11

After your glitter has dried, add your cord or ribbon hanger. You want to do this before you add your “icing” because you will cover the hole.


White Paint on Purple Snowflake Ornament

Step 12

Next, add a thick layer of white acrylic paint to look like icing. It doesn’t have to be perfect. In fact, it looks more realistic if it’s not.


Purple Snowflake Cookie Ornament

Step 13

Immediately add you add your acrylic paint, top it with the Styrofoam sprinkles.


Glittery Snowflake Cookie Ornaments

Step 14

Set your ornaments flat until completely dry.


Snowflake Cookie Ornaments on Teal Background

Teal Glittery Snowflake Cookie Ornaments Next to Sprinkles

Pink Glittery Snowflake Cookie Ornaments Next to Sprinkles

Purple Glittery Snowflake Cookie Ornaments Next to Sprinkles

Snowflake Cookie Ornaments Next to Sprinkles with text overlay - DIY Snowflake Cookie Ornaments

These DIY snowflake cookie ornaments turned out absolutely fabulous! If you’re keeping track, that’s 40 amazing ornaments for our candy tree for the low, low price of $5. That is incredible! Even if you have to buy some of the other materials, it’s still less then $10. That is definitely good for your Christmas Budget this year.

Speaking of, if you haven’t set your budget yet, check out the VIP Library of Resources for a free Christmas Planner that will help you knock it all out of the park. Not a member yet? No problem! Get free access when you sign up for the Newsletter today.

See where I’m linking up!

Don’t Forget to Pin It!

Snowflake Cookie Ornaments Next to Sprinkles with text overlay - DIY Snowflake Cookie Ornaments


Scroll down for many more DIY Ornament Ideas for your holiday season!