Be a Christmas Gift Queen on a Budget

If you haven’t already started thinking about Christmas yet, there is no time to waste. In order to get the most bang for your buck you have to start you budget and gift planning now. Most of you already know that I start my Christmas planning in January. If helps me get the best deals on unique and amazing gifts while sticking to my super-strict budget. Don’t worry if you haven’t started your planning yet. I have 5 easy steps to show you how to be a Christmas gift queen on a budget. You will get my exact strategy for finding or making fantastic gifts that your friends and family will love and staying under budget. You will also get a free printable to help you do it. Find the basic budget printable below or become a subscriber and get the entire 10-page Christmas planner for free!

Affiliate links may be used in this post. Ordering a product through these links may result in a commission at no extra cost to you. Read the full disclosure here.

If you haven’t already started thinking about Christmas yet, there is no time to waste. Get my exact strategy for finding or making fantastic gifts that your friends and family will love and be a Christmas gift queen on a budget this year!

[bctt tweet=”Find out how to be a Christmas gift queen on a budget this year with these tips! #Christmasgifts ” username=”diyadulation”]

If you haven’t already started thinking about Christmas yet, there is no time to waste. Get my exact strategy for finding or making fantastic gifts that your friends and family will love and be a Christmas gift queen on a budget this year!

Start With Your Budget

The first step to any successful financial endeavor is creating a budget. (Grab your free printable by clicking on the picture above!) You need to know how much you can reasonably spend on your gifts this year. They key word there is reasonably. When setting your budget you want the amount to be what you can afford without acquiring more debt and without jeopardizing your personal financial responsibilities. You can read in-depth about creating a written Christmas budget here, but here is a brief overview of the steps:

  1. Pick Your NumberDetermine the total amount that you have to spend on Christmas gifts.
  2. Make Your ListMake a list of everyone that you have to buy for.
  3. Allocate Your FundsDivide your total budget amount among your list of people that you need to buy gifts for.

Again, you can get tips for paring down your list and percentage ideas for allocating your fund here. These are important for setting the foundation to be a Christmas gift queen on a budget.

If you haven’t already started thinking about Christmas yet, there is no time to waste. Get my exact strategy for finding or making fantastic gifts that your friends and family will love and be a Christmas gift queen on a budget this year!

Brainstorm Gift Ideas

Next, you will need to brainstorm ideas. Write down friends and family members’ tastes, likes, and needs. This is also the step to write down those big items that are on your children’s wish lists. You can refer to this list when deciding on purchases and in the next step when you are planning DIY gifts. Keep it as a reference for creating your list later.

Bonus Tip:

  • My oldest wants a new Xbox this year… one with a $400 price tag. That is more than the entire budget for all 3 kids combined. However, since it is the only gift he is asking for, my family and I are all chipping in to get it for him for Christmas. My brother loves this option because all he has to do is hand over money and the gift is bought and wrapped for him. You likely have family members that feel that same way so don’t be afraid to get creative when it comes to those big-ticket items.

If you haven’t already started thinking about Christmas yet, there is no time to waste. Get my exact strategy for finding or making fantastic gifts that your friends and family will love and be a Christmas gift queen on a budget this year!

Plan Your DIY Gifts

One of the best ways to save money on gifts is to go the DIY route. With that said, don’t plan on making more DIY gifts than you have time available for creation in your schedule. One of my favorite ways to save time on DIY gifts is to make batch gifts. (You can read more about batch gifts on Holiday Gift Options: DIY Your Gifts.) To plan for these gifts you want to write out the following for each gift:

  1. Write down what gifts you are making and for whom you are making it.
  2. List what supplies you need to make it.
  3. Determine the supplies that you already own and what you need to buy.
  4. Lastly, block out time on your calendar for completing the gift.

If you haven’t already started thinking about Christmas yet, there is no time to waste. Get my exact strategy for finding or making fantastic gifts that your friends and family will love and be a Christmas gift queen on a budget this year!

Make Your List

As I said above, there will specific items that your kids want that you will want to get the best deal on. Put them on your list so that you can compare prices. You also want to include the gifts that you are making for friends and family on this list. If there are materials that you need to purchase, keep them on the list so that you can save on them as well. Many of the craft stores will have awesome sales throughout November. You can also find Lightening Deals frequently on Amazon for materials such as essential oils and battery-operated string lights.

Bonus Tip:

  • Before you start shopping, check out the Black Friday ad previews. A lot of items can be purchased online now. Knowing the rock-bottom prices ahead of time can save you truckloads of money.

If you haven’t already started thinking about Christmas yet, there is no time to waste. Get my exact strategy for finding or making fantastic gifts that your friends and family will love and be a Christmas gift queen on a budget this year!

Start Shopping Now

Lastly, start shopping for your gifts now. Many stores are offering Black Friday preview sales this month in advance of the actual day. Kohl’s just had one and Walmart is having one later this month. I have shopped Walmart’s early preview in the past and had great results. I found the same amazing deals without the crowds and with plenty of stock. Don’t forget about the daily Cartwheel toy discount from Target, either. It is another great way to save on those must-have items from your kids’ wish lists. This is why having your gift list ready is so important. Plan ahead for things you may need as part as a gift. For example, if you’re buying your husband that motorbike he’s always wanted, you may need to get in contact with some motorcycle transport companies, to get it delivered to your house. Keep track of the best deals offered so that you can get the best gifts for the best prices and stay under budget.

Bonus Tip:

  • If you shop at Kohl’s and get Kohl’s Cash, use it to buy stocking stuffers for your family. Pick up lip balm, small toys, and even candy in-store. This is another great way to save money on your Christmas budget.

If you haven’t already started thinking about Christmas yet, there is no time to waste. Get my exact strategy for finding or making fantastic gifts that your friends and family will love and be a Christmas gift queen on a budget this year!

Whew! That was a lot of information. If you stuck with me to here, thanks! You now know how to be a Christmas gift queen on a budget. Don’t forget that subscribers can download the entire 10-page Christmas Planner for free on the VIP page. Now, as an added bonus to you lovely ladies, let me know what gift you’re most hoping to save on this year in the comments. I will keep an eye out for deals and if I see a great price, I will comment and let you know. You also want to check my tips for Black Friday and Cyber Monday to rock your Christmas savings this year.

See where I’m linking up!

Don’t Forget to Pin It!

Get my exact strategy for finding or making fantastic gifts that your friends and family will love and be a Christmas gift queen on a budget this year!

DIY Leather Charging Cord Organizer

How many times has your husband asked you where his charger is? If you don’t know, then one of you is digging through a drawer of cords hoping to find an extra one that fits his phone. It’s frustrating and eats up valuable time that you don’t have. Save time and energy by storing your chargers in a DIY leather charging cord organizer. The adjustable leather cord holds your charging cords and wall adapters to keep everything organized in one place. It makes traveling easier because you can grab it and go, confident that you have what you need. Additionally, it is so easy to make that it is a perfect DIY gift!

Affiliate links may be used in this post. Ordering a product through these links may result in a commission at no extra cost to you. Read the full disclosure here.

This DIY leather charging cord organizer holds your cords and wall adapters to keep everything in one place. Perfect for yourself or as an easy DIY gift!

[bctt tweet=”DIY leather charging cord organizer keeps your cords and wall adapters in one place! #diy #organizer” username=”diyadulation”]

Materials


This DIY leather charging cord organizer holds your cords and wall adapters to keep everything in one place. Perfect for yourself or as an easy DIY gift!

This DIY leather charging cord organizer holds your cords and wall adapters to keep everything in one place. Perfect for yourself or as an easy DIY gift!

This DIY leather charging cord organizer holds your cords and wall adapters to keep everything in one place. Perfect for yourself or as an easy DIY gift!

This DIY leather charging cord organizer holds your cords and wall adapters to keep everything in one place. Perfect for yourself or as an easy DIY gift!

Step 1

Trim a piece of scrap leather into a rectangle. It can be any size you like but I recommend no smaller than 12 inches by 5 inches.

Tip:

  • You can be a precise as you would like but don’t feel like you have to be. Having some irregularities adds a more rustic touch to your organizer.


This DIY leather charging cord organizer holds your cords and wall adapters to keep everything in one place. Perfect for yourself or as an easy DIY gift!

Step 2

Punch a hole in the center edge of the right side of your rectangle.

Note:


This DIY leather charging cord organizer holds your cords and wall adapters to keep everything in one place. Perfect for yourself or as an easy DIY gift!

This DIY leather charging cord organizer holds your cords and wall adapters to keep everything in one place. Perfect for yourself or as an easy DIY gift!

Step 3

Fold your leather in half lengthwise and cut notches every two inches with your scissors. Make sure that you have an odd number of notches that are large enough to thread your leather cording through.


This DIY leather charging cord organizer holds your cords and wall adapters to keep everything in one place. Perfect for yourself or as an easy DIY gift!

This DIY leather charging cord organizer holds your cords and wall adapters to keep everything in one place. Perfect for yourself or as an easy DIY gift!

Step 4

Unfold your leather and thread your cording through. Start by threading the cord through your punched hole and next continue weaving back and forth through the notches.

Tip:

  • Only leave enough of the leather cording through the punched hole to secure it to your organizer. The excess cording should be at the opposite end.


This DIY leather charging cord organizer holds your cords and wall adapters to keep everything in one place. Perfect for yourself or as an easy DIY gift!

This DIY leather charging cord organizer holds your cords and wall adapters to keep everything in one place. Perfect for yourself or as an easy DIY gift!

This DIY leather charging cord organizer holds your cords and wall adapters to keep everything in one place. Perfect for yourself or as an easy DIY gift!

Step 5

Push your brad through the punched hole with the prongs coming through the inside of your organizer. Fold out the prongs over the cording to secure them.


This DIY leather charging cord organizer holds your cords and wall adapters to keep everything in one place. Perfect for yourself or as an easy DIY gift!

Step 6

Place a few stitches through your organizer and cording end at the brad to secure the cording thoroughly. You don’t want it pulling out when you tighten the cord around your chargers.


This DIY leather charging cord organizer holds your cords and wall adapters to keep everything in one place. Perfect for yourself or as an easy DIY gift!

Step 7

Cut a small square of leather out of a piece that you trimmed off in step 1.


Step 8

Center the leather square over the cording and brad on the inside of your organizer.


This DIY leather charging cord organizer holds your cords and wall adapters to keep everything in one place. Perfect for yourself or as an easy DIY gift!

Step 9

Secure the leather square into place by sewing a whipstitch around the edges.

Tip:

  • For a cleaner look, do not stitch all of the way through your organizer. Instead thread about halfway into your organizer leather and pull back up through your leather square. This is so that your stitches are not visible on the outside of your organizer.


This DIY leather charging cord organizer holds your cords and wall adapters to keep everything in one place. Perfect for yourself or as an easy DIY gift!

This DIY leather charging cord organizer holds your cords and wall adapters to keep everything in one place. Perfect for yourself or as an easy DIY gift!

Step 10

Lastly, add your charging cords and adapters and tighten your cording.


This DIY leather charging cord organizer holds your cords and wall adapters to keep everything in one place. Perfect for yourself or as an easy DIY gift!

Step 11

Roll up your DIY leather charging cord organizer and wrap the excess cording around the outside to secure.


This DIY leather charging cord organizer holds your cords and wall adapters to keep everything in one place. Perfect for yourself or as an easy DIY gift!

[bctt tweet=”Need a gift for your guy? This DIY Leather Charging Cord Organizer is perfect! #diy #giftidea” username=”diyadulation”]

This DIY leather charging cord organizer holds your cords and wall adapters to keep everything in one place. Perfect for yourself or as an easy DIY gift!

This DIY leather charging cord organizer holds your cords and wall adapters to keep everything in one place. Perfect for yourself or as an easy DIY gift!

This is such an easy and inexpensive way to organize all of your chargers in one place. You can change the look to fit your style by using a different color of leather for your organizer or cording. A DIY leather charging cord organizer is also a perfect DIY gift for the guys in your life. It is handsome and practical to delight even the most difficult men to shop for. If you want to make one for everyone on your gift list, opt for buying a yard of leather instead of using a scrap piece. Then you can cut all of your organizers at once and have enough to make them in bulk! I’d love to hear who you would make yours for. Let me know in the comments!

This DIY leather charging cord organizer holds your cords and wall adapters to keep everything in one place. Perfect for yourself or as an easy DIY gift!

See where I’m linking up!

Create Memories with Your Advent Gifts

Advent is more than a countdown to Christmas in our home. Find out how to create memories with your Advent gifts this year! #ad

As you read in Unique DIY Advent Mailboxes, I love to weave activities into our Advent gifts. I also love to create beautiful packages to delight the kiddos no matter what’s inside. This is easier than you might think. Get awesome ideas to create memories with your Advent gifts or feel free to steal our exacting gifting schedule this season!

Advent is more than a countdown to Christmas in our home. Find out how to create memories with your Advent gifts this year! #ad


[bctt tweet=”Find out how to make memories with your Advent gifts this year! #ad @OrientalTrading #advent” username=”diyadulation”]
 

Advent is more than a countdown to Christmas in our home. Find out how to create memories with your Advent gifts this year! #ad

Advent Packages Materials


Advent is more than a countdown to Christmas in our home. Find out how to create memories with your Advent gifts this year! #ad

Step 1

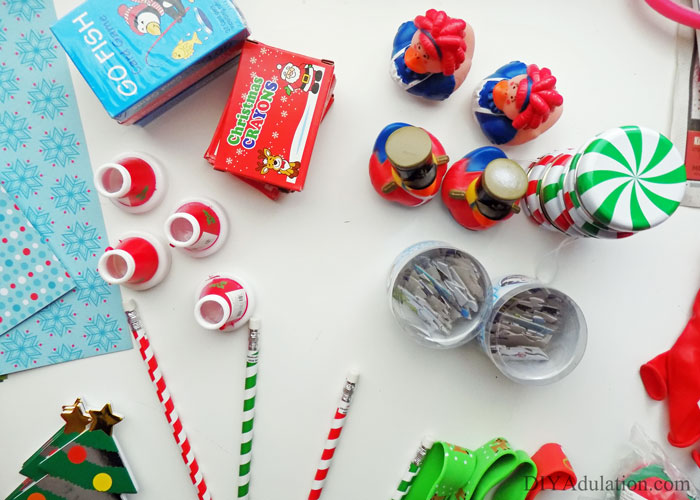
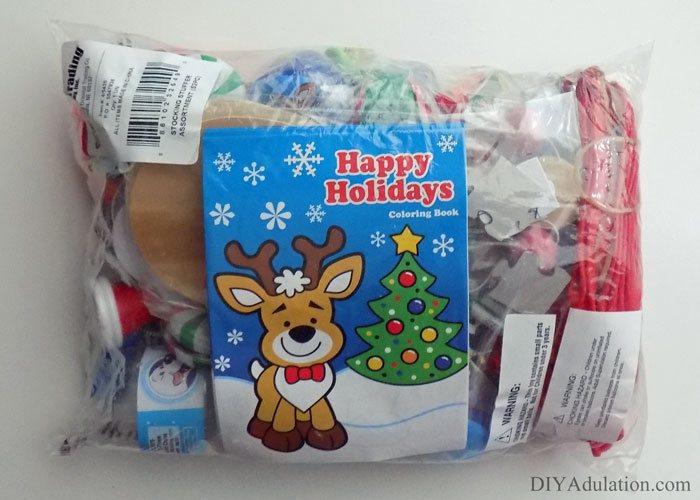
Organize your gifts from the stocking stuffer pack by type. This will allow you to determine how many of each item you have and decide which ones you want to use as gifts.

Step 2

Write it down. Number a sheet of paper from 1-24 and determine what gifts and activities will be given on specific dates.

Tip:

  • Be sure when choosing gifts to check that they fit in your Advent mailboxes.
 

Advent is more than a countdown to Christmas in our home. Find out how to create memories with your Advent gifts this year! #ad

Step 3

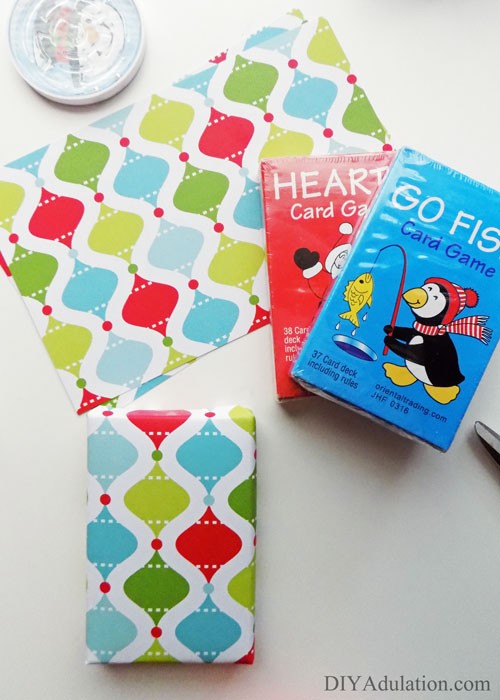
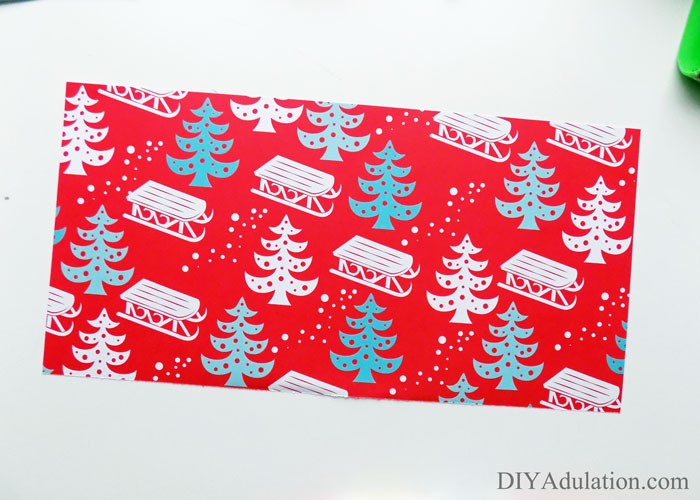
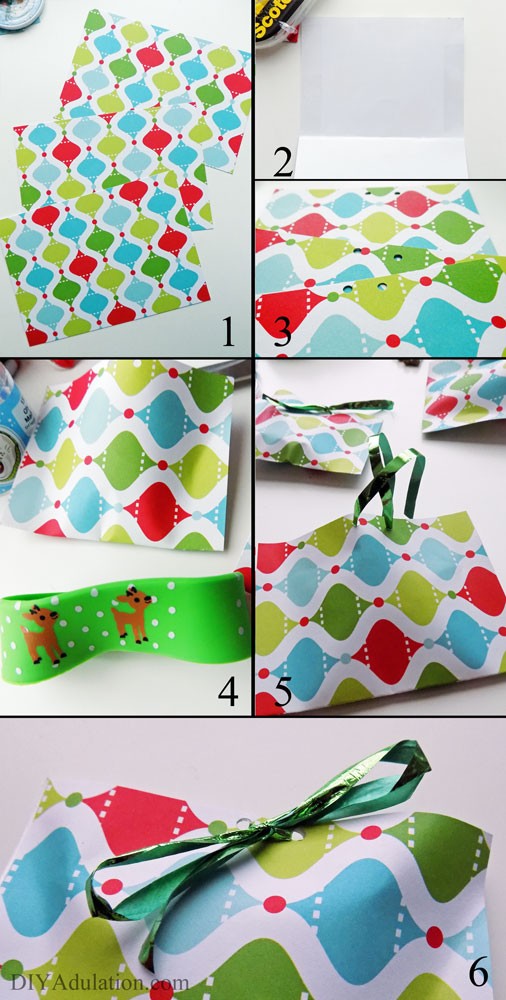
Create pouches for the gifts using your scrapbook paper. To do this, measure the gifts on the paper. Cut a strip that is an inch wider than the gift.
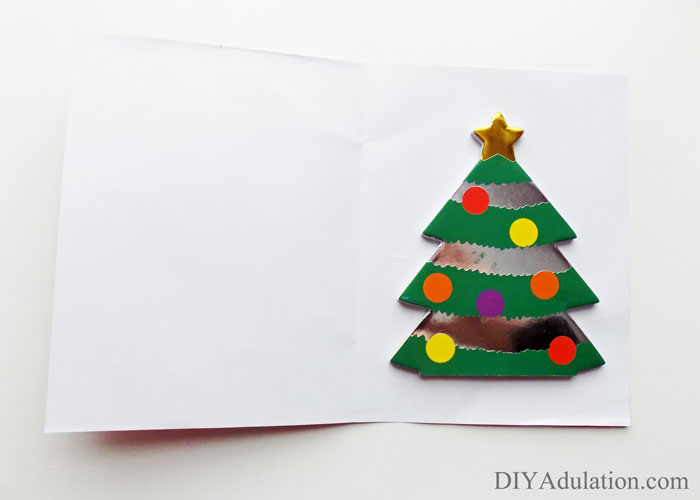
 

Advent is more than a countdown to Christmas in our home. Find out how to create memories with your Advent gifts this year! #ad

Step 4

Next, fold the strip of paper in half.
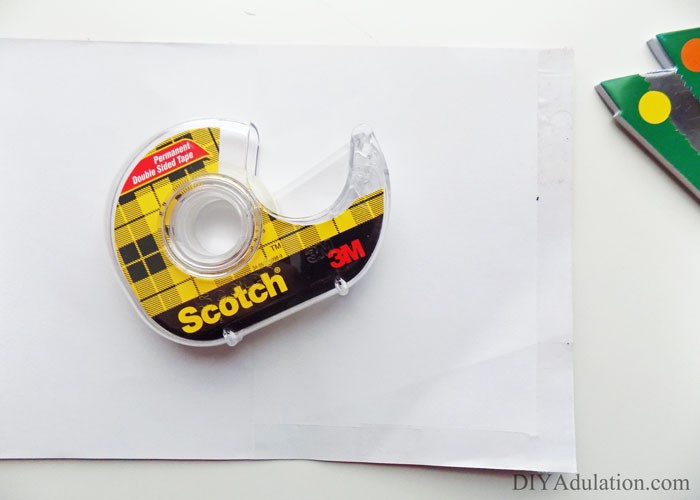
 

Advent is more than a countdown to Christmas in our home. Find out how to create memories with your Advent gifts this year! #ad

Step 5

Unfold the paper and add double-sided tape to the edges of your pouch.
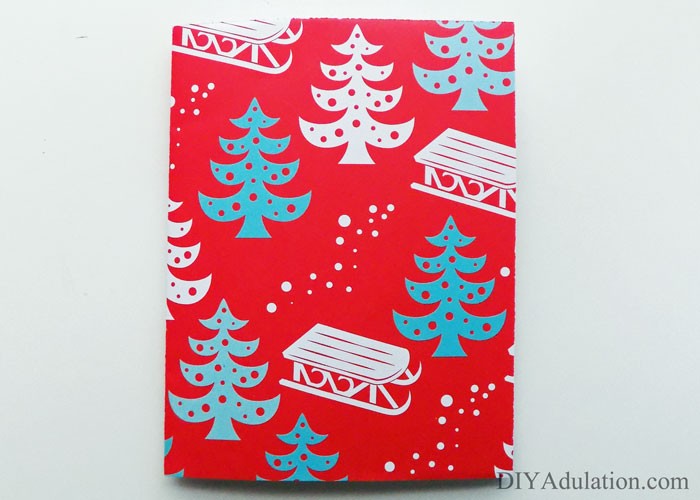
 

Advent is more than a countdown to Christmas in our home. Find out how to create memories with your Advent gifts this year! #ad

Step 6

Fold your paper back up and press on the taped edges to seal.
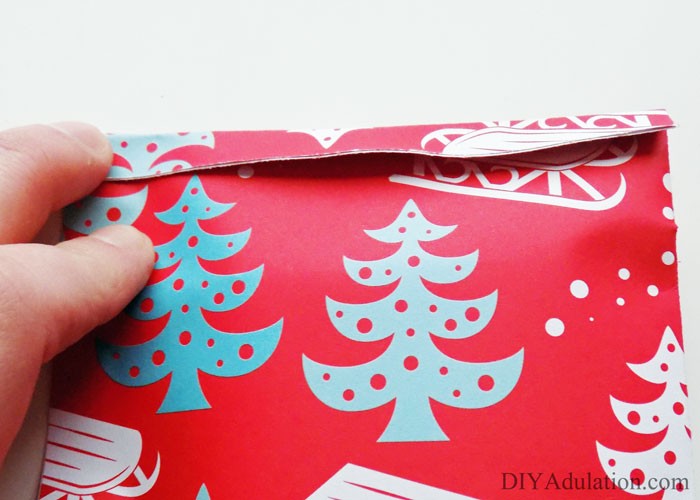
 

Advent is more than a countdown to Christmas in our home. Find out how to create memories with your Advent gifts this year! #ad

Advent is more than a countdown to Christmas in our home. Find out how to create memories with your Advent gifts this year! #ad

Step 7

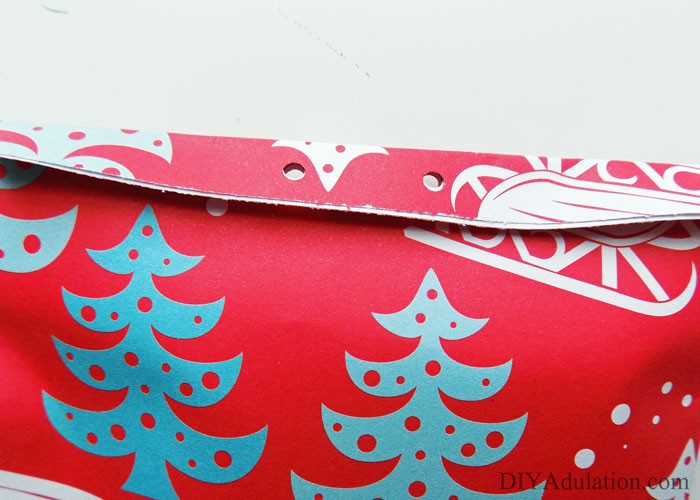
Once your pouch is sealed, fold your top down and punch 2 holes in the top center of your pouch. See picture for reference.
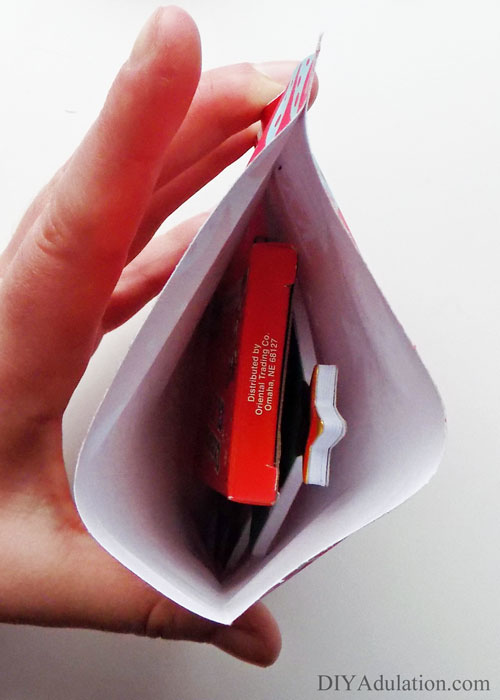
 

Advent is more than a countdown to Christmas in our home. Find out how to create memories with your Advent gifts this year! #ad

Step 8

Next add your gift to the pouch and fold the flap back down.
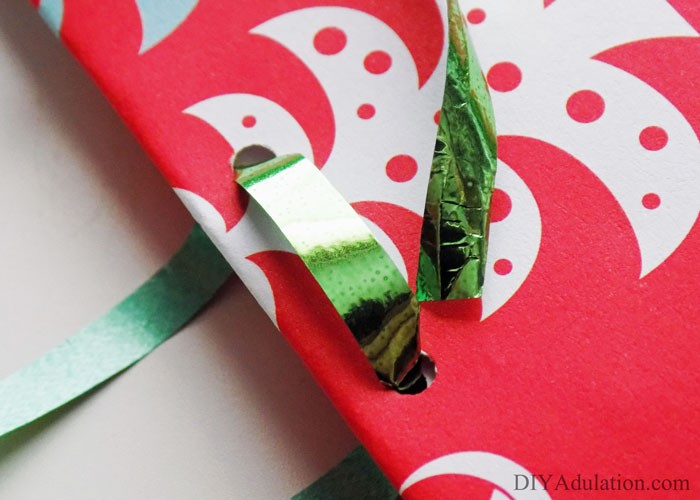
 

Advent is more than a countdown to Christmas in our home. Find out how to create memories with your Advent gifts this year! #ad

Step 9

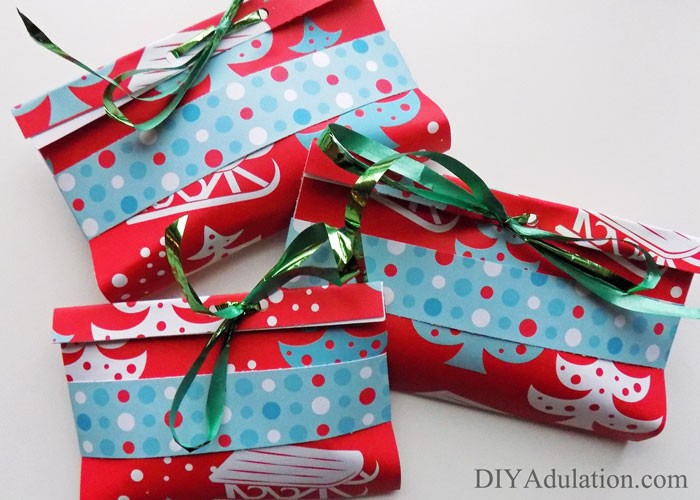
Cut a length of curling ribbon and thread it through the punched holes.
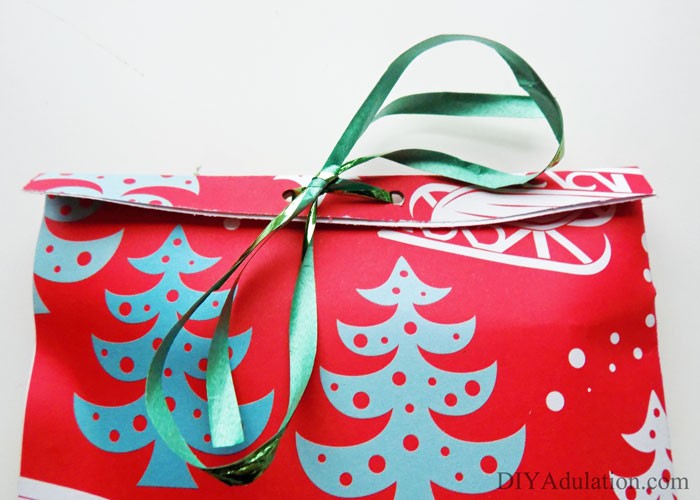
 

Advent is more than a countdown to Christmas in our home. Find out how to create memories with your Advent gifts this year! #ad

Step 10

Lastly, tie the ribbon in a bow to secure.
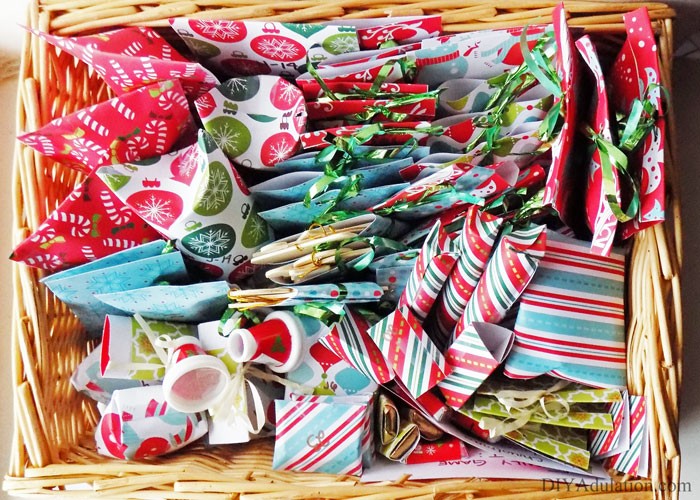
 

Advent is more than a countdown to Christmas in our home. Find out how to create memories with your Advent gifts this year! #ad

Step 11

Before putting your gift in a basket to store, number it with the appropriate date with your bronze Sharpie.
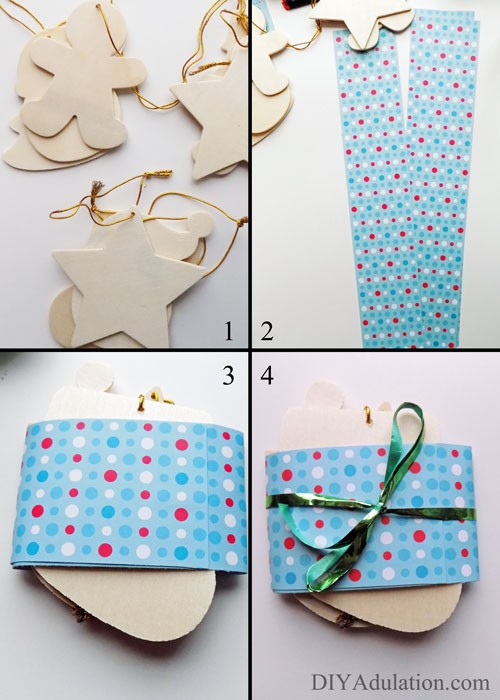
 

Advent is more than a countdown to Christmas in our home. Find out how to create memories with your Advent gifts this year! #ad

Advent is more than a countdown to Christmas in our home. Find out how to create memories with your Advent gifts this year! #ad

Advent is more than a countdown to Christmas in our home. Find out how to create memories with your Advent gifts this year! #ad

Advent is more than a countdown to Christmas in our home. Find out how to create memories with your Advent gifts this year! #ad

Advent is more than a countdown to Christmas in our home. Find out how to create memories with your Advent gifts this year! #ad

Advent is more than a countdown to Christmas in our home. Find out how to create memories with your Advent gifts this year! #ad

Step 12

Continue steps 3-11 until all of your gifts are wrapped and labeled.

Advent Activities

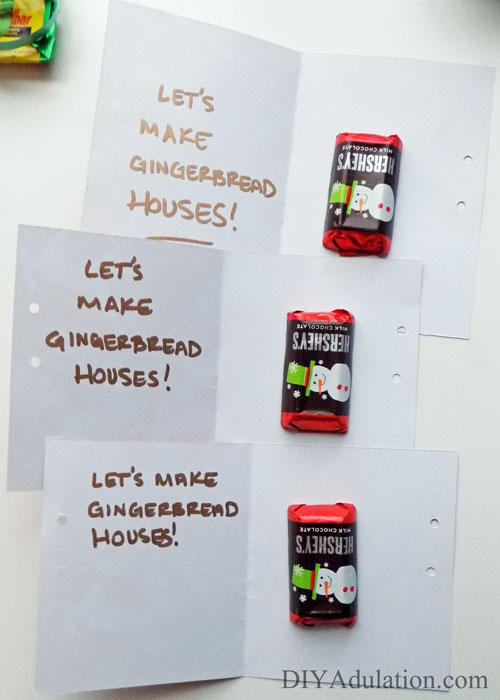
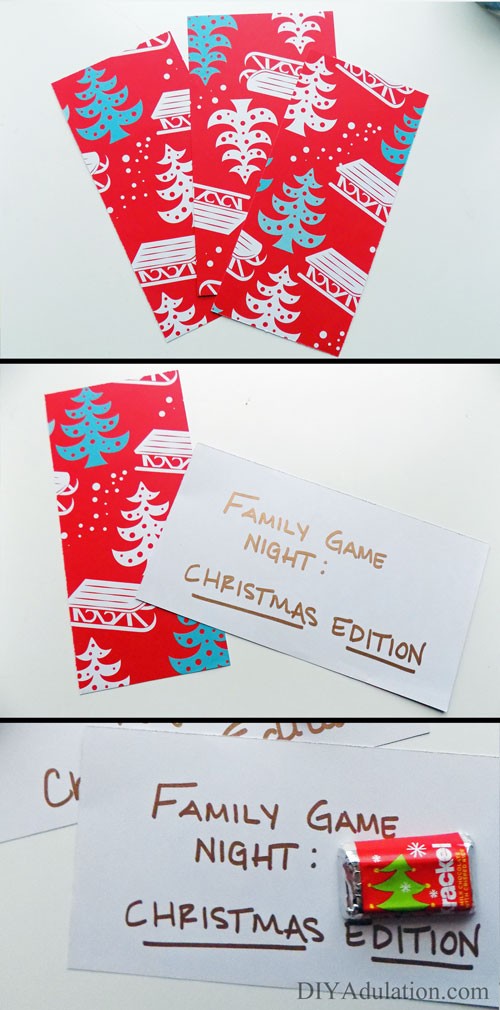
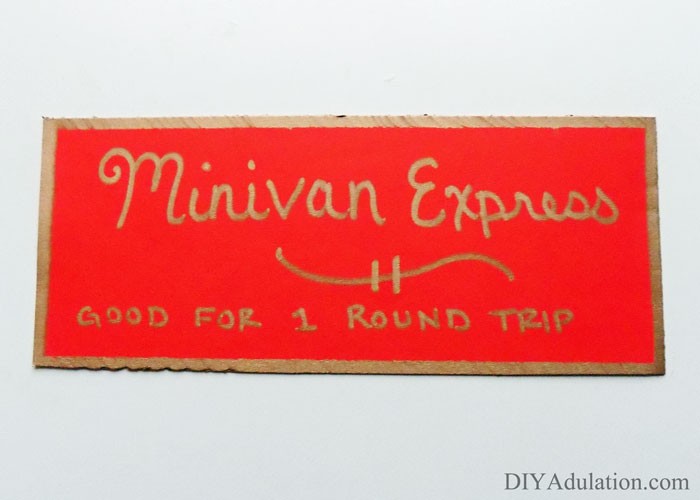
For these gifts I simply write the activity on a strip of paper and attach a piece of candy with a piece of double-sided tape. The exception to this is the “Minivan Express” which is our family’s favorite Christmas tradition. You can read more about it at the link above and also get free printable tickets there. She provides you with multiple ideas for your Minivan express night. Our family goes to look at Christmas lights in our area each year. I also choose to make our tickets because it is something I enjoy. You do not have to take the time to do this. However, if you would like to make your own this year I’ve made it super easy:
 

Advent is more than a countdown to Christmas in our home. Find out how to create memories with your Advent gifts this year! #ad

Step 1

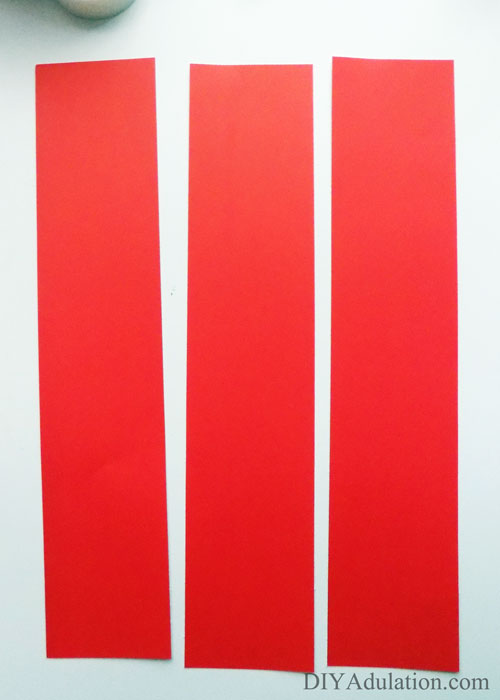
Cut a red piece of 12×12 paper from your Christmas pack into 3 even strips.

Note:

  • This will make 3 tickets. If you have more children, you will need to cut an additional sheet.
 

Advent is more than a countdown to Christmas in our home. Find out how to create memories with your Advent gifts this year! #ad

Step 2

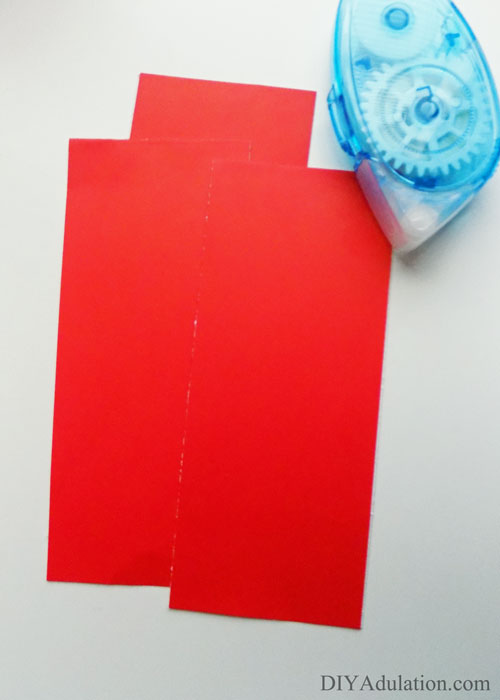
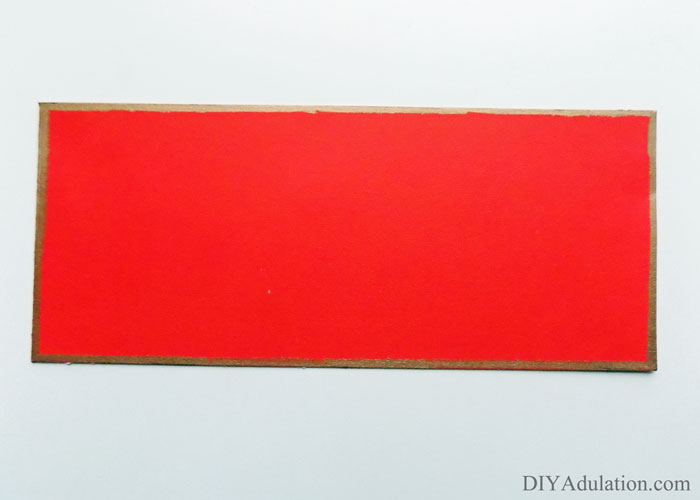
Fold each strip of paper in half and place double-sided tape on the white sides (or use a glue runner). Press firmly to secure.
 

Advent is more than a countdown to Christmas in our home. Find out how to create memories with your Advent gifts this year! #ad

Step 3

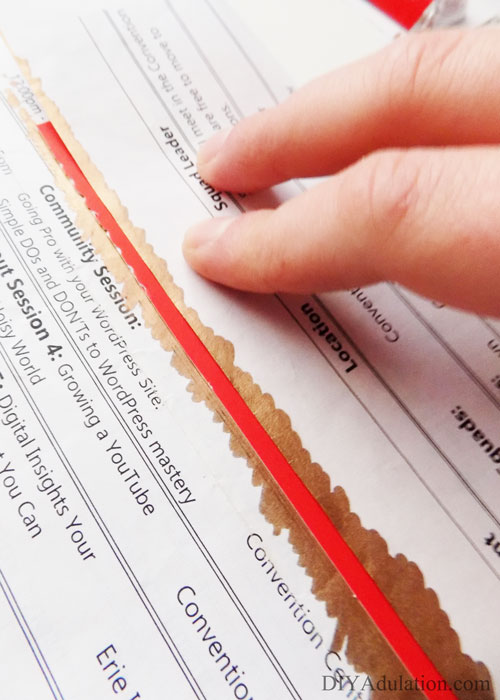
Color the edges of your tickets with your bronze Sharpie.
Advent is more than a countdown to Christmas in our home. Find out how to create memories with your Advent gifts this year! #ad

Tip:

  • Get crisp, even lines by folding a scrap piece of paper over the ticket leaving only the edge you want to color exposed.
 

Advent is more than a countdown to Christmas in our home. Find out how to create memories with your Advent gifts this year! #ad

Step 4

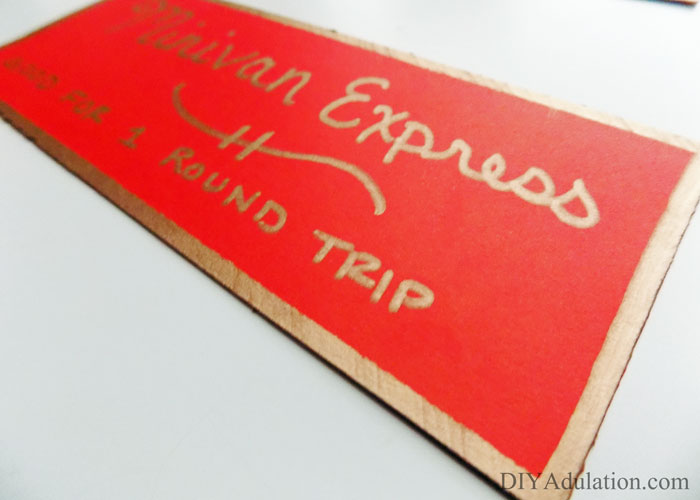
Next, write, “Minivan Express: Good for 1 Round-Trip” in the center of each ticket also with your bronze Sharpie.
 

Advent is more than a countdown to Christmas in our home. Find out how to create memories with your Advent gifts this year! #ad

Advent is more than a countdown to Christmas in our home. Find out how to create memories with your Advent gifts this year! #ad

Step 5 (Optional)

Because of the surprise element of the Minivan Express (we hide the tickets under the pillows for them to find at bedtime on the pre-determined night), the Advent gift for this day is the kaleidoscopes. Christmas lights look really cool when you look at them through the kaleidoscopes so this gift will be fun when your kids open it and then extra fun on the Minivan Express.
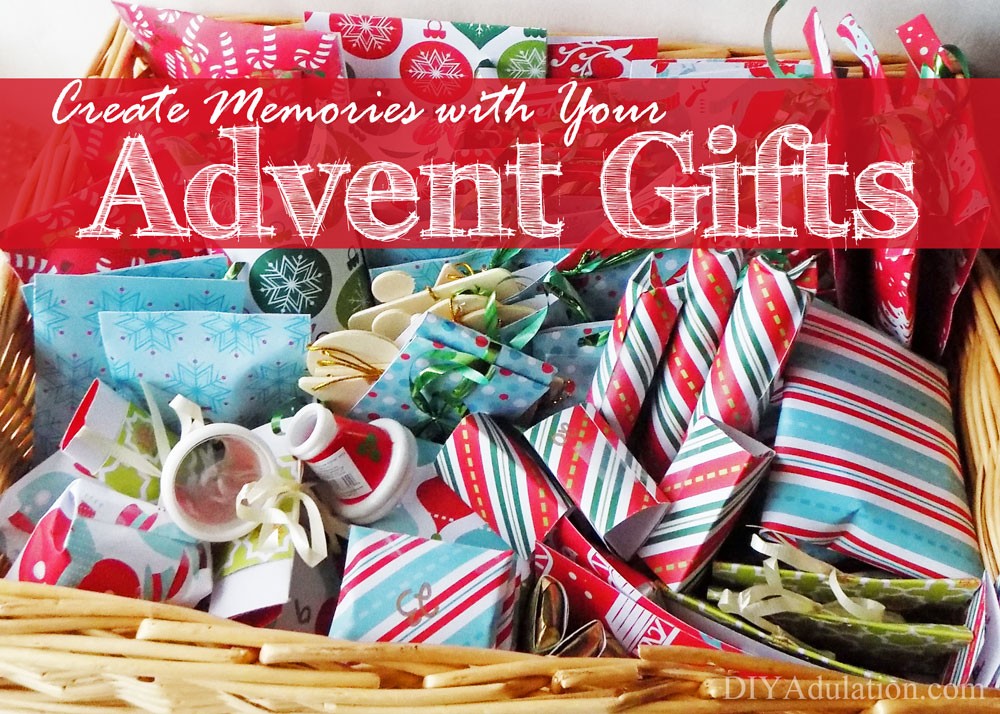
 

Advent is more than a countdown to Christmas in our home. Find out how to create memories with your Advent gifts this year! #ad

As promised, before you go, here is our exact Advent schedule this year. Feel free to steal ideas from it for your own family.

  1. Coloring Set
  2. Christmas Family Game Night
  3. Bracelets
  4. Candy
  5. Make Ornaments
  6. Card Games
  7. Punch Balloon
  8. Festival of Lights
  9. Kick Sack
  10. Candy
  11. Mazes
  12. Make Gingerbread Houses
  13. Rubber Ducks
  14. Puzzles
  15. Christmas Movie Night
  16. Candy
  17. Kaleidoscopes (Minivan Express)
  18. Candy
  19. Yo-yo’s
  20. Christmas Campout
  21. Coloring Books
  22. Christmas Photo Booth Night
  23. Candy
  24. Read The Night Before Christmas

Now that you are ready to create memories with your Advent gifts I want to hear from you. What is your favorite Advent activity? Let me hear about your traditions in the comments and don’t forget to check out Oriental Trading for all of your Christmas needs this year!

Looking for a deal at Oriental Trading? Visit their coupon page for the latest in sales.

See where I’m linking up!