Can you believe it’s already Day 9 of the 12 Days of Christmas blog hop? Yesterday I shared the recipe for delicious peanut butter brownie cookies. Definitely check out the yummy cookie recipes if you haven’t yet. Today is all about dressing up your door, starting with this glittery Merry Christmas floral wreath. You can find everything you need to make this wreath except the ribbon at your local Dollar Tress making it another budget-friendly décor option. Once you’re done here, check out Frugal Tips for Gorgeous Christmas Décor for even more budget-friendly ideas.
Affiliate links may be used in this post. Ordering a product through these links may result in a commission at no extra cost to you. Read the full disclosure here.
Welcome to the third annual 12 Days of Christmas Blog Hop!
Stop by every day from December first through the twelfth for new ideas you can use to make your season brighter!
Meet Your Hosts
They have all been busy as Elves creating, decorating, cooking and crafting tons of new ideas for you to try this holiday season!
Shirley~Intelligent Domestications I Alli~An Alli Event I Michelle~Our Crafty Mom I Marie~DIY Adulation
Erlene~My Pinterventures I Beverly~Across The Blvd. I Debra~Shoppe No. 5 I Victoria~Dazzle While Frazzled
Megan~C’mon Get Crafty I Michelle~Michelle James Designs I Amanda~Domestically Creative
Deborah~Salvage Sister & Mister I Jeanie~Create & Babble I Sherry~Olives & Okra
Jenny~Cookies Coffee & Crafts I Emily~Domestic Deadline I Bonbon~Farmhouse 40
Leanna~Of Faeries & Fauna I Pam Larmore~P.S. I Love You Crafts I Kelly~North Country Nest I
Marie~The Inspiration Vault I Gail~Purple Hues and Me I Lynne~My Family Thyme I
Karen~Dragonfly and Lily Pads I Trisha~Blowing Away Out West Lorrin~Embrace The Perfect Mess I
Terri~Christmas Tree Lane I Sam~Raggedy Bits I Cyn~Creative Cynchronicity Valeria~Val Event Gal
Yami~The Latina Next Door I Tania~Little Vintage Cottage I Lauren~Wonderfully Made
Vanessa~DIY 180 I Kimberly~A Wonderful Thought I Kim~Everyday Parties I Dru~Polka Dot Poplars

[bctt tweet=”Get your door ready for the holidays with this #DIY glittery Merry Christmas floral #wreath!” username=”diyadulation”]
Materials
- 5-10 Floral Stems (I got some of all of the Christmas stems at Dollar Tree)
- 18 inch Wreath
- Hot Glue Gun and Glue Sticks
- Glitter Gold and Burlap “Merry Christmas” Ribbon (I got mine at Michael’s)
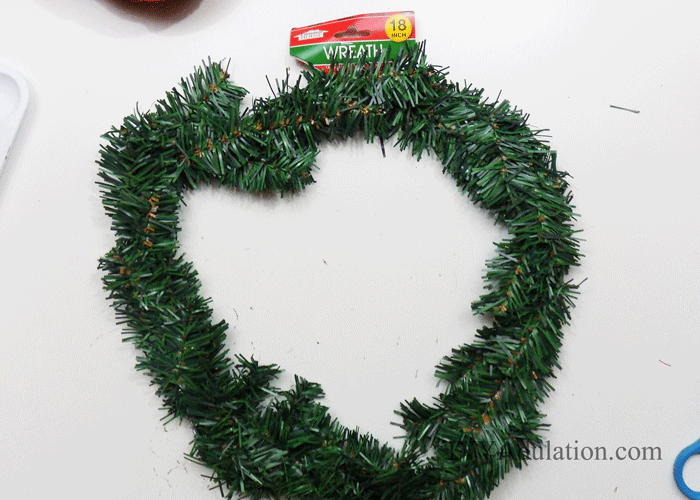
Step 1
Remove all of the packaging from your wreath.

Step 2
Next, fluff your wreath to make it fuller.
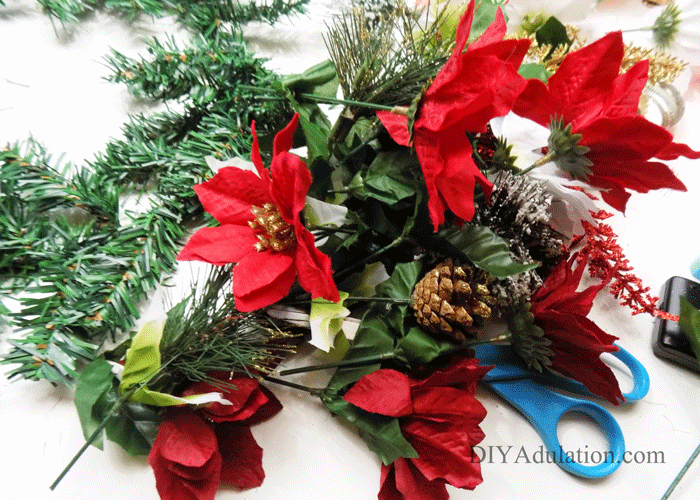
Step 3
Then cut all of your flowers and elements off of their stems.

Step 4
First, glue your red poinsettias to your wreath.

Step 5
Next, glue the white poinsettias to your wreath.
Step 6
Fill out your wreath more with some leaves from your floral stems.
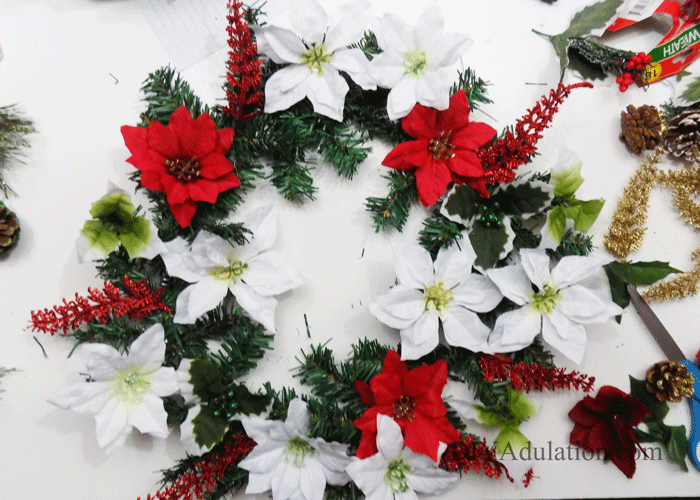
Step 7
Add your red glitter stems to your wreath next.

Step 8
Then glue your gold glitter stems on.

Step 9
Next, add pine cones and flocked fir branches.
Step 10
Cut a piece of ribbon with one full “Merry Christmas” saying in the center.

Step 11
Fold the ribbon to form a banner as pictured.

Step 12
Then check your banner against the center of your wreath for size. You want enough overlap to be able to glue it to your wreath. Readjust it if necessary.
Note:
- Do not attach it to your wreath yet.

Step 13
Next, glue the folds of your ribbon so that they stay in place.

Step 14
Lastly, attach your banner to your wreath with hot glue.


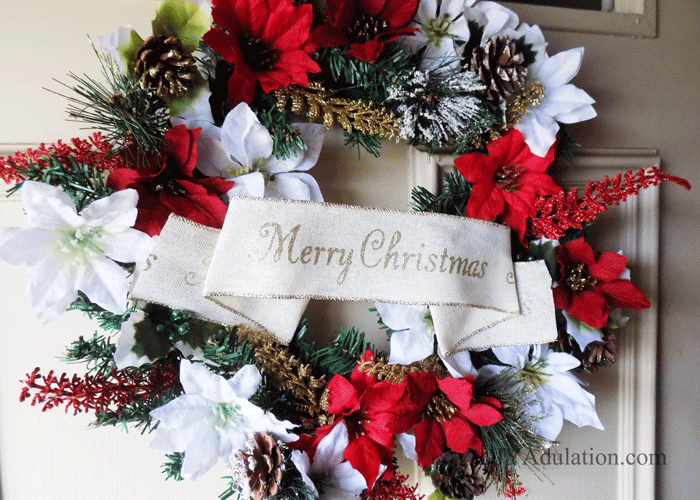

You’ll notice that there is no ribbon hanger on this wreath. When I tested it, the hanger made it look cluttered. Instead, add an outdoor Command Hook to your door and hang your glittery Merry Christmas floral wreath on the hook. I absolutely love how this wreath turned out. We’ve already gotten a ton of compliments on it which is always nice as a creator. Now, it is time to check out all of the amazing wreaths and door décor ideas that my friends created. You can also visit days 1-8 of the 12 Days of Christmas blog hop for more holiday crafts and recipes.
See where I’m linking up!
Be sure to visit our fellow 12 Days of Christmas Bloggers below for even more creative ideas this holiday season!

Don’t Forget to Pin It!
