Wicked-Looking Skull Treat Stand

Have you ever found an item that you absolutely fell in love with?  You just knew you needed to figure out a way to use it in your home because it was that cool?  That happened to me a few months ago at Michaels.  I found these amazing square skull plates that I knew I had to have.  However, at $5+ each I definitely couldn’t afford to buy an entire set to use for entertaining.  Instead, when they went on sale for 50% off, I bought one of each style giving me three plates.  The obvious solution once I had only three was to make a gorgeous and easy skull treat stand!  This is so easy to make that you can whip it up the day before your Halloween party this year.


Create a totally wicked-looking skull treat stand that everyone will be fawning over!


[bctt tweet=”Create a totally wicked-looking skull treat stand that everyone will be fawning over! #halloween #skulls”]

Materials


Create a totally wicked-looking skull treat stand that everyone will be fawning over!

Step 1

Remove labels from plates and wipe down each one with a clean, damp cloth.  Next do the same for your taper holders.


Create a totally wicked-looking skull treat stand that everyone will be fawning over!

Step 2

Once dry, glue the taper holders between the plates using E600.

Tips:

  • Start with the largest plate on the bottom and end with the smallest.  In this case, two of the plates were the same size so I alternated between white and black.
  • Flip your taper holders upside down before gluing.  This allows the larger base to support (and stabilize) the plate above.


Create a totally wicked-looking skull treat stand that everyone will be fawning over!

Step 3

Before glue has a chance to dry, wipe the excess away from the seam using your finger or a paintbrush.

Tip:

  • Don’t use a cotton swab because the fibers can stick to your glue.

Step 4

Allow glue to dry for 24 hours before using.  Then load it up with snacks and you’re good to go.


Create a totally wicked-looking skull treat stand that everyone will be fawning over!


Now you have a totally wicked-looking skull treat stand that everyone will be fawning over!  If you love yours as much as I love mine don’t limit yourself using this as a treat stand.  Display it all season long and make it useful.

  • Set the stand on a side table to hold your keys, spare change, sunglasses, and anything else you usually drop off when you first arrive home.
  • Place it in your bathroom for a festive organizational piece.  Use it to hold extra toiletries, hand towels, and soap. 


Create a totally wicked-looking skull treat stand that everyone will be fawning over!

Make it.  Use it.  Show it off!  If you want it to be functional for the entire autumn season, find some more generic harvest-themed plates to use with yours. Find plates that you fall in love with as hard as I fell in love with these.

If you want some more fun projects, check out our Halloween page.

Affiliate links may be used in this post. Ordering a product through these links may result in a commission. Read the full disclosure here.

See where I’m linking up!


Autumn Scarecrow Note Holder

It is fun to dress up your home for autumn but that doesn’t mean dressing it up can’t also be functional.  You still have grocery lists, to-do lists, letters to mail… the list goes on and on.  Wouldn’t it be great to have a way to keep all of your notes and lists in one place that is actually festive and pretty to look at?  (If you said no, I’m worried about you, unless you haven’t had your coffee yet, in which case I understand completely.)  This adorable autumn scarecrow note holder does just that and you can make it in about 10 minutes!

Decorating your house for fall doesn't mean you have to sacrifice function for festive. This adorable autumn scarecrow note holder has both!

[bctt tweet=”Decorating your house for fall doesn’t mean you have to sacrifice function for festive. This adorable #autumn #scarecrow note holder has both!”]

Materials

Decorating your house for fall doesn't mean you have to sacrifice function for festive. This adorable autumn scarecrow note holder has both!

Step 1

Place one craft stick on your work surface at an angle and then glue 6 craft sticks perpendicular to it. (See picture above.)


Decorating your house for fall doesn't mean you have to sacrifice function for festive. This adorable autumn scarecrow note holder has both!

Step 2

Glue some straw to another craft stick to create the “hair”.  The pieces on the outside edges should be longer and the pieces in the middle should be kept short. (Think fringy bangs.)  Once your straw is in place, glue craft sticks (straw side down) to your scarecrow parallel with the existing perpendicular stick.


Decorating your house for fall doesn't mean you have to sacrifice function for festive. This adorable autumn scarecrow note holder has both!

Step 3

Glue down you 2 black buttons for eyes.  Next, glue your orange heart button upside down for the nose.


Decorating your house for fall doesn't mean you have to sacrifice function for festive. This adorable autumn scarecrow note holder has both!

Step 4

Paint on the mouth as pictures using your black paint.


Decorating your house for fall doesn't mean you have to sacrifice function for festive. This adorable autumn scarecrow note holder has both!

Step 5

Paint the top of your craft sticks green for the hat as pictured.


Decorating your house for fall doesn't mean you have to sacrifice function for festive. This adorable autumn scarecrow note holder has both!

Step 6

Paint the perpendicular stick brown and allow paint to dry completely.

Tip:

  • If you do not have sealed craft sticks (mine were not) it may require a second coat of both green and brown paint.


Decorating your house for fall doesn't mean you have to sacrifice function for festive. This adorable autumn scarecrow note holder has both!

Step 7

Flip your scarecrow over.  Break the last craft stick in half and glue it to the back as pictured.  This helps to stabilize your scarecrow.


Decorating your house for fall doesn't mean you have to sacrifice function for festive. This adorable autumn scarecrow note holder has both!

Step 8

Glue on your clothespin being sure that it can be pressed open from the front of your scarecrow.


Decorating your house for fall doesn't mean you have to sacrifice function for festive. This adorable autumn scarecrow note holder has both!

Step 9

Next, glue your embellishments to the lower right side of the brim.  I layered 2 leaves and a dimensional acorn, but you can do it in any variety you like.


Decorating your house for fall doesn't mean you have to sacrifice function for festive. This adorable autumn scarecrow note holder has both!

Step 10

Glue on your length of burlap ribbon to hang it by and enjoy.

Note:

  • If you are concerned about the back of the scarecrow being “ugly” simply cut a piece of matching felt to size and glue it over top of the entire back.  Since it will be against the wall, I wasn’t concerned about it.

Decorating your house for fall doesn't mean you have to sacrifice function for festive. This adorable autumn scarecrow note holder has both!

This little guy is just too stinking cute!  You will love having him greet you on your wall every day.  Maybe he’ll even get you a little excited about your to-do list! (Or not, but either way you’ll have something adorable to look at.)

Don’t want the autumn craft fun to end?  Get more ideas here!

Affiliate links may be used in this post. Ordering a product through these links may result in a commission. Read the full disclosure here.

See where I’m linking up!


DIY Jack-O-Lantern Treat Jar

I am crazy excited for fall.  I love the leaves and sweatshirts along with all of the special, seasonal treats!  One of my favorite fall treats are what we call happy pumpkins.  That’s not their real name, but they are those Little Debbie treats that look like cute little jack-o-lanterns and taste like an autumn party in your mouth. (No, this is not a sponsored post I just really LOVE happy pumpkins.)


Celebrate Autumn with this fun and functional DIY Jack-O-Lantern treat jar!

[bctt tweet=”Celebrate #Autumn with this fun and functional DIY Jack-O-Lantern treat jar!”]

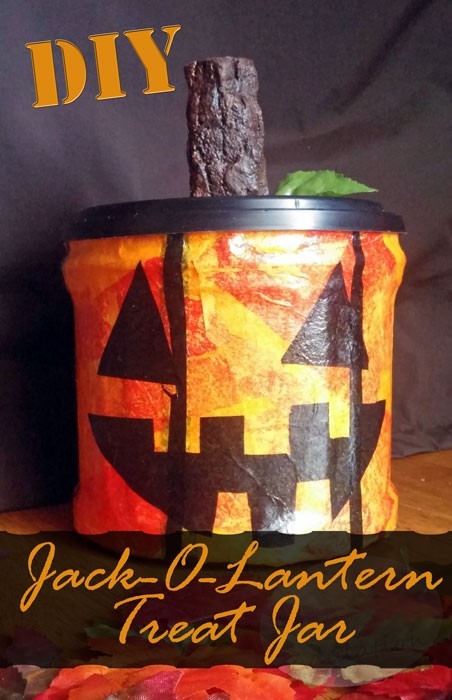
We just recently picked up our first box of the season and they needed an exciting container to be stored in.  What better way to store happy pumpkins than in a jack-o-lantern treat jar?

Celebrate Autumn with this fun and functional DIY Jack-O-Lantern treat jar!

Materials


Celebrate Autumn with this fun and functional DIY Jack-O-Lantern treat jar!

Step 1

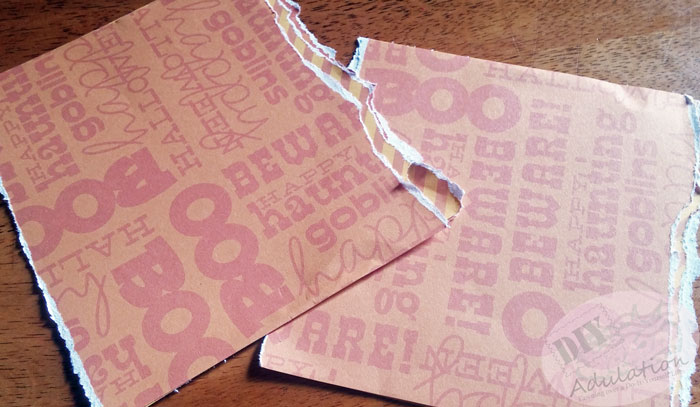
Rip or cut scrapbook paper in half.  Then take one half and rip in half again.


Celebrate Autumn with this fun and functional DIY Jack-O-Lantern treat jar!

Step 2

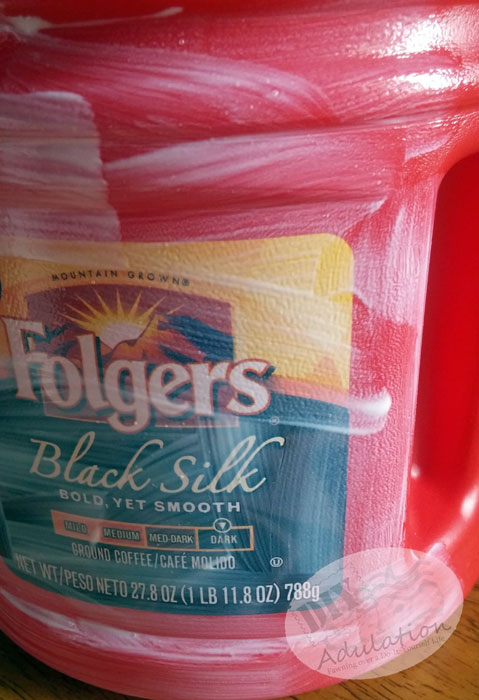
Remove lid from container and cover the can with Mod Podge.  Cover with pieces of scrapbook paper, alternating patterns.

Tip:

If the paper is a heavier weight and is not conforming to the container, use a paintbrush to wet it with water until it does.


Celebrate Autumn with this fun and functional DIY Jack-O-Lantern treat jar!

Step 3

Cover entire container with second coat of Mod Podge.

Note: The container wasn’t coming out as orange as I wanted so I added a layer of tissue paper to help.  This will entirely depend on the scrapbook paper you use and the desired look you want to achieve.


Celebrate Autumn with this fun and functional DIY Jack-O-Lantern treat jar!

Step 4

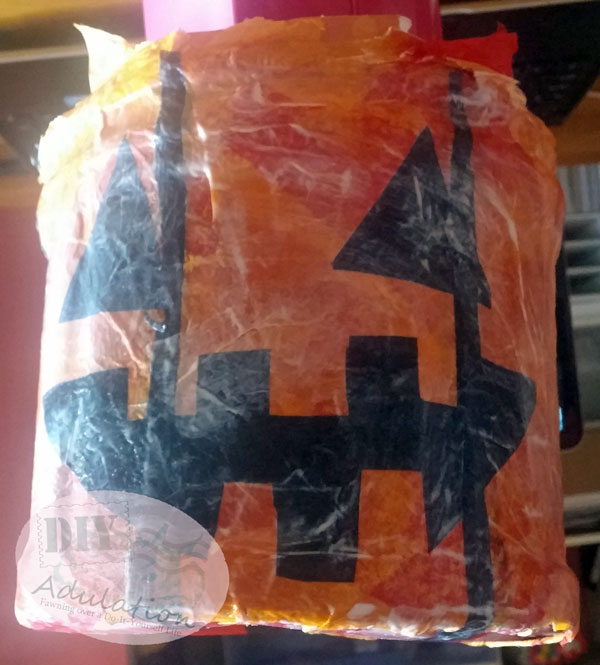
Add strips of black tissue paper to create the sections of the pumpkin.  Then add 2 eyes and a mouth.

Note:  I free-handed mine out of the black tissue paper.  If you need a template, a Google search will bring up tons you can use.
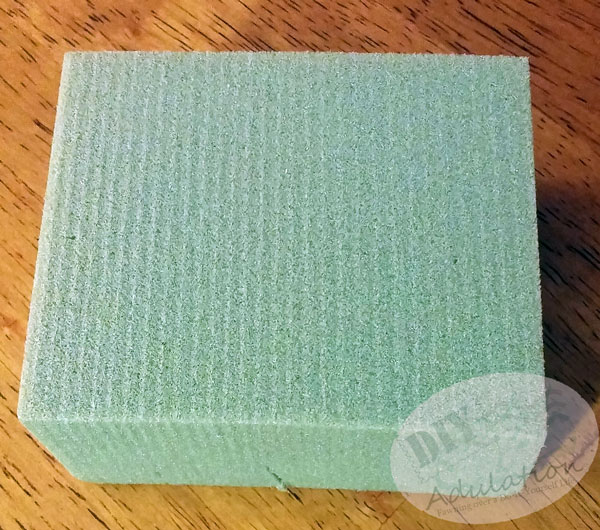
 

Celebrate Autumn with this fun and functional DIY Jack-O-Lantern treat jar!

Celebrate Autumn with this fun and functional DIY Jack-O-Lantern treat jar!

Step 5

While your jack-o-lantern is drying, cut your foam block in half.  Then carve one half to resemble a stem and seal with Mod Podge (this makes it easier to paint and keeps the foam from falling off).

Tip:

Don’t try to carve a perfect circle.  Stems are not even and will be more realistic if it is roughly carved.


Celebrate Autumn with this fun and functional DIY Jack-O-Lantern treat jar!

Step 6

While stem is drying, paint the bottom of container black.  Once paint is dry, cover with a coat of Mod Podge to seal it.
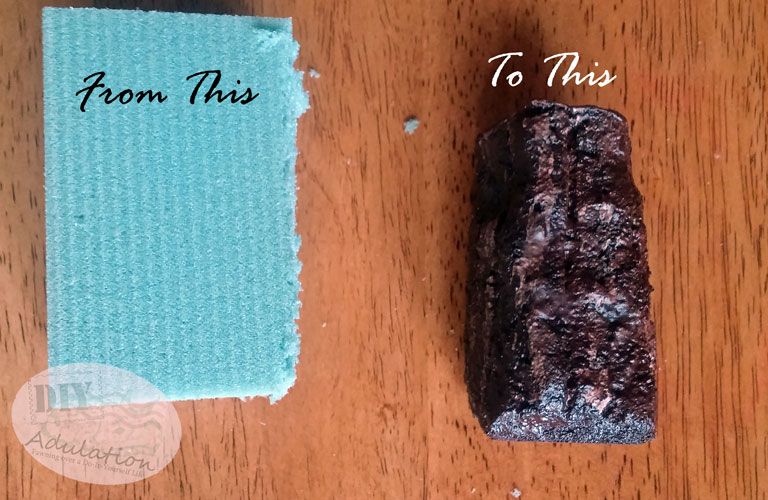
 

Celebrate Autumn with this fun and functional DIY Jack-O-Lantern treat jar!

Celebrate Autumn with this fun and functional DIY Jack-O-Lantern treat jar!

Step 7

Paint a coat of dark brown on the entire stem.  Before it dries, add some detail to it with the white.

Tip:

If it dries too quickly and the white shows up too prominently, go over it again with the dark brown lightly.
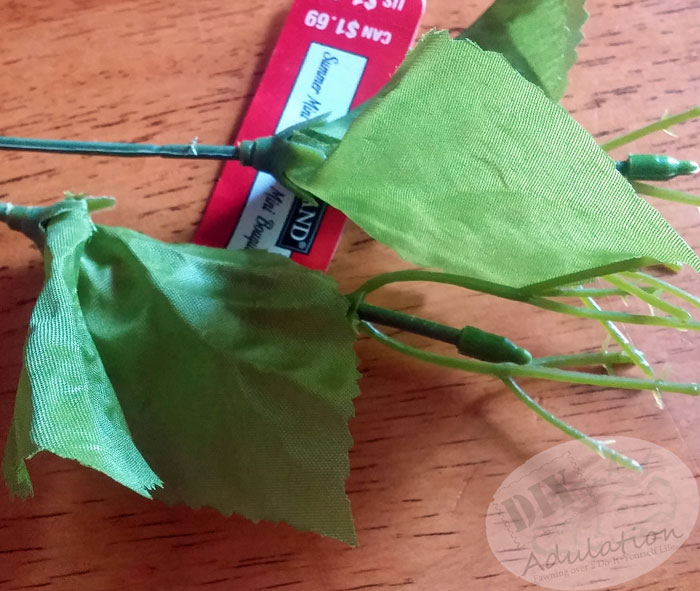
 

Celebrate Autumn with this fun and functional DIY Jack-O-Lantern treat jar!

Step 8

Remove 2 leaves from an old faux floral stem.  (The ones I used were one piece.)
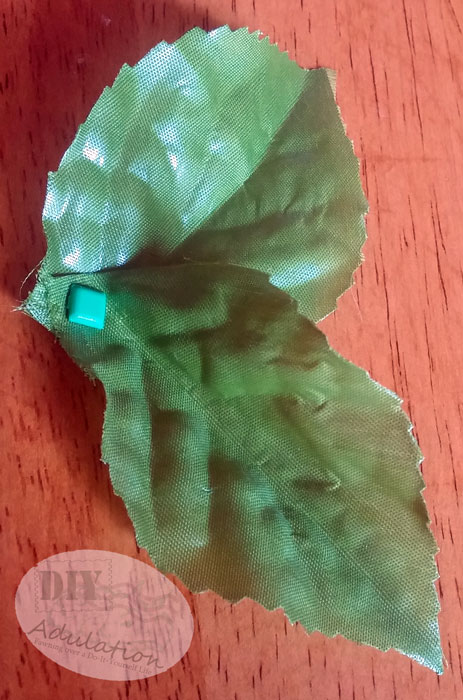
Celebrate Autumn with this fun and functional DIY Jack-O-Lantern treat jar!


Celebrate Autumn with this fun and functional DIY Jack-O-Lantern treat jar!Celebrate Autumn with this fun and functional DIY Jack-O-Lantern treat jar!

Step 9

Fold leaves as pictured and secure with a green brad.


Celebrate Autumn with this fun and functional DIY Jack-O-Lantern treat jar!

Step 10

Attach leaves to the bottom of your stem with hot glue and then attach the entire piece (stem and leaves) to the lid of the coffee container.


Celebrate Autumn with this fun and functional DIY Jack-O-Lantern treat jar!

Celebrate Autumn with this fun and functional DIY Jack-O-Lantern treat jar!

Now all that’s left to do is fill your new Jack-O-Lantern Treat Jar with the delicious fall treat of your choice!  What will you fill yours with?

Affiliate links may be used in this post. Ordering a product through these links may result in a commission. Read the full disclosure here.

Celebrate Autumn with this fun and functional DIY Jack-O-Lantern treat jar!

See where I’m linking up!


Want more awesome projects like this?  Subscribe to our newsletter