It’s time for more awesome candy Christmas crafts. You’ve taken care of your tree, your food, and your porch. Now it’s time to add some of that sweetness to your gift-giving too. These candy DIY gift tags with photo inserts are not only adorable but also easy for little ones to help pass out gifts. Double score!
Affiliate links may be used in this post. Ordering a product through these links may result in a commission. Read the full disclosure here.

[bctt tweet=”Don’t forget to add some sweetness to your gift-giving too this season. These candy DIY gift tags with photo inserts are adorable and easy for little ones!” username=”diyadulation”]
Welcome to Day 9 of the Fourth Annual 12 Days of Christmas Series!

We have teamed up with 50 plus bloggers to bring you a oodles of DIY Ideas and Recipes to make your holiday season merrier. There are 12 different posts in the series and we have spread them out over a four week period with three posts per week. Now is the time to subscribe!
GO HERE for the complete list of Dates and Topics plus a collection of most popular holiday ideas including ornaments, games, recipes and more from all 50 plus talented bloggers!
It’s Day 9 and we are sharing Pretty Gift Wrapping Ideas!
Get Your Glitter On!
Turns out that the only thing I love more than candy is glitter. These adorable gift tags are packed with it. Unlike other projects, though, this glitter won’t get everywhere because you’re wrapping it in cellophane.
As every crafter knows, there’s not much you can do about the constant parade of glitter that lives in your house. However, these candy DIY gift tags let you transport the glittery fun without the mess coming along too. (Unless you use glitter ribbon on your gifts, but that’s your call. I won’t judge.)

Candy DIY Gift Tags Materials

Step 1
First, remove the condiment container lids from your packaging it they came in a set with the containers.

Step 2
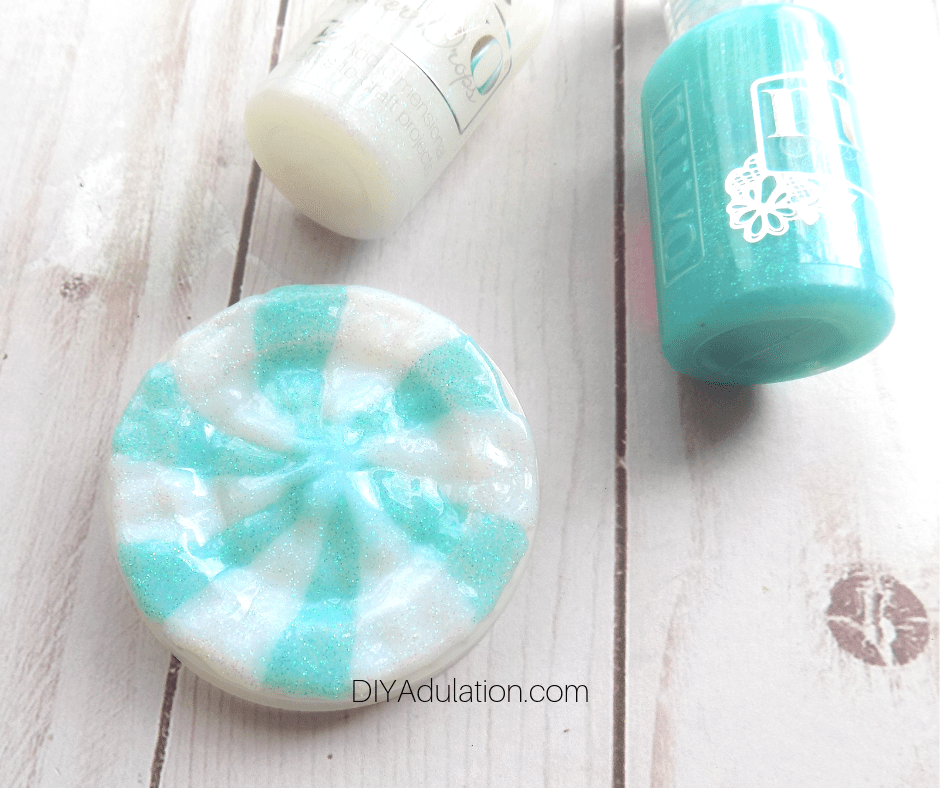
Next, outline one color of your swirl with Stickles.

Step 3
Then fill in the blank areas with a second color of Stickles.
Step 4
Set your lid aside to dry.


Step 5
Repeat steps 2 through 4 for your remaining lids.
Note:
- I chose to change up the colors but you can totally use the same 2 for every lid if you’d like.

Step 6
After your lids have dried, pull out your photos.
Note:
- Cut the photos apart if they aren’t already separated.

Step 7
Next, use one of your lids as a template and trace a circle on your photo with a chalk pencil.

Tip:
- You can see in the photo that the chalk line is very faint so make sure you cut it out in good lighting. This does, however, makes it easy to wipe off without ruining your photo.

Step 8
After you have traced your circle, cut it out.
Tip:
- Check that your circle fits inside the back of your lid. If not, trim a little more around the edges.

Step 9
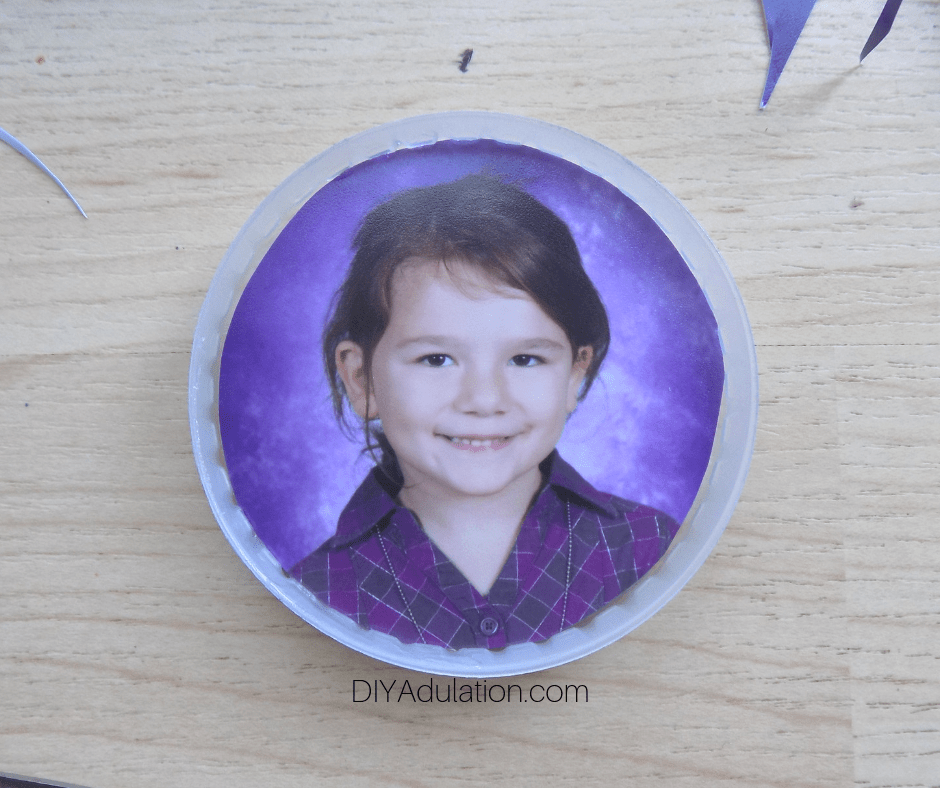
Next, add a small amount of glue to the inside of your lid.
Step 10
Press your photo circle into the glue and set aside to dry.
Step 11
While you glue dries, finish adding photos to the rest of your candy DIY gift tags.

Step 12
After you glue has dried, cut a piece of cellophane and place your tag (photo side up) in the center of it.

Step 13
Then wrap your cellophane around the lid and twist one side of the cellophane then secure one edge with a piece of thread.

Step 14
Next twist the remaining side of cellophane and again secure with a piece of thread.

Step 15
Trim any excess thread from your knots before moving on.


Step 16
Slip an additional piece of thread through one knot on your gift tag and create a hanger.
Optional:
- If you cannot get the thread through the knot, you can also punch a hole in one side to thread your hanger through.

Step 17
Repeat steps 12 through 16 until you have finished all of your gift tags.


Admit it! Just looking at these glittery candy DIY gift tags makes you feel happier inside. Your gifts will absolutely shine with them dangling from the bows this year. You can totally use these for group gifts too. For example, we have a few that are for the entire family this year and all I did was add a photo of all of us in the lid. The same goes for couples’ gifts or gifts for all of your kids. No more trying to scratch out 5 names as tiny as possible on the tag.
Bonus Tip:
- We live in a wonderful day and age when even if you don’t actually have photos of recipients, you can totally steal a couple off of Facebook for your gift tags.
See where I’m linking up!
Don’t Forget to Pin It!

Scroll down for many more Pretty Gift Wrapping Ideas!