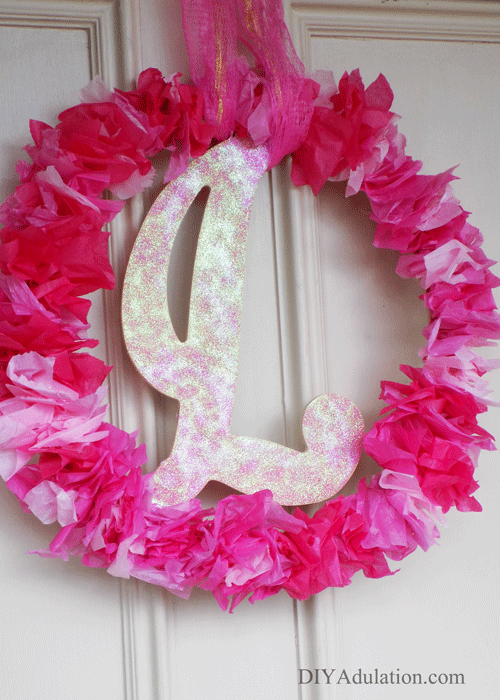
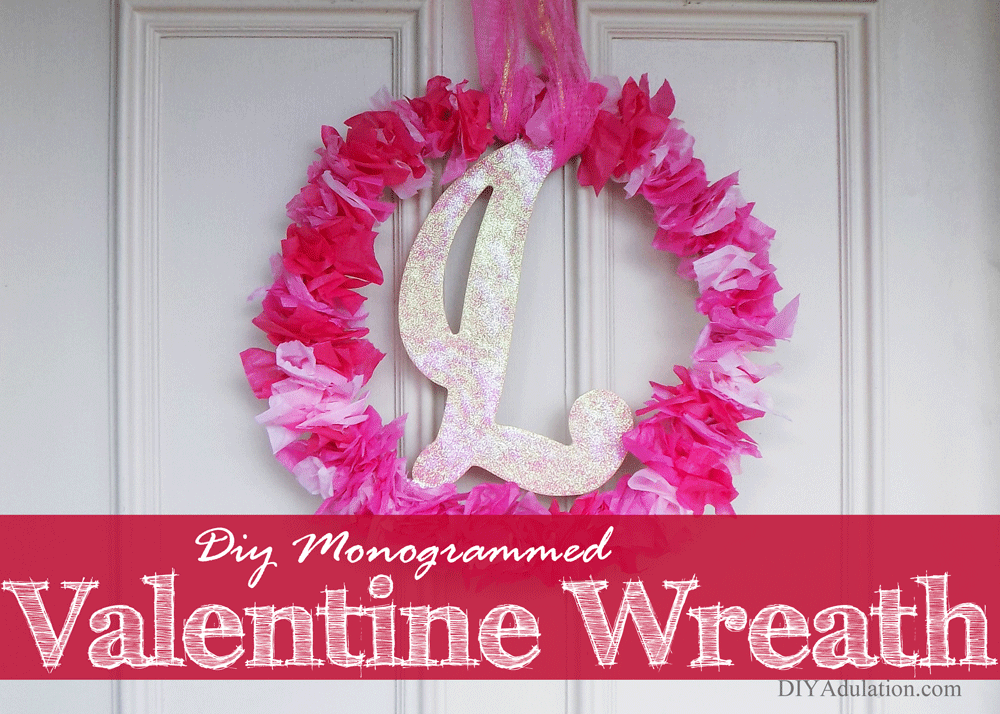
Yesterday I shared 9 DIY Valentine wreaths with you to kick off the Merry Monday Link Party 140. Today, I want to show you how to make this adorably girly DIY monogram Valentine wreath. This year’s wreath really ramps up the glitter quotient to the next level. It is the perfect easy update your door is looking for. You can also use it as wall décor for your Valentine’s party! Multi-tasking holiday décor is the best for busy moms like us.
Affiliate links may be used in this post. Ordering a product through these links may result in a commission at no extra cost to you. Read the full disclosure here.
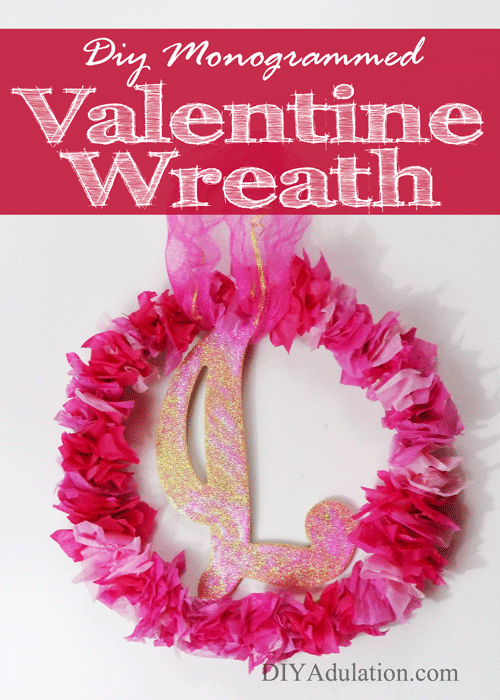
[bctt tweet=”If you’re loving all things pink and sparkly then this #DIY monogram #Valentine wreath is for you!” username=”diyadulation”]
Materials

Step 1
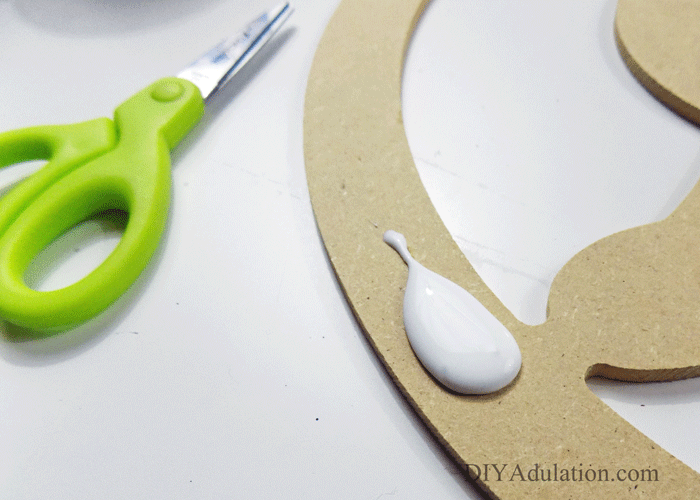
Remove any packaging and staples attached to your wood monogram.


Step 2
Cut up coordinating tissue paper into squares.
Tip:
- These do not need to be even so don’t get bogged down on this step.
Step 3
Add a dollop of glue to your monogram and spread it until you have a thick, even layer on a small portion of your outer circle.

Step 4
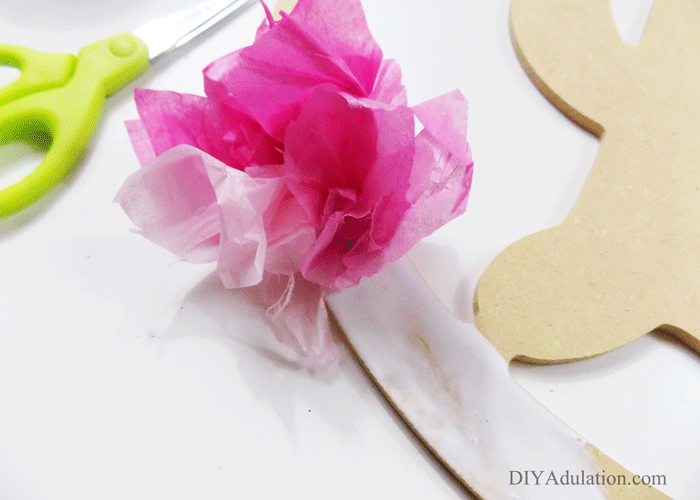
Fold up a square of tissue paper into a pseudo-flower shape. See picture above for reference.
Step 5
Attach to your monogram by placing the “stem” part into the glue. Press firmly for a few seconds before releasing.

Step 6
Continue adding folded tissue paper squares and glue until your entire outer circle is completely covered.
Tips:
- Alternate shades of tissue squares as you go to achieve the look pictured.
- Be sure to place folded squares tightly together. This gives your wreath a nice, full look.

Step 7
Next, cut the strings tied around your shower pouf that hold it together.

Step 8
Unravel it and cut a length of pouf that is about double the length that you want it to hang. Tie the ends together in a knot and trim the excess off of the end.
Step 9
Attach your pouf hanger to your wreath by slipping the end opposite your knot through the knotted end around the top of your wreath.
Tip:
- After you have attached your pouf hanger, fluff your tissue around it. This keeps the continuity of your wreath.

Step 10
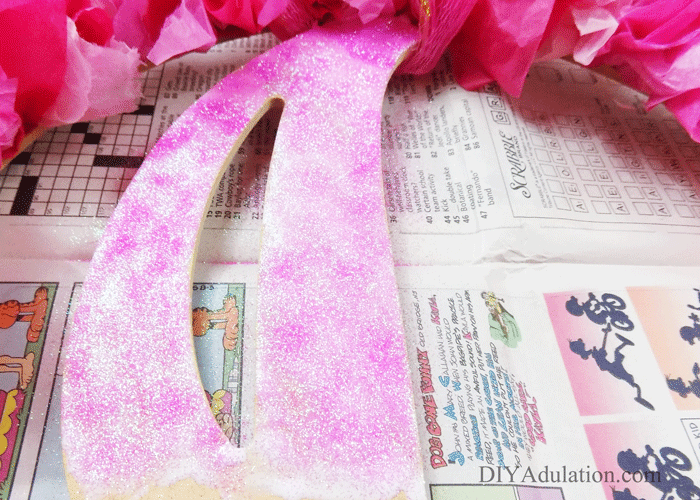
Now, spread glue on the top half of your “L” in the center of your wreath.
Step 11
Sprinkle your glitters over the glue.
Step 12
Add glue to the remaining half of your “L”.

Step 13
Again, cover with your gold and pink glitters.

Step 14
Allow your wreath to dry completely.

Step 15
Lastly, spray your glittered letter with acrylic spray sealant to prevent it from dropping glitter everywhere.

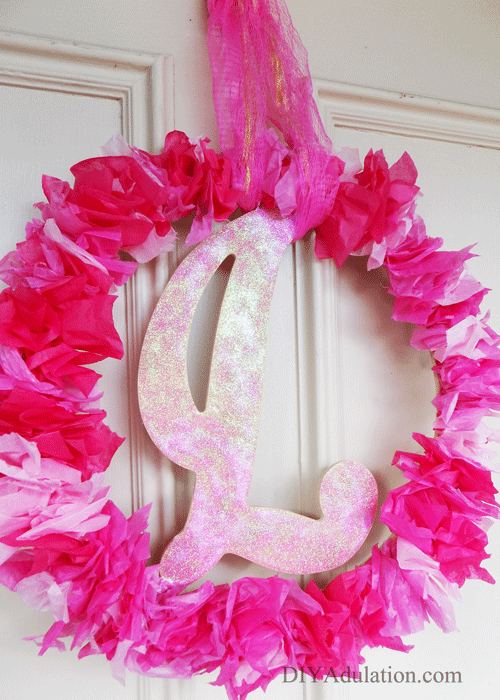
If your Valentine’s style this year is loving all things pink and sparkly then this DIY monogram Valentine wreath is perfect. I do want to let you know that I wouldn’t hang this on your front door if you do not have a screen door. The tissue paper needs some protection from the elements. Another option is to hang it on the inside of your door so that you can see it whenever you’re in your home. Check out even more fun Valentine crafts like this glittery Zombie Valentine’s Card and these delicious heart-themed Valentine treats!
See where I’m linking up!