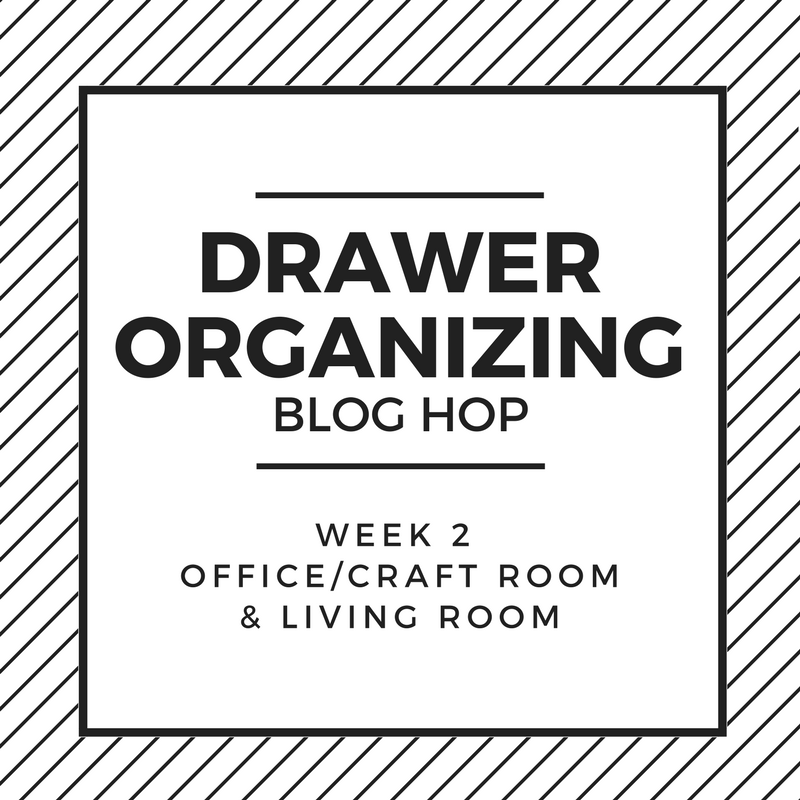
We’re back with another Drawer Organization Hop and this week we are focusing on the office, craft room, and living room. Start here with wrangling your office supplies and electronics with step-by-step office drawer organization.
Affiliate links may be used in this post. Ordering a product through these links may result in a commission. Read the full disclosure here.

Welcome to the Drawer Organization Blog Hop!
For the entire month of April, 12 bloggers will be sharing the process of cleaning and organizing drawers around our homes each week.
We kicked off the first week in the kitchen! This week we have been doing drawer organization in our Office, Craft and Living Rooms.
My Pinterventures • Intelligent Domestications
DIY Adulation • Domestically Creative • Cookies Coffee and Crafts
Domestic Deadline • Across the Boulevard • Michelle James Designs
Mom Home Guide • Centsably Creative • Olives & Okra
[bctt tweet=”Stop using your desk as an expensive catchall. Wrangle your supplies and electronics today with this step-by-step office drawer organization.” username=”diyadulation”]
Too often in our desks, we start throwing things in drawers without any real plan. The result is that months or years later we have no clue what’s in the drawers and cannot find what we need.
In my desk, it’s easy to tell which drawers I use regularly and which ones I don’t. The ones that have some semblance of organization are frequently used. The chaotic ones? Almost never.
Why do we keep things that we don’t use? Why are we turning important furniture pieces into overpriced catchalls? This challenge is helping me fight that habit and I hope it helps you too.


Office Drawer Organization

Step 1
First remove the drawers you are organizing from your desk. This always makes the process of cleaning and organizing much easier.


Step 2
Next, take everything out of your drawers. I was amazed that so much stuff fits into such small drawers but that is what comes from a year of cramming items in. I was also shocked to see what was inside. Some I forgot I even owned. To name a few things:

- 3 Cameras
- Countless Tangled Cords
- Thomas Photo Magnet from Day Out With Thomas 5 Years Ago
- Floppy Disks (Right after they stopped being actually floppy)
- Countless Hello Kitty Office Supplies (I may have a problem)
Step 3
Once everything is removed from your drawers, it is time to sort all of the items.
Tips:
- Group like items together. This makes putting them away easier.
- Toss any trash you find in the drawers (such as pencil shavings).
- Items that have homes in other areas need to get put away immediately. If you don’t, you’ll never get to it.
- Don’t be afraid to get rid of items you no longer need. It was super hard for me to get rid of my extra cameras but I have not used them in years. It is better to donate them to someone who can use them.
Step 4
Now, clean your drawers. Again, I recommend Clorox Spray for this. It does a fantastic job of cleaning out grime and kills germs.

Step 5
Before you start adding items back to the drawers, grab some empty cardboard toilet paper tubes. You need one for each cord, or one for each type of cord if you need multiples of similar cords.

Step 6 (Optional)
Next, cover your cardboard tubes with pretty washi tape (I got mine at Michaels). You totally can skip this step but I, personally, like things to be a little prettier so I did this step.

Step 7
Now, put your cardboard tubes into one of your drawers and use them to organize your cords.
Tip:
- Don’t forget to label the cords (or the tubed) so you know what they go to.

Step 8
Lastly, return the remaining items to your drawers.
Tips:
- Keep like items together in the drawers. This makes locating specific items a breeze later.
- You can use my drawer categorization below for inspiration.


Electronics Drawer
This drawer contains electronic items I might need such as cords and my label maker. I stored the cord for the label maker underneath of it to keep them together and also because the label maker is slightly canted within the drawer. This is also where I stored our video camera.


Notebook Drawer
Yes, I needed a drawer designated to notebooks. I have a ton because I go through them like crazy. For this drawer, I do use a few small boxes to help organize everything. A larger box stores the smaller and irregular sized notebooks. A second, smaller box holds all of my sticky notes. I also keep a pencil sharpener in this drawer. The kids are constantly losing theirs and this means I will always know where a backup is.


Program Drawer
After the decluttering and organization process this drawer is pretty much empty. It now houses my computer programs. So few come on disk anymore that I don’t have many to store. I also decided to keep my floppy disks because I think they could make a cool craft in the future.

Stop using your desk as an expensive catchall. Wrangle your supplies and electronics today with this step-by-step office drawer organization. It’s amazing how much less stress you feel when you start getting rid of the excess in your life, not to mention how much more productive you’ll be.
Now it’s time to get your craft room and living room drawers organized with the other ideas from the hop. By the end of this month you’ll have some of the best drawers on the block!
See where I’m linking up!
Don’t Forget to Pin It!

Please visit the other host blogs below for more Office, Craft and Living Room Drawer Organization Ideas