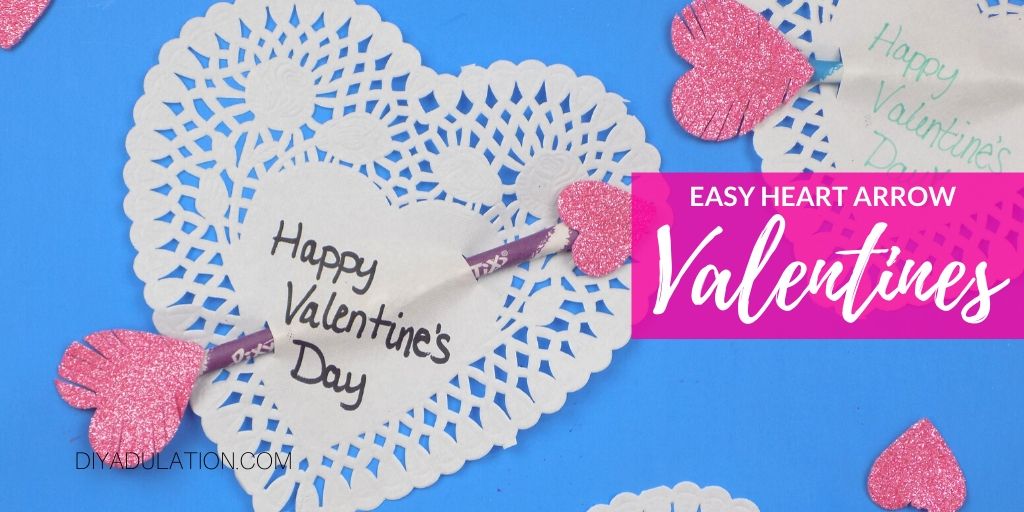
These easy heart arrow valentines are the perfect way to save money on classroom valentines for your kiddos. Pick up all of your materials at the Dollar Tree and you have 30 valentines ready to go for 4 dollars. Score!
Affiliate links may be used in this post. Ordering a product through these links may result in a commission at no extra cost to you. Read the full disclosure here.

[bctt tweet=”These easy heart arrow valentines are the perfect budget-friendly idea to pass out at kiddos’ classroom parties this year! Check out the tutorial now! #diyvalentines #diyadulation” username=”diyadulation”]
Pixie Stix are amazing and what kid doesn’t love slurping up flavored sugar from a paper tube? This valentine takes the sugary treat and turns it into a classic Valentine’s Day symbol.

It’s also super easy to make so you can enlist the kiddos in helping. Will help, these heart arrow valentines come together in no time!
You kids will also love giving out valentines that they helped make to all of their friends. Win-win.

Easy Heart Arrow Valentines Materials
- Pack of 30 White Paper Heart Doilies
- Bag of Pixie Stix
- Pack of Glitter Hearts Table Scatter
- Marker
- Scissors
- Glue Runner

Step 1
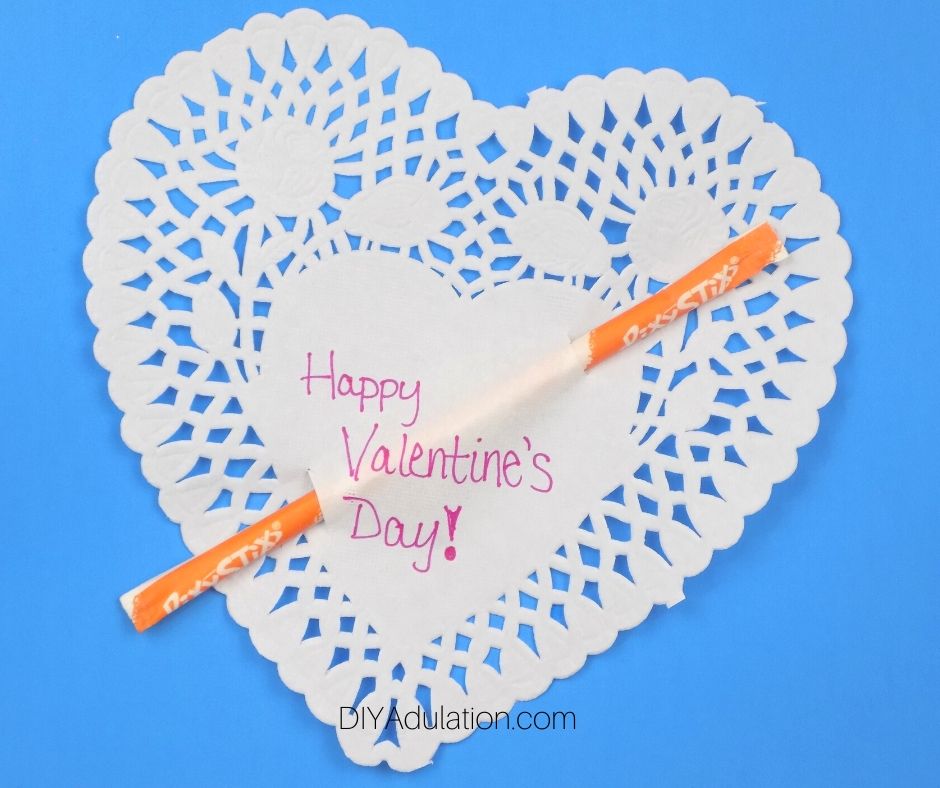
First, write “Happy Valentine’s Day” on each of your paper heart doilies. If you don’t need all of them, count out the number you need first and only do those. It will save your hand later.

Step 2
Next, carefully cut slits into your heart that are big enough to slide a Pixie Stix though. You want to make sure that they are on the edges of the solid part in the center of the doily.
Step 3
After your slits are cut, slide a Pixie Stix through the slits so that only the ends stick though. Be careful not to rip the slits while you slide.

Step 4
Then, attach a small glitter heart to the right end of the Pixie Stix with your glue runner. Make sure the pointed end is facing out, away from the Pixie Stix.

Step 5
Next, take a large glitter heart and cut slits along the edges to create a feather look. Again, be careful that you don’t cut all the way through the heart.

Step 6
Lastly, attach your large glitter heart with slits cut in it to the left end of the Pixie Stix. This time, the pointed end of the heart is facing the center of the Pixie Stix.
Have your kiddos sign their names on the back of the easy heart arrow valentines and you’re done! This is such a budget-friendly Valentine idea that is super easy to make.
It might seem like it takes a long time, but I found if you batch the tasks then you are done in 30 minutes. Finish each step on all of your hearts before moving onto the next step. This saves you a ton of time and you really find a rhythm.
See where I’m linking up!
Don’t Forget to Pin It!

More Easy Valentine Ideas: