Have you ever had an idea that totally starts out small and vague but then blossoms into something really awesome? That is exactly what happened with these DIY glittery shamrock fairy dress up accessories. Once you get in that creative mindset it can truly take on a life of its own. Now, you can let your little one prance around to her heart’s content this holiday as an adorable shamrock fairy.
Affiliate links may be used in this post. Ordering a product through these links may result in a commission at no extra cost to you. Read the full disclosure here.

[bctt tweet=”Let your little one do what she does best: play pretend. These #DIY glittery shamrock fairy #dressup accessories are so much fun and cost less than $5.00 to make!” username=”diyadulation”]
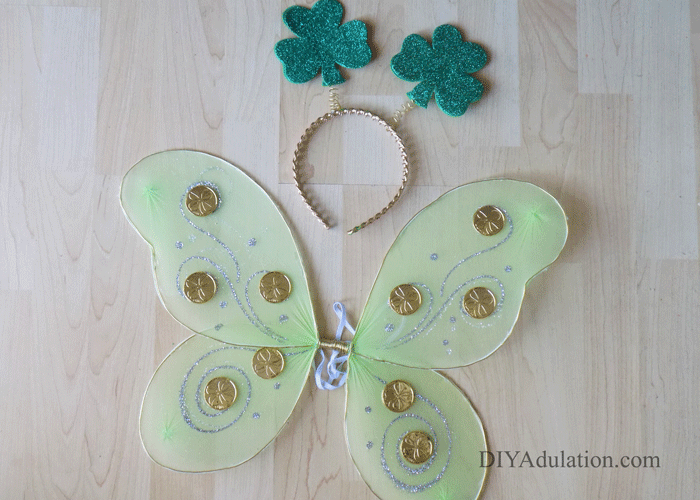
Originally, I only had a shamrock headband in the editorial calendar. I thought something fun and playful for little girls to wear would be a sweet idea. Then the idea started to grow. Every mom knows that kids love playing dress up. Mine come up with some of the most creative ensembles that have me in tears from laughter. Why not add some Saint Patrick’s Day fun to their dress up trunk. That’s exactly what these DIY glittery shamrock fairy dress up accessories do.

DIY Shamrock Fairy Dress Up Accessories Materials

Step 1
Start but cutting 2 lengths of gold wire roughly 9 inches long each.

Step 2
Next, wrap one piece of wire around your ink pen to form a spring.

Step 3
Slide the spring off of the pen and repeat with your second piece of wire.

Step 4
Then wrap the ends of each spring around your headband.
Tip:
- If you have to use a solid headband, add some hot glue to the wrapped wire to help hold it in place more securely.
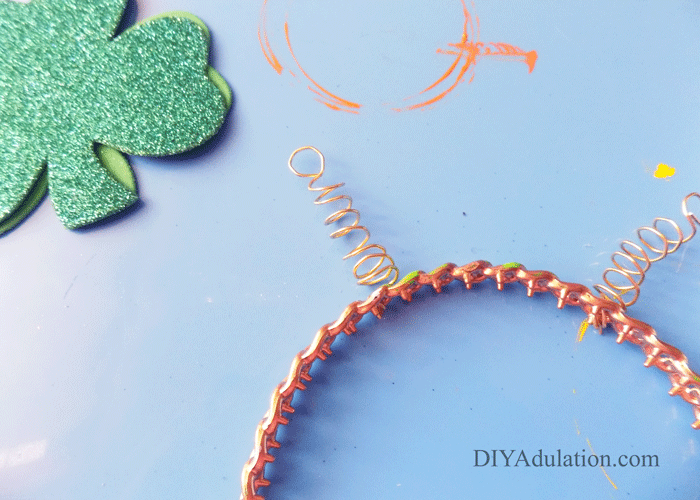
Step 5
Now, bend the top coil on each spring so that is lies flat as pictured above.

Step 6
Add a dab of hot glue to the stem of a foam shamrock and press the flattened coil into it.

Step 7
Immediately cover with a second foam shamrock and press firmly together.

Step 8
Now secure the rest of the shamrock edges together with hot glue.

Step 9
Repeat steps 6 through 8 with the second spring on your headband.

Step 10
Set your headband to the side and pull out your fairy wings.
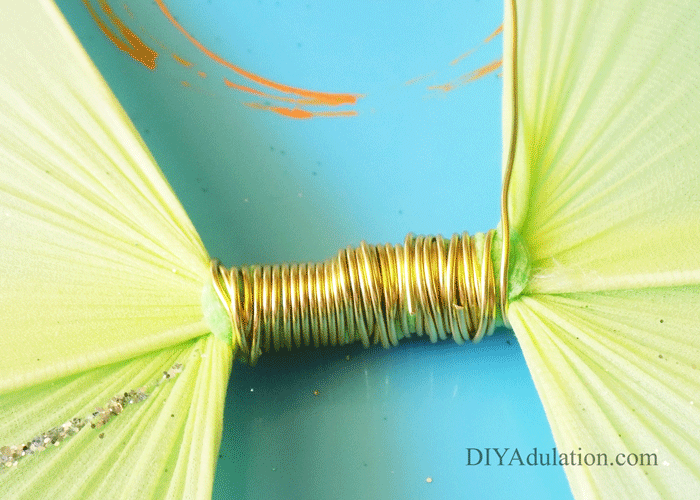
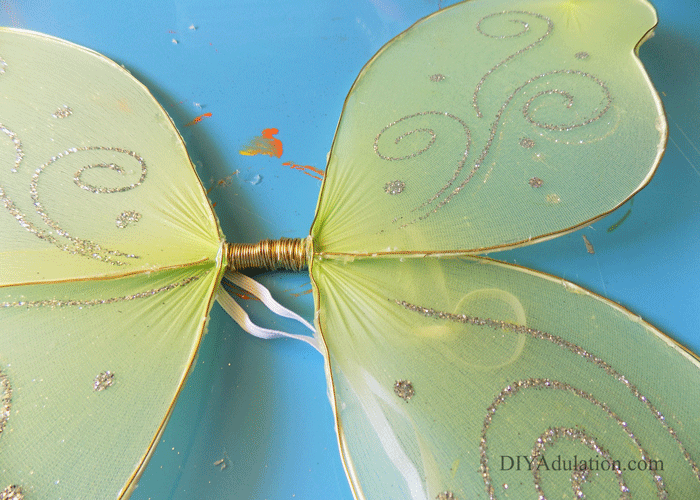
Step 11
Start by wrapping the center of your fairy wings in gold wire.
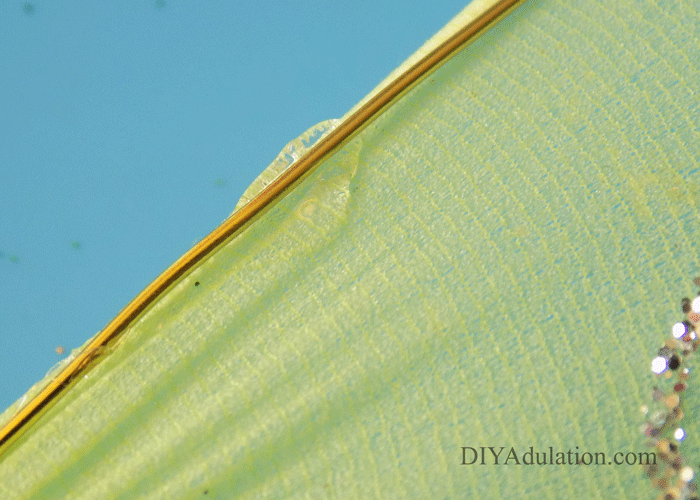

Step 12
Next, outline each of the wings with a single strand of gold wire, securing every few inches with hot glue.
Tips:
- Do this on a non-stick surface otherwise you’ll end up gluing your wings to the table.
- Wrap each part of the wing separately. For example: one length of gold wire for the top right wing and a second length of wire for the bottom right wing.

Step 13
Lastly, attach some gold coins to the wings as decoration. I attached one to each glittery swirl as well as a second coin to the bottom wings. This makes it easier to keep them symmetrical.


That’s it! Now your little one can do what she does best: play pretend. These DIY glittery shamrock fairy dress up accessories are so much fun, I totally want to make a second set for me to wear. We might add a rainbow wand, too. What do you think? Don’t worry about this craft breaking the bank either. Everything except the gold wire came from the Dollar Tree and even that you can get there if you don’t have any on hand. Don’t you love that store when it comes to the holidays? This awesome project only cost $4 to make ($5 if you need wire, too). Worth it!
See where I’m linking up!
Don’t Forget to Pin It!

More Ideas You’ll Love: