When my family decided to start planning a Disney trip for when my youngest is five, I knew we should start saving now. I also wanted to get the kids involved to encourage working together as a family toward a common goal. I also wanted a way to keep them excited while we’re waiting for the years to pass until trip time. I love reusing cardboard in my projects and knew I wanted to use it for this recycled cardboard Disney fund bank. When we buy things that come in cardboard packaging and I can’t stand not seeing it put to use.
Affiliate links may be used in this post. Ordering a product through these links may result in a commission. Read the full disclosure here.
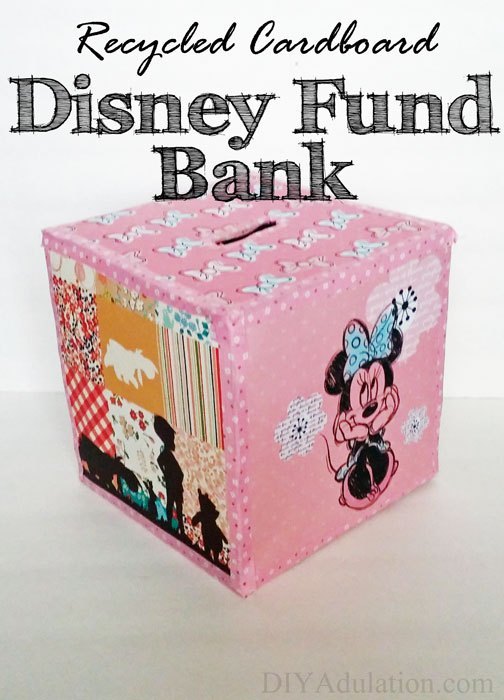
Flipping through a magazine, I saw a photo of kids playing with this adorable giant toy block and the light bulb went off. I could make a large recycled cardboard bank that we could all pitch money into! It could be pretty, functional, and recycled. Yay! Make your own Disney fund bank with these easy-to-follow instructions and start planning your Disney vacation today!
Recycle Cardboard Disney Fund Bank Materials
Step 1
Cut out 6 squares of cardboard roughly the same size. Don’t worry if they aren’t exact. When you put them together later, it will hide imperfections.

Step 2
Glue your paper to the cardboard squares. I put my glue tape on the cardboard square and stuck it to the paper. Then I cut out the cardboard square from the larger piece of paper.
Step 3
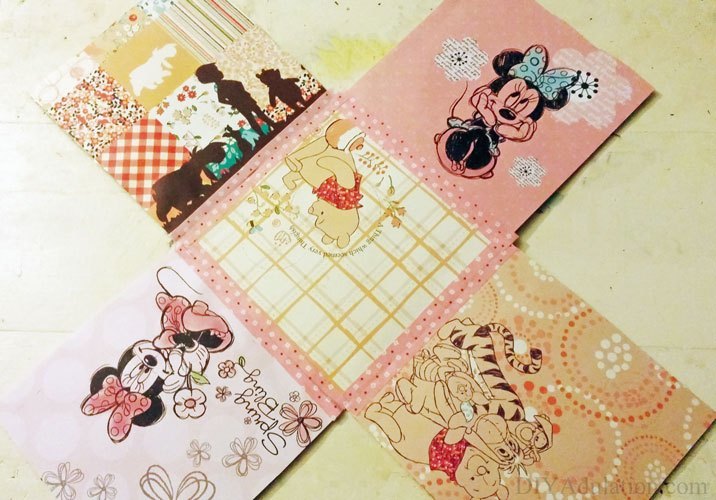
Starting with your bottom square, tape one of your cardboard squares (decorative side out) to each side of the bottom square. (See the picture above.)

Step 4
Fold up the sides of the box and begin taping each side together as well, forming a block.

Step 5
Take your sixth cardboard square and cut a rectangular slit out of the top. I just went from the back side with my scissors and then taped up the hole to clean it up some.

Step 6
Tape the last cardboard square to the top of your box.
Step 7
Write your savings goal on the outside of the box in pretty lettering. If you don’t like your handwriting, you can always use stickers to do this.

It is that easy to make your own Disney fund bank. It’s so pretty and you can personalize it with your family’s favorite Disney characters. Is your family planning on taking a vacation to Disney? Have you been recently and have recommendations on must-see attractions? Let me know in the comments!
See where I’m linking up!
Don’t Forget to Pin It!